In today’s article, we will outline the entire process step by step to finalize the PPC campaign setup. On our site we have already completed many things, like keyword research, Google Ads copywriting, the keyword match type, and more.
So today with all of these things, we will complete the PPC or search-type campaign setup. But did you know that we can run this campaign for four different types of campaign objects?
- Sales: If you want to get sales through this campaign, you can try it through PPC.
- Lead: If your target is lead. You can also use this PPC campaign if you think my targeted traffic will come to my site and fill out a form.
- Traffic: If you want to get your targeted traffic to your site, then you can also use these types of campaigns.
- Brand awareness: This kind of campaign can also be used if elevating brand awareness is your goal.
If you’re unfamiliar with the campaign object and type, read this article. Google Ads Campaign Objects and types Overview
About PPC Ads.
We can call PPC ads by another name: Google search ads. These ads can appear every time someone searches for our targeted keyword on Google from our specified location.
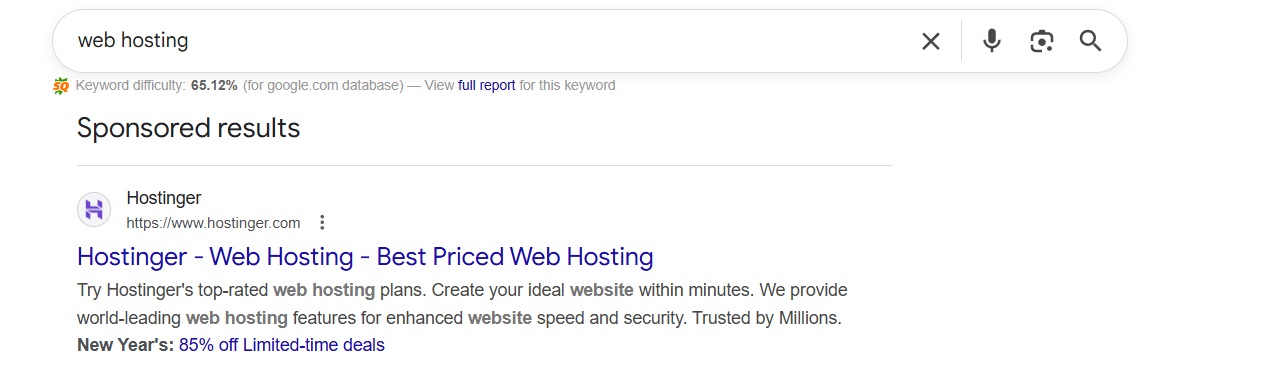
In this picture, you can see what it looks like. Google search ads are a set of a headline, description, extension, brand logo, brand name, and the path URL. For these ads, Google takes costs from us after every click. That’s why these ads are also known by another name: pay per click (PPC).
Why we should use this type of campaign
We always try to target those who are knowledgeable about the product and are actively searching for it. Currently, many internet users worldwide are searching on Google for their needs, and this number is increasing daily.
Imagine the potential benefits of presenting our product to individuals who are actively searching for it. Yes, Google is the place through which we can do the same thing. We can show our ads through Google every time in our targeted location when someone searches by our selected or targeted keywords.
If we are able to do it perfectly, then the conversion rate can be high. That’s why we should use the PPC type of campaign. Only users who search on Google using our targeted or selected keywords will see this campaign.
So let’s set up a full campaign
To set up the campaign, first we have to go to the Google Ads campaign platform. So do it.

From here, click on the “New campaign” button.
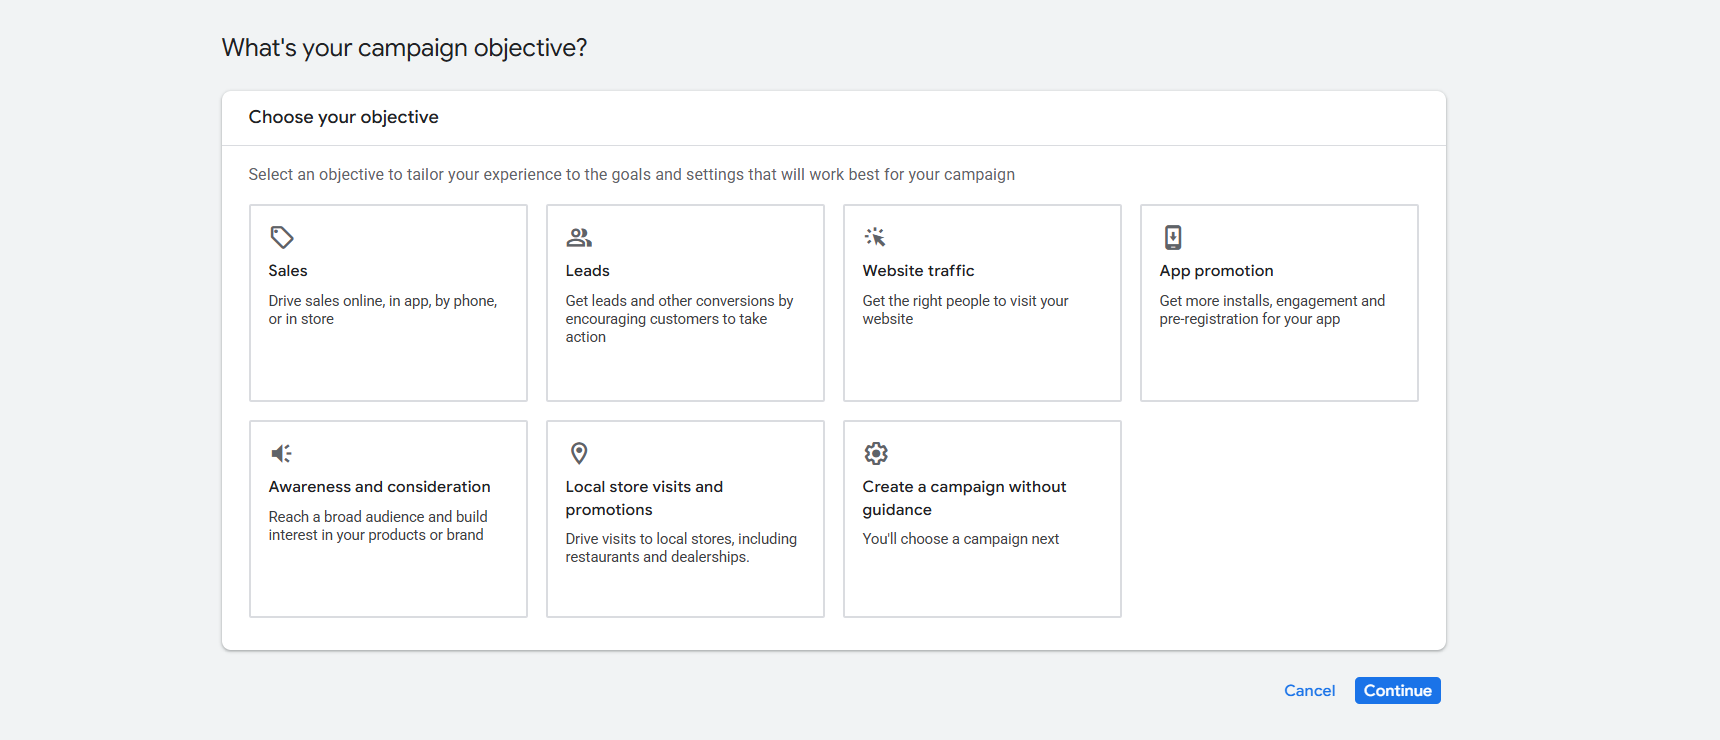
From here, you have to select the object. If you already read our previous article, now I hope you know about the object and campaign type. First, select your campaign object, and then we can proceed to the next step.
Conversion Goals
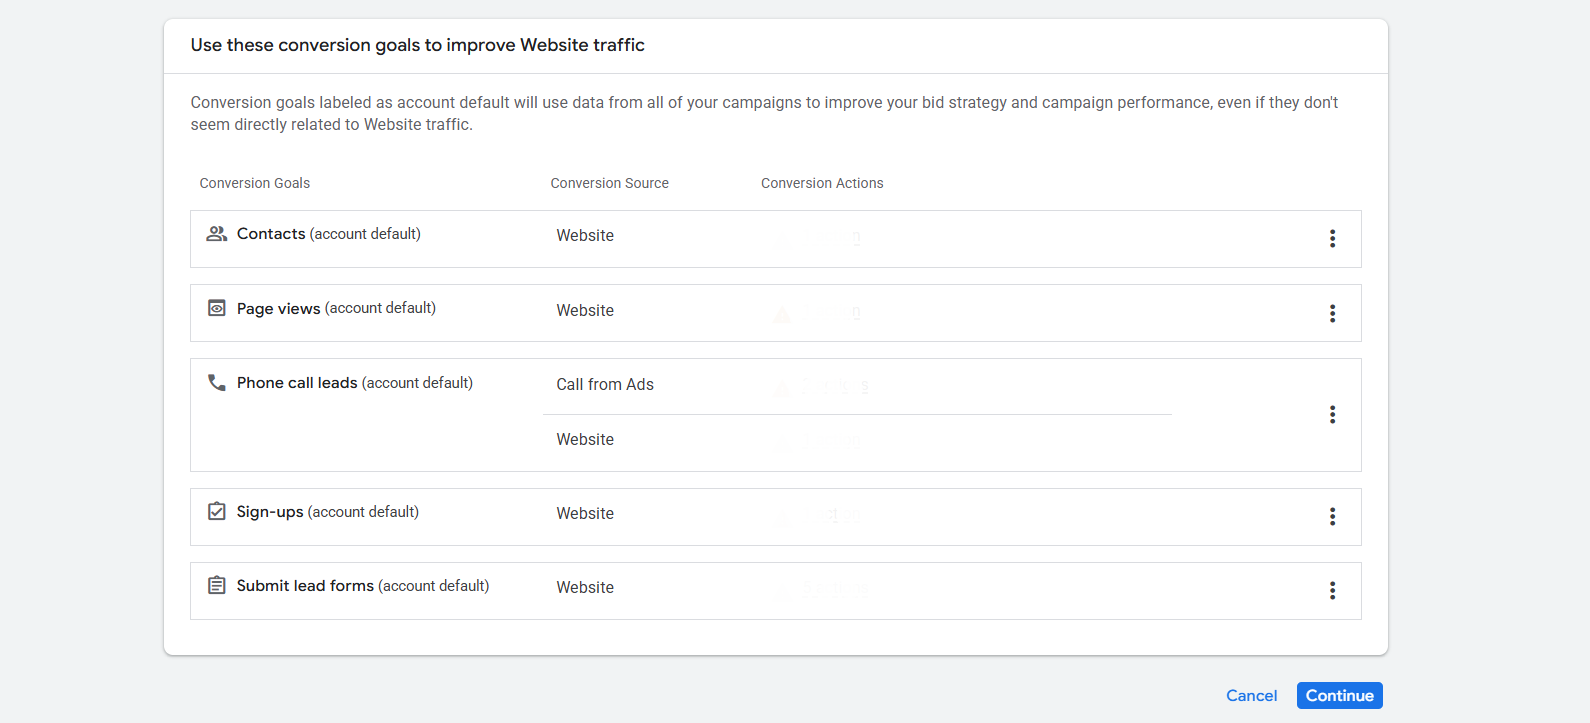
If you already complete your tracking perfectly, then you will have your conversion goals here in the list. Choose one from your traffic, remove the rest, and continue.
Campaign type
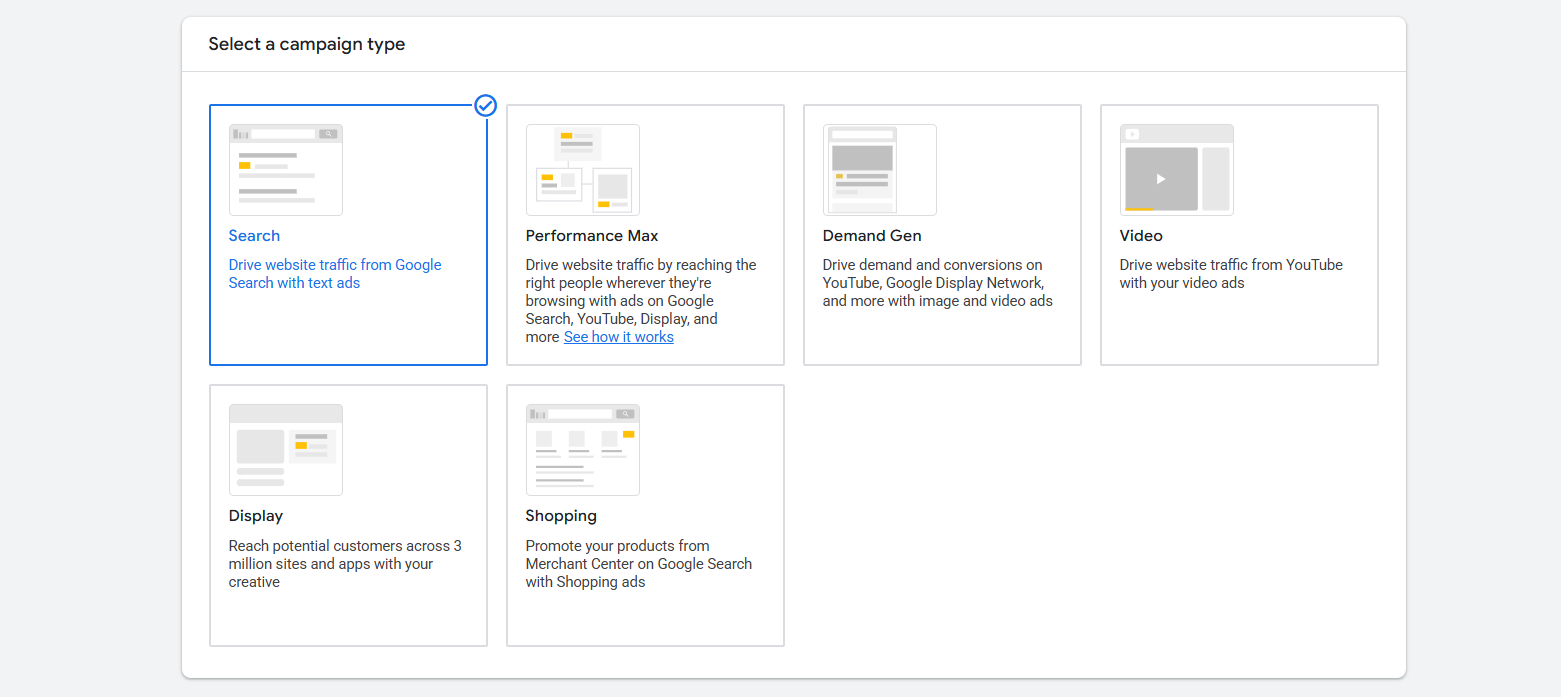
From here, select “Search” as your campaign type. We are here to set up the PPC ads, so we have to select this option as our campaign type. Now, please write down the campaign name, and then we can proceed to the next step.
Bidding
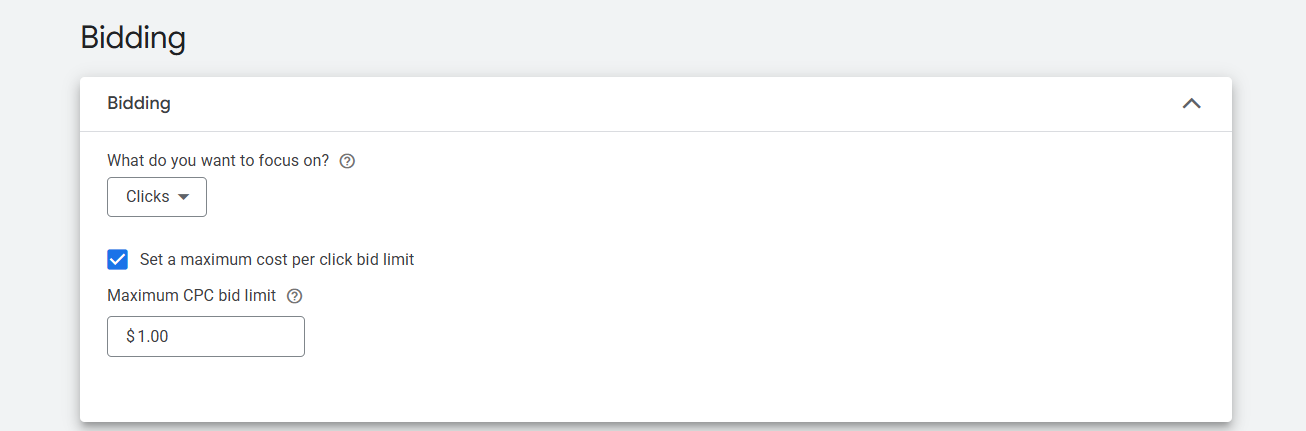
This page is the place from where you can set up the bidding and per-bid price. But if you want to know more details about the Google Ads bidding system, then you can read this previous article of ours. Google Ads Bidding System
Customer acquisition

This customer acquisition setting in Google Ads controls whether your campaign prioritizes acquiring new customers instead of treating new and existing customers equally.
If you enable this option, Google will bid more aggressively to reach people who are not already your customers. Google will bid equally for both new and current customers if you leave it disabled.
Campaign settings
At this point, you will encounter various types of settings, all of which are very important. Let’s set them all up one by one, starting with Networks.
Networks

If you select these two options from here, then Google will show your ads also in the Google Partners Network and Display Network. But if you just want to show your PPC ads just after the Google search, then don’t select this option.
Location
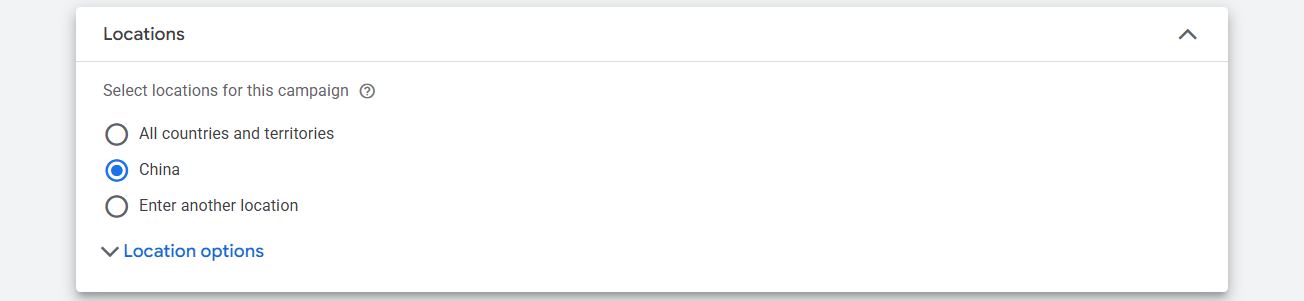
This is the place where you can select the targeted location for displaying your ads. For more details, read our earlier article on the location and language.
Location and language targeting explanation.
Language

This is the place from which you can select the language for your targeted traffic. But before using it, don’t forget to read our previous article about location and language explanation.
EU political ads
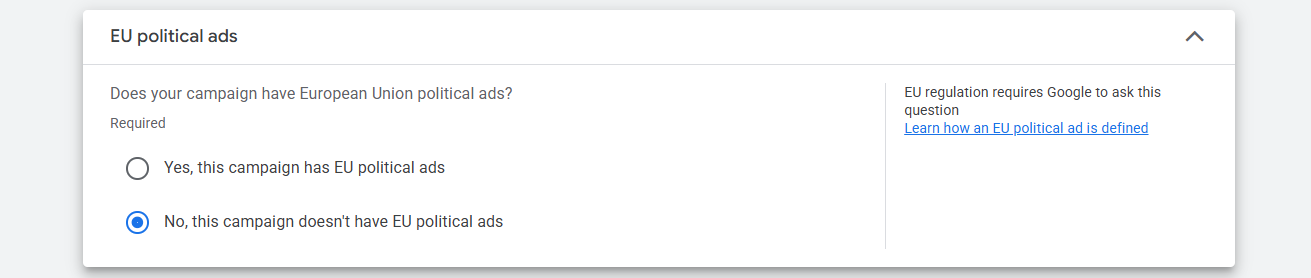
If you are targeting the EU with your political ads, choose the “yes” option. Otherwise, select the “no” option.
Audience Segments
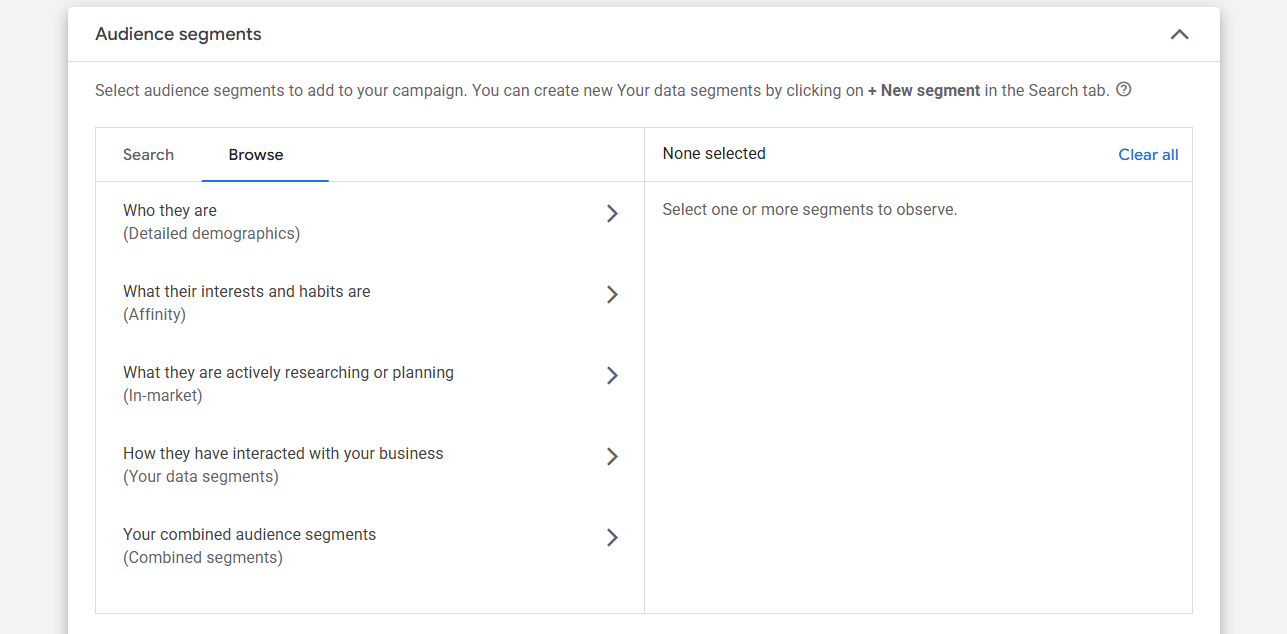
This is the place where you can target traffic based on gender, age, interests, and other criteria. If you want to know in detail about these custom audience segments, then you can read our previous article. Google Ads Audience Targeting Explanation
More settings
To run your PPC ads, we have to configure some more settings. For example, we need to determine how long our ads should run in our targeted location within a 24-hour period, as well as the start and end dates of this campaign. Let’s go to explore everything one by one.
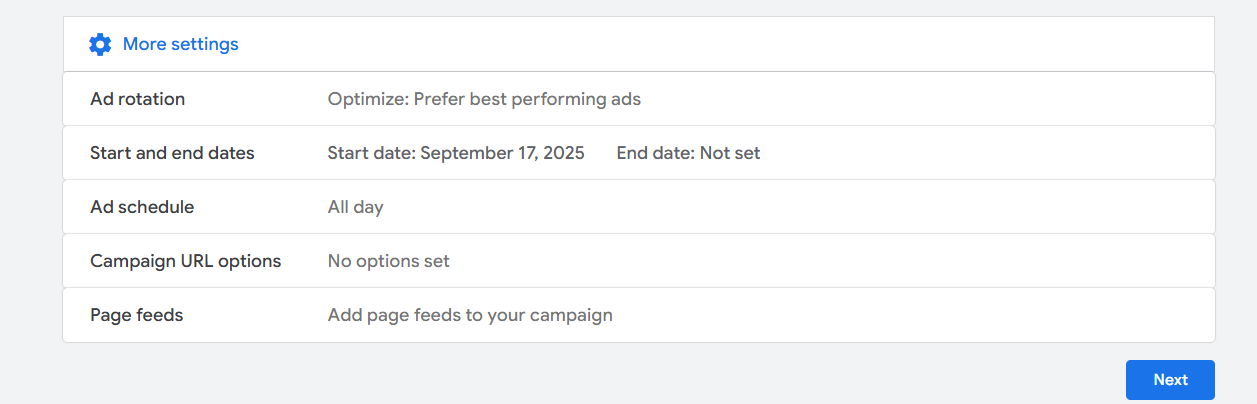
Ad rotation: Sometimes, within an ad group, we create multiple ads. If you select the Optimize option, Google will automatically show the best-performing ads within that ad group more often.
If you want all ads to run evenly, you can select Do not optimize. However, it is generally better to use the Optimize option when you have multiple ads in an ad group, as Google will spend more budget on the ads that are performing better than the others.
Start and end dates: This option lets you set the start and end dates.
Ad Schedule: Here you can choose specific hours of the day or night when your ads should run in the selected location. If you ‘d like your ads to run continuously throughout the day, please leave this setting unchanged.
Campaign URL options: With this option, you can set up UTM parameters for your campaign. Page Feeds: Enables you to provide a list of website URLs so Google can better match ads with relevant landing pages. But you can avoid this setting.
Ad Group
The ad group is where you place all of your selected keywords with the targeted match type. In the ad group, you can also write your ad copy, which will be displayed after a search using our targeted or selected keyword from the specified location.
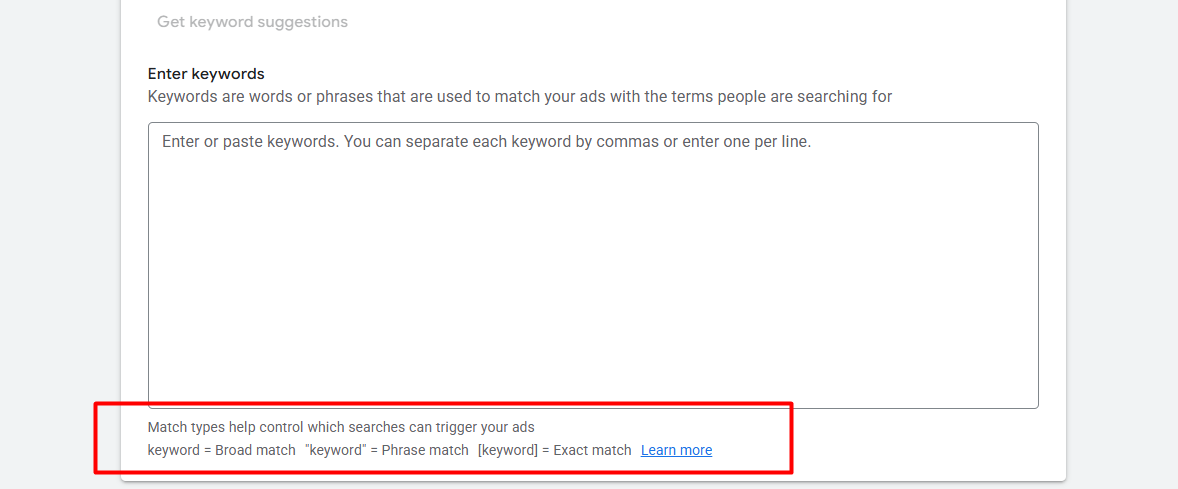
We recommend reading our two articles on the subject if you lack knowledge about keyword match types and effective keyword research.
keyword Research For Google Ads
Final URL
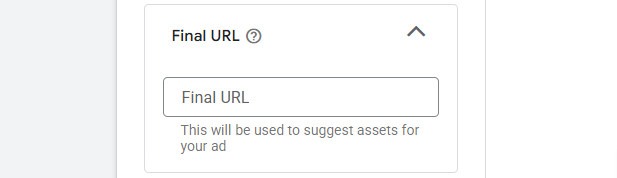
Here, place your final landing page URL. Also here you can place the link that you build with the UTM builder for better tracking of your campaign.
Display path
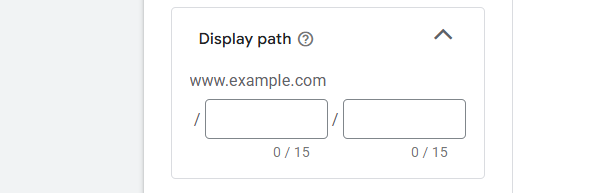
The page path refers to the portion of a website URL that appears after the domain, helping users understand which specific page your ad will direct them to.
Headline and description
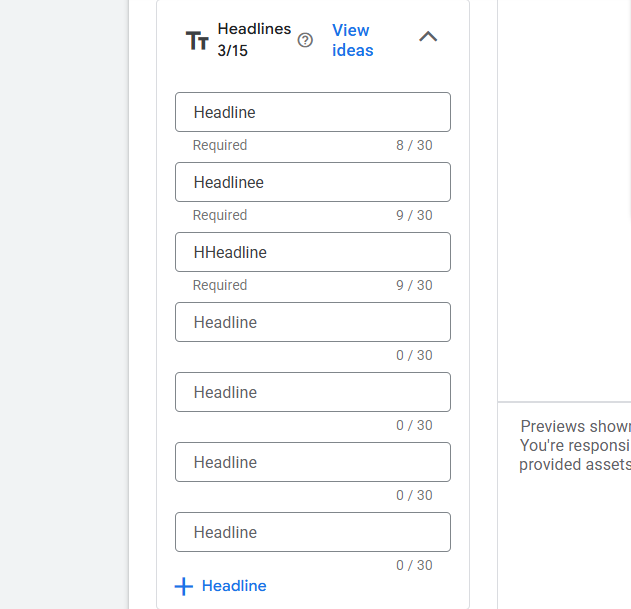
In this section, you can write the headlines for your ad copy. This part is crucial because it represents the first line your audience will see after viewing your ads. That’s why it’s important to write it down perfectly to impress your customer in the first impression.
You will be able to write down 15 totally different headlines for your ad, and you will have to write down at least three. Try to create 15 different headlines because then your Google Ads platform will get many options to show your traffic in different ways.
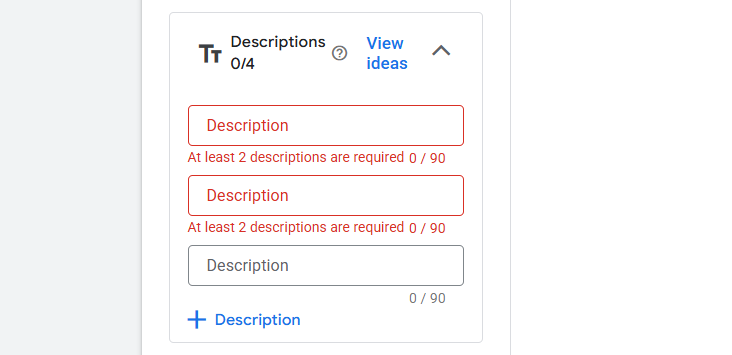
And now it’s time to write down a description. Here you will be able to write down 4 different descriptions, but you will have to write down at least 2.
To make the first excellent impression with your traffic, you need to create this headline and description really carefully. If you can’t make them all, read this article. Mastering Google Ads Copy Writing Step-by-Step
Extension
Now it’s time to set up some important extensions with your ads. This step will occur after you have completed your ad copy. If you don’t know much about the extension, you should read another article about it at this time. So these things will be clear to you.
Explanation for This Extension.
Review & Publish
In the review section, check everything one by one before publishing your campaign. This is crucial because the review section allows you to view every action you’ve taken during your campaign. So every time, don’t forget to check your review page before publishing the campaign.


