
If you want to create a remarketing campaign with the previous visitors. Then you will have to complete the dynamic remarketing tag.
So today in this article we will show you the process of the remarketing tag setup. So let’s start it one by one.
Important Events & Values
At first, let’s know about all of the important events & values that we should send to Google with our remarketing tag that we will create through the GTM.
Already with the headline, you got it that this remarketing tag will be based on the retail business. And here at this point, according to Google, for the retail-based business, we have to create 5 events. Here are the 5 event names:
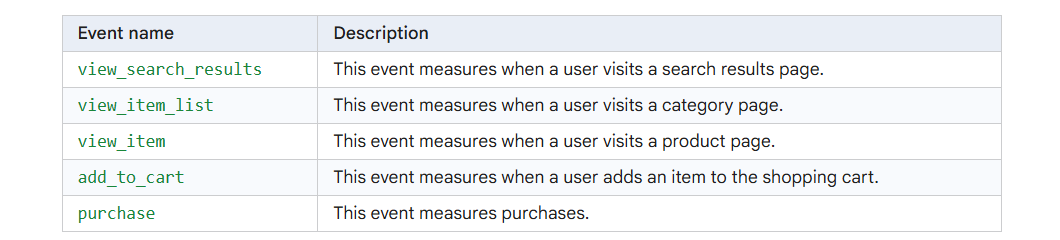
With these 5 events, we have to send some data; Here is the list of the data and the structure:
<script>

gtag('event','view_item', {

  'value': 998.55,

  'items': [

    {

      'id': 1234,

      'google_business_vertical': 'retail'

    },

    {

      'id': 45678,

      'google_business_vertical': 'retail'

    }

  ]

});

</script>
If you already set up the Google Ads conversion tracking, then at this time you know about the data layer. So we have to change this data layer “items” according to our dynamic remarketing tag values. Google Ads conversion tracking.
So at first, let’s create one custom variable for our remarketing tag. Because for dynamic remarketing tag setup, we have to send the product item_it and its value.
Custom Event Items Creation
To create the custom items, first we have to create one variable, which one will collect the total array. Here you can see how we did it.
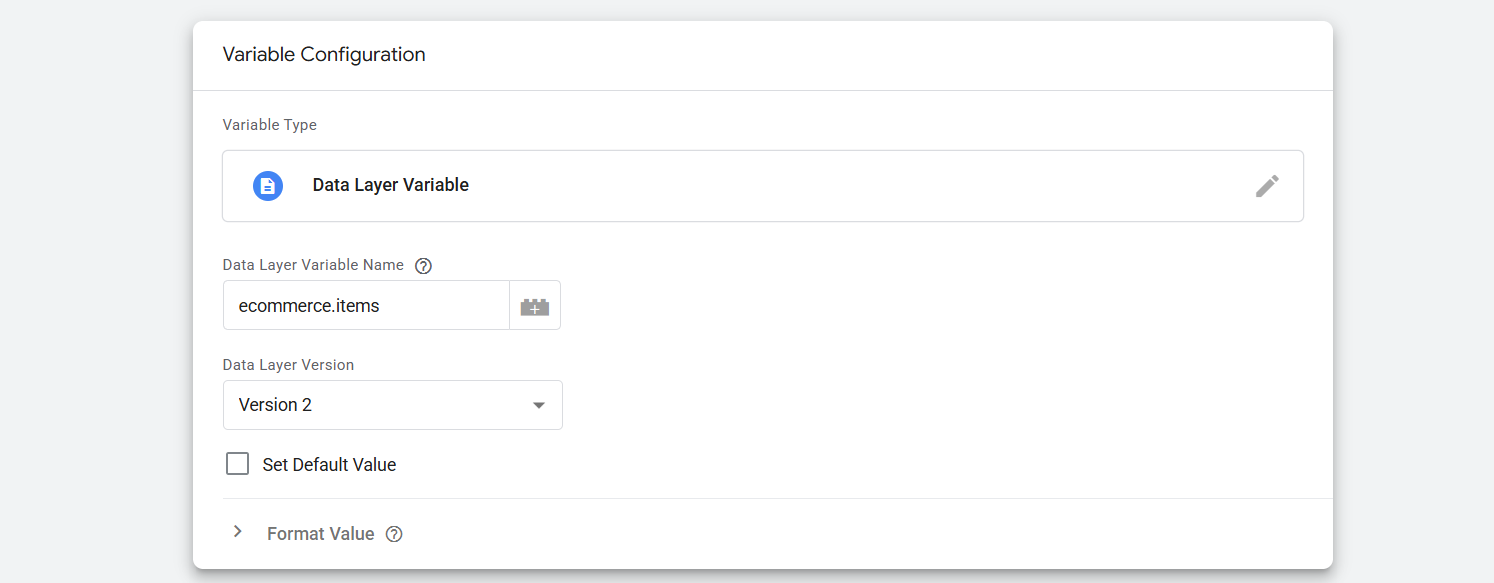
To learn more about the datalayer variable creation, you can read our previous article about the datalayer explanation. Now this variable is ready to provide us the total items array from the data layer. Here you can see what it looks like.

Now here we have to create one more variable that will collect the “item_id” every time dynamically from the array. So to do it again, go to your variable section, but before you go there, copy the script.
function(){

var products = {{Your Variable}};

 return products.map(function(product) {

       return {

       "id": +(product.item_id),

       "google_business_vertical": 'retail'

       }
 });

}
Go to the variable section and then select the variable type “Custom Javascript.” Then in their place the copied code. But don’t forget to change the “Your variable” section with your created variable to collect the items array.
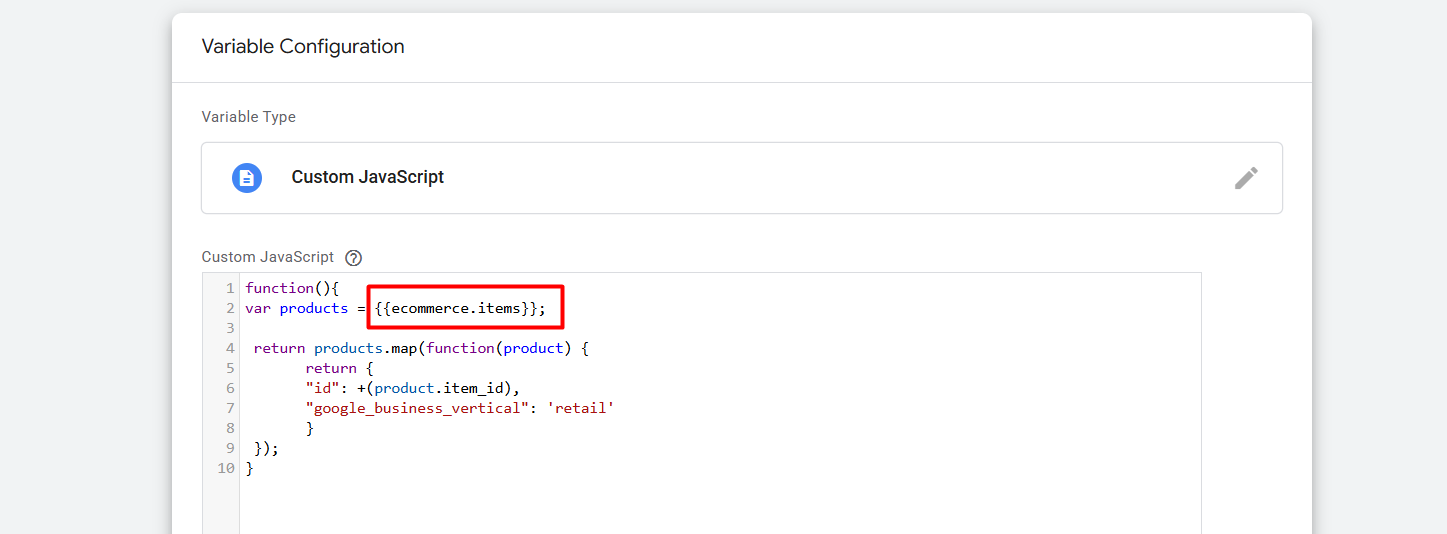
Here you can see how we did it. Now every time this custom variable will create a new format for you from the existing items array. Here you can see how it is.

So now you are ready to set up the remarketing tag for your retail business. Because with the custom variable now you are ready to send the dynamic remarketing event data.
Set up the remarketing tag with GTM
To set up the remarketing tag, at first we have to collect the conversion ID. If you already set up the Google Ads conversion tracking, then you already used the conversion ID. For the conversion tracking and also at the place of setup remarketing tag, the conversion ID is the same.
view_item
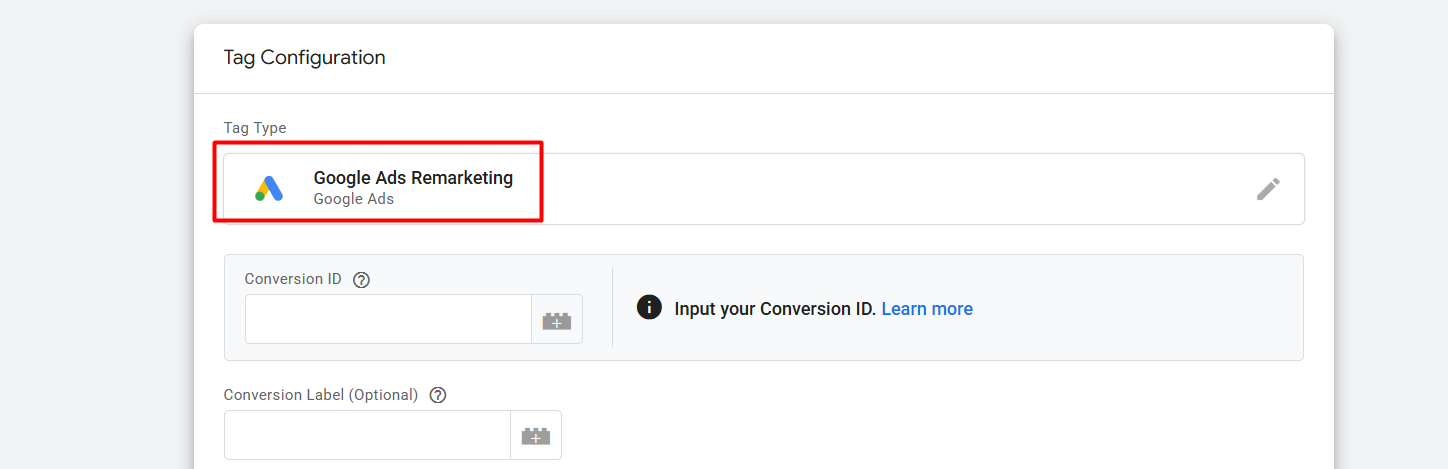
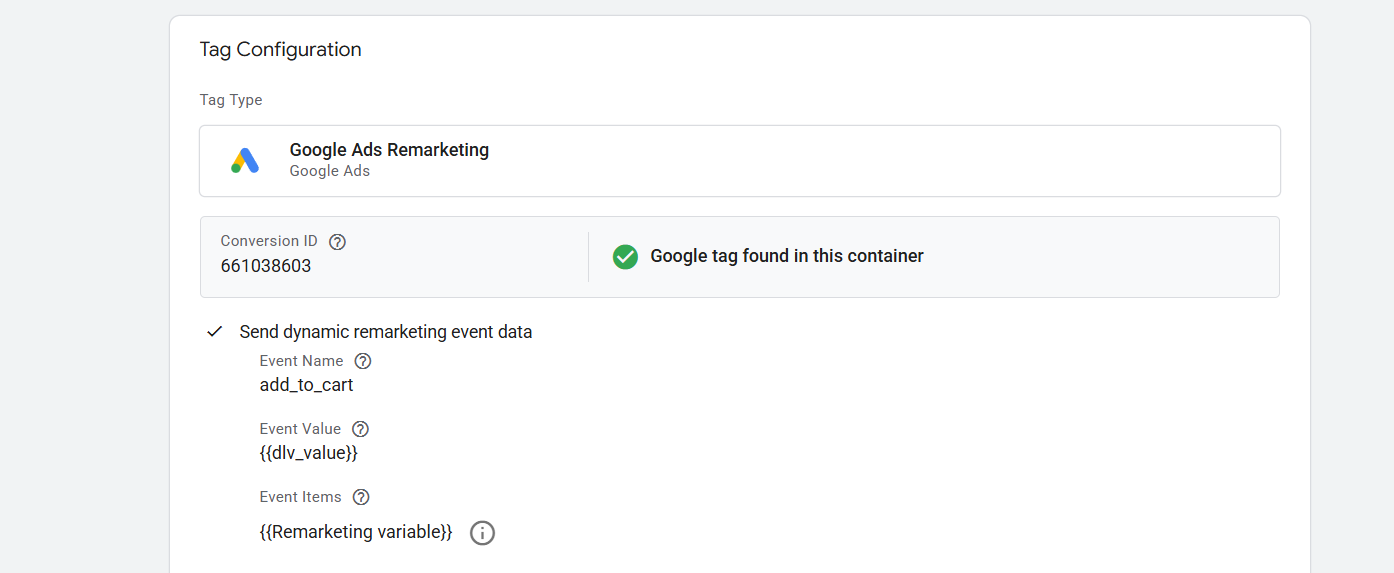
So now at this point again, go to your GTM and create a new tag. But at the time of your tag type selection, select “Google Ads Remarketing.” Then place your conversion ID and scroll down.
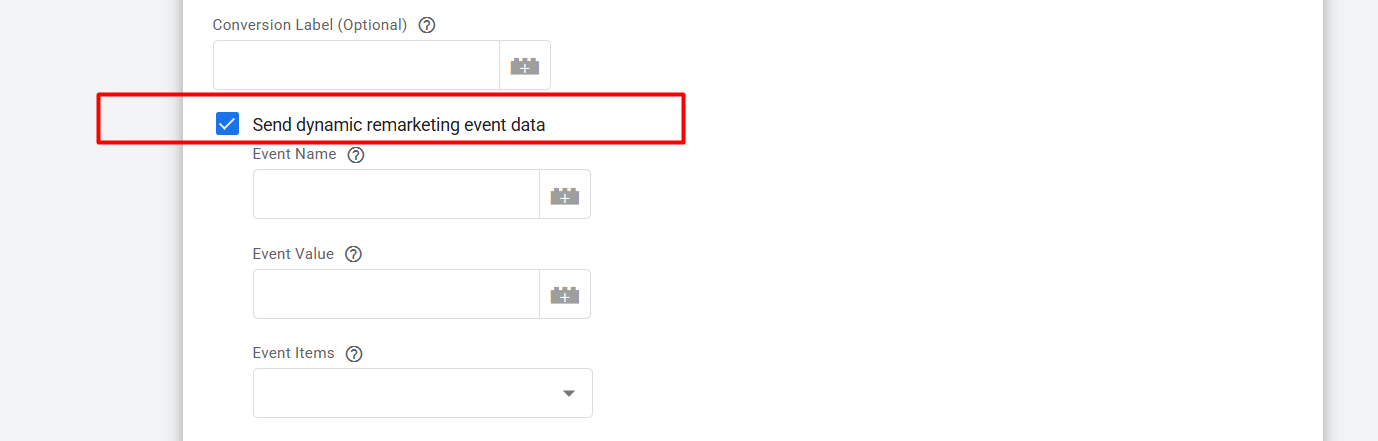
After scrolling down, select the option to get the next three places. Because from here we will send the event name according to Google, also the event value/price and the event’s items.
At this point, let’s start from the event name. You already know that we have to send 5 important events. Let’s start from the “view_item.” If you have already completed the Google Ads conversion tracking and you have read our article about the data layer explanation, then you know how the data layer and events work.
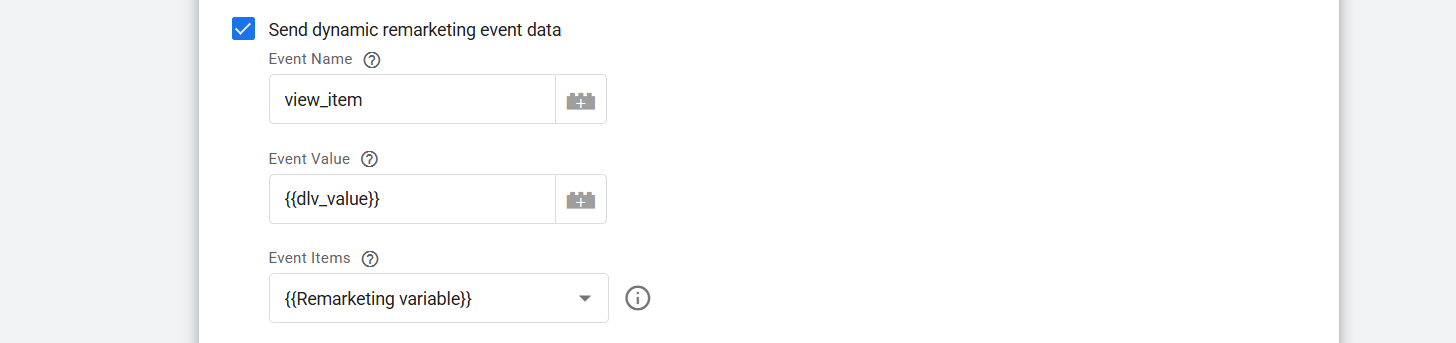
So first place the event name. Then in the next place, event value, and then in the third option, select your created custom JavaScript variable. Great, your setup is now ready for “view_item.”
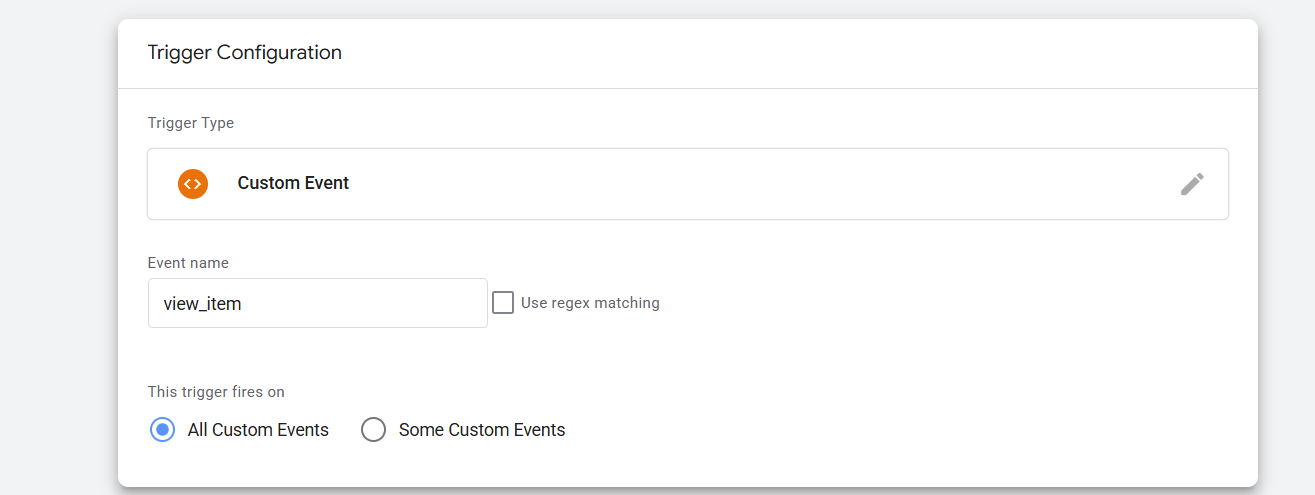
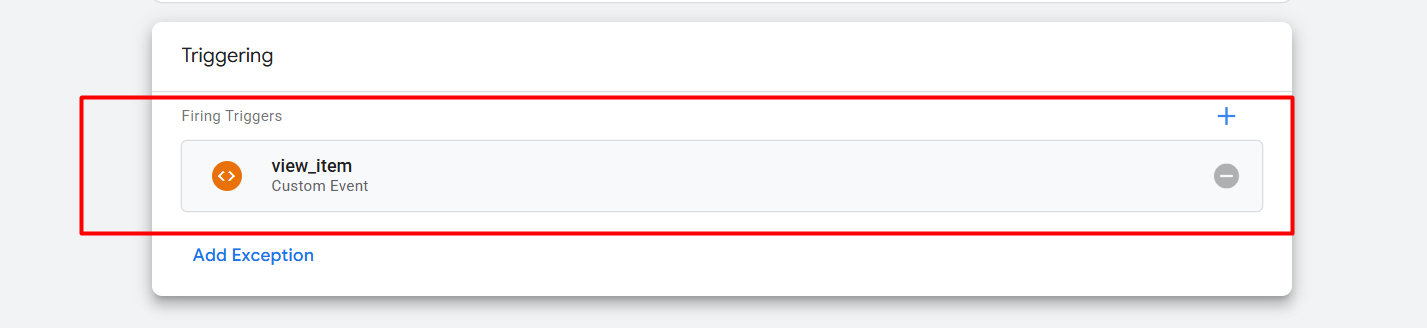
Let’s set up the trigger. To do it, you have to go to the trigger section, and as your trigger type, select custom event and “view_item” from the data layer.
Add_to_cart

Purchase
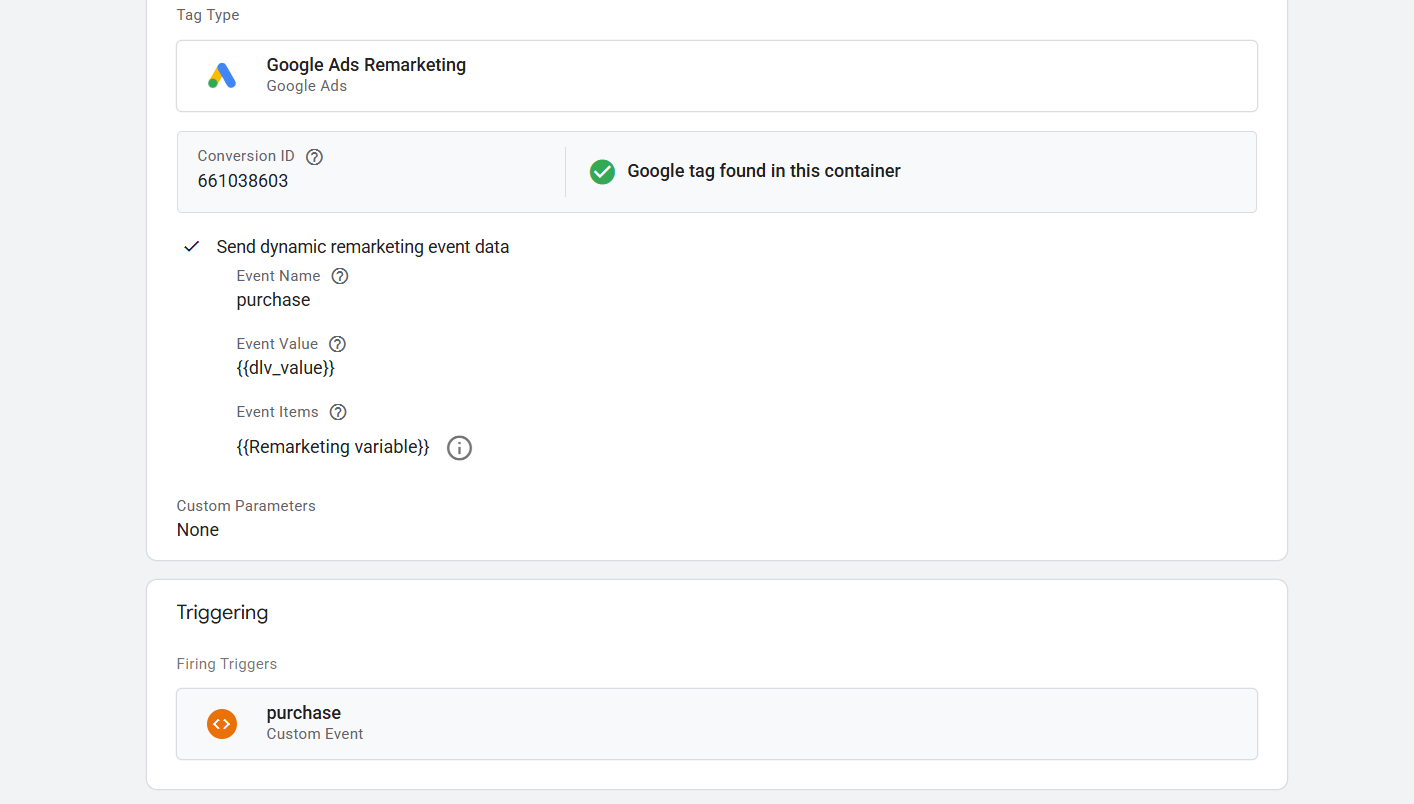
In the same way, you can complete other events also. But these three are important, and we should complete it.
Great, now your remarketing tag setup is ready. Don’t forget to share with us your thoughts. We are always here for you.


