In 2026, YouTube is now the biggest platform for entertainment and marketing. Also, we used YouTube from many different perspectives. Many teachers use YouTube to teach their students. This is why YouTube is the largest learning platform for finding solutions related to various subjects.
Also, YouTube is the place from where you can watch news, entertain yourself, etc. If you are a creator on YouTube, this article will help you grow your channel by attracting the right audience.
This article will guide you through the step-by-step process of setting up Google Ads to boost your YouTube channel’s engagement and subscriber count. Google is the best platform for effectively increasing your channel’s subscribers and engagement. This is due to Google’s ability to pinpoint the exact location of your targeted traffic. So let’s start the setup journey from here.
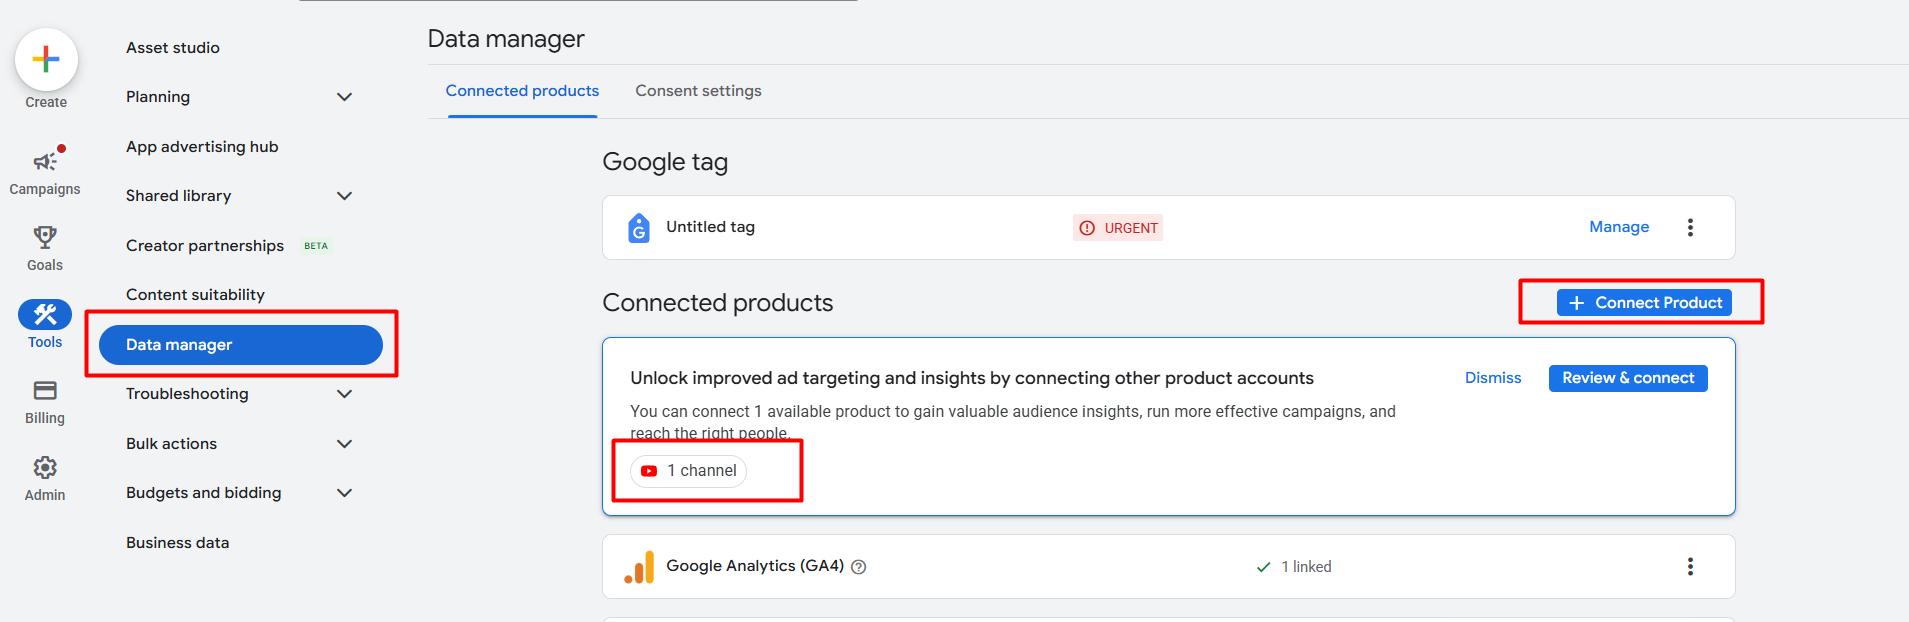
Linked the YouTube channel with the Google Ads platform
Before starting the setup journey, you have to link your YouTube channel with Google Ads. You must first access your Google Ads platform’s tools section in order to accomplish this.
After successfully completing the setup, now it’s time to get back again to the campaign section.
Start the setup

From there, you can start the setup process of your campaign. So click on the “New Campaign” button to start a new campaign.
Campaign Object
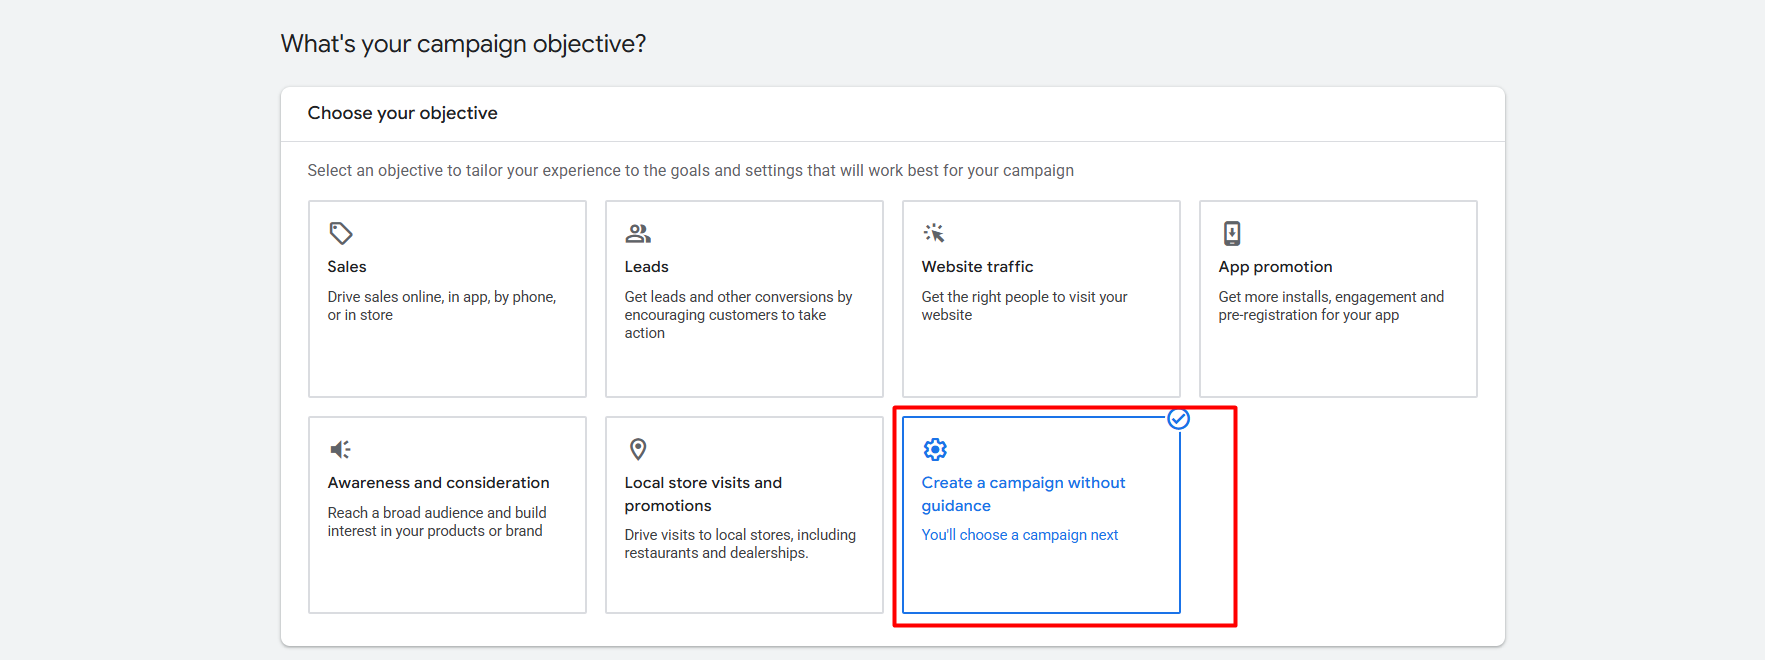
In this position, you have to select one object for your campaign. In a line campaign, the object refers to the specific goal you aim to achieve through the campaign. To learn more about them individually, read our previous article. For now, we will go through “Create a campaign without guidance.”
Campaign object and type explanation.
Campaign type

Through a video campaign, we will increase the engagement and subscriber count of our accounts. So select the video as the campaign type. If you’ve already read our previous article, you should now understand the object and type concept.
campaign subtype
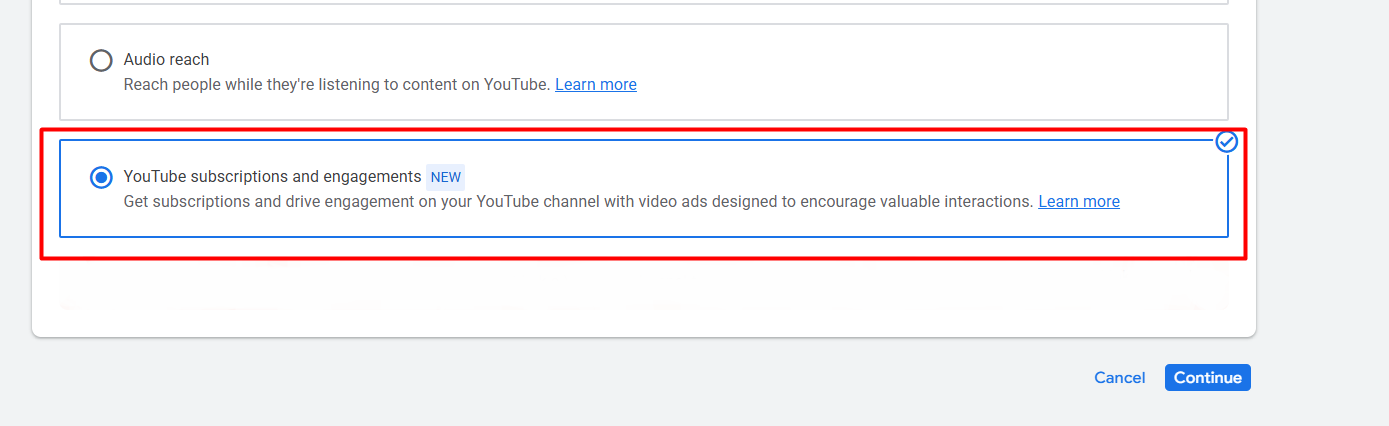
As for the campaign subtype, we have to select this one: “YouTube subscriptions and engagements.” Please select this option and proceed with the remaining choices.
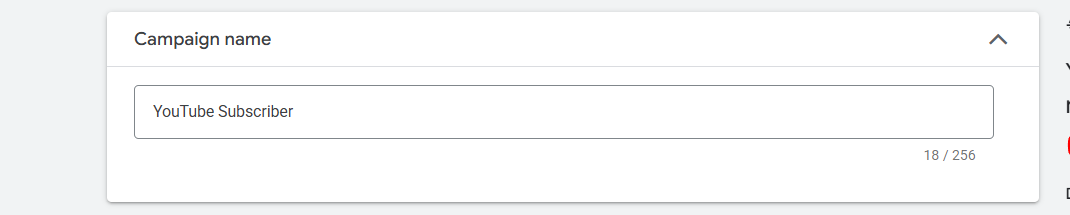
In the next position, at first you have to set up the campaign name. Don’t forget to write down a unique name for the campaign, as this will help you later understand what the campaign was for, when it started, and when it was completed, especially if you have many different campaigns.
Campaign goal
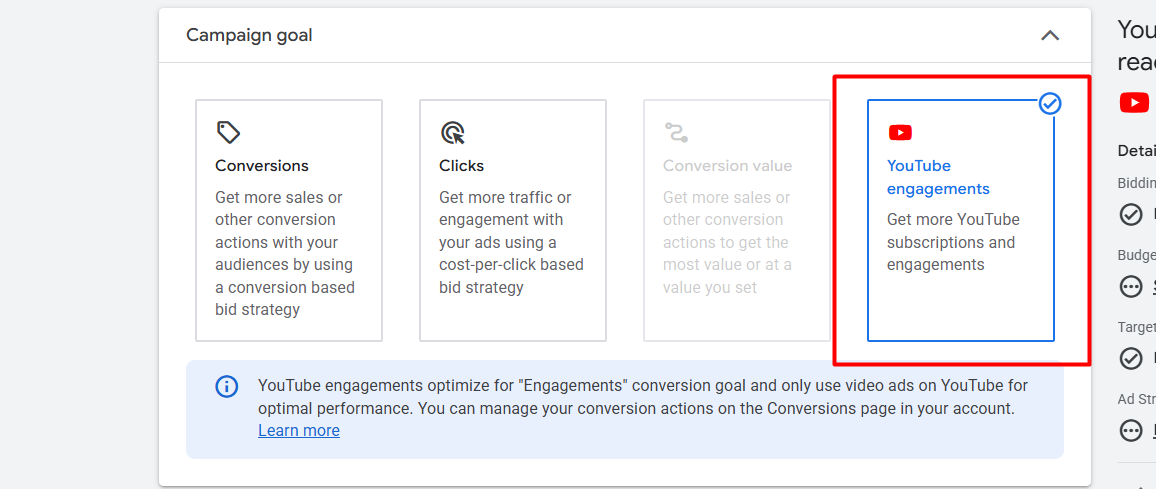
In the campaign goal section, you need to select “YouTube engagements.” Our target audience has a connection to our YouTube channel. We will love it if Google is able to send a lot of traffic from our targeted range.
YouTube conversions
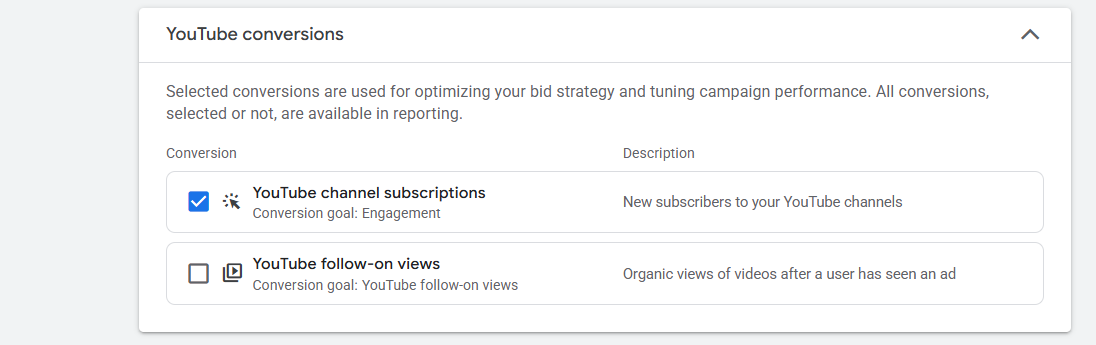
Here in this section, select the first one. This is crucial as you aim to attract new subscribers to your YouTube channel.
Target cost per action
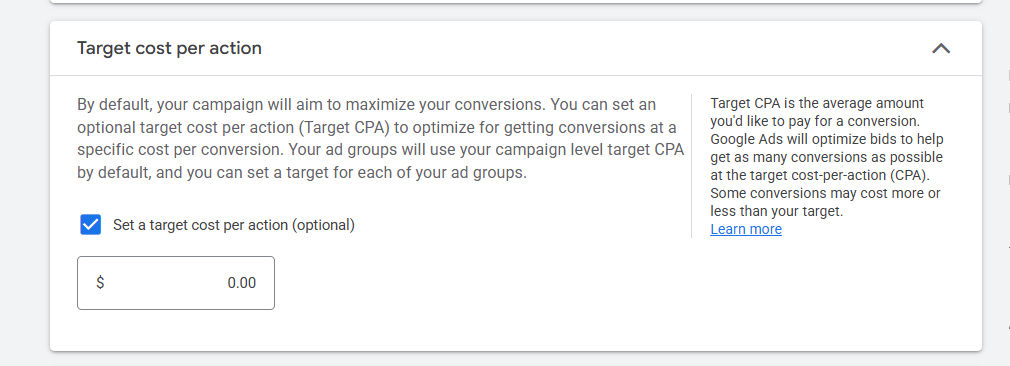
Here is a place where you can write down how much you would like to pay per new subscriber. It’s optional; if you don’t want to set up the things, then you can leave it up to Google. However, the best practice is to establish a cost.
Budget and dates

This section is crucial, as it allows you to specify the daily campaign budget you can allocate to Google. Additionally, if you wish to establish the total campaign budget, you can do so as well. To do it, click on the daily section and select the total campaign budget option.
Customer acquisition
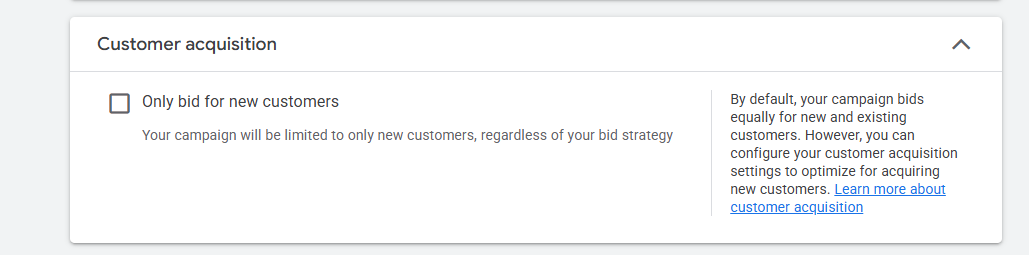
If you believe that it would be beneficial if Google consistently bid for fresh traffic, then you are welcome to select this option. But at first, you will not be able to use it.
EU political ads
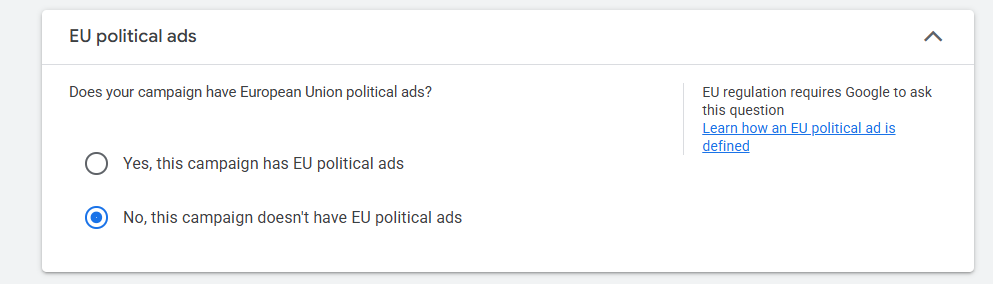
If you are not running a political campaign in the EU location, then select “No.” Otherwise, if you are running political ads, then select yes.

Location and language: From here, select which location your ads should run in.
Devices: From here, you can select which device your ad should run on.
Ad schedule: Here, you can set the times your ads should run.
Campaign URL options
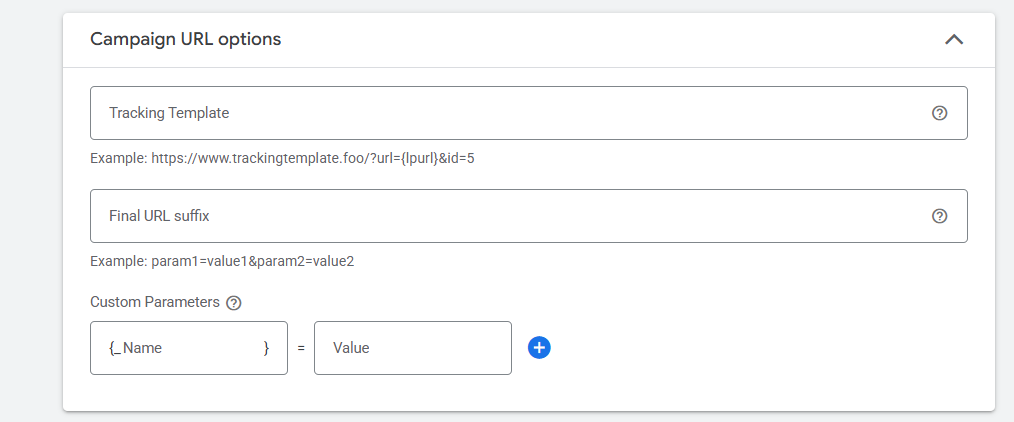
Here you can set up the UTM link for your campaign. Now go to the ad group.
Now write down one name for this ad group.
Location and Language
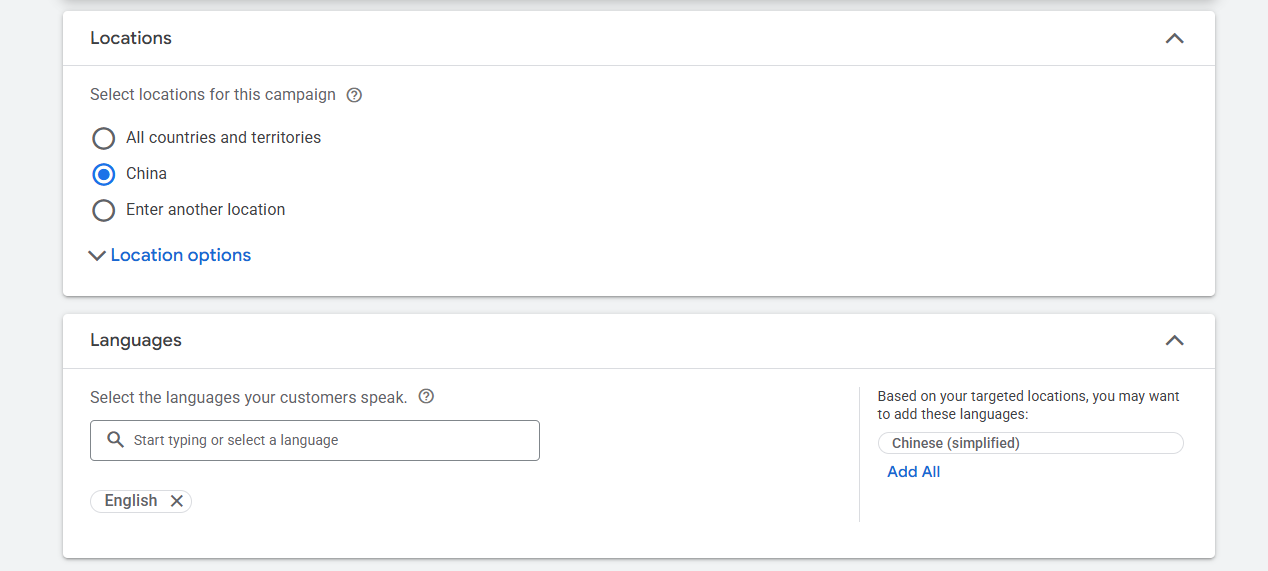
Now this is the place from which you can select where and in which language your ads should run. If you don’t know, read our article on location and languages. Location and languages.
Channels
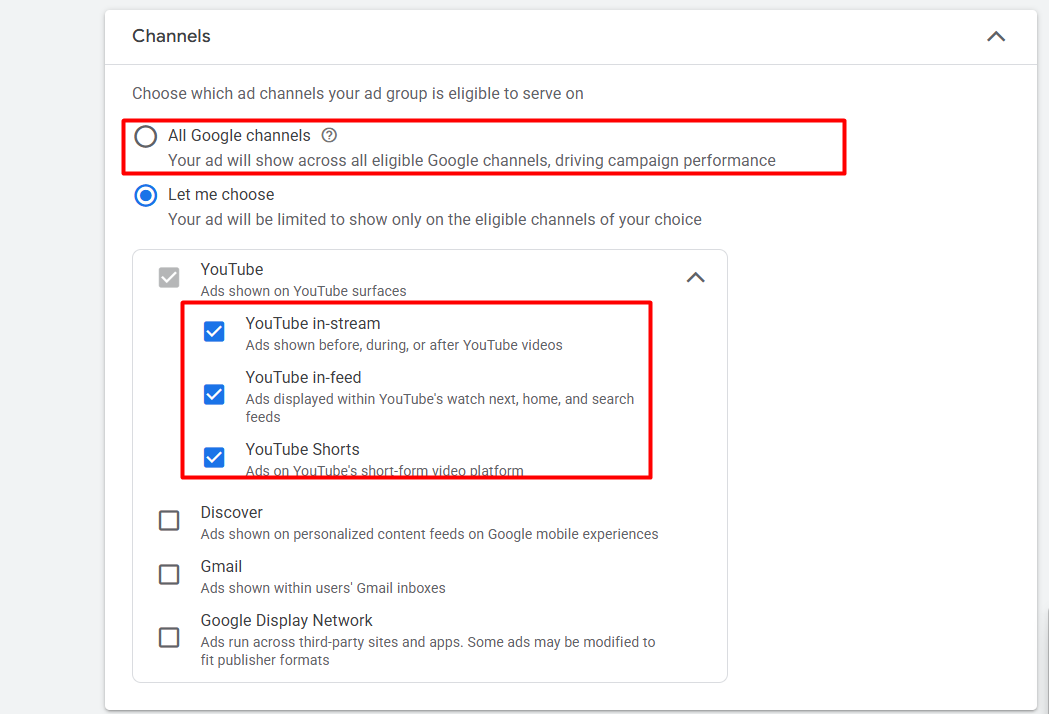
From here, you can select where you want to run your campaign in the Google channels. In this section, I have selected YouTube as my preferred channel. This selection is because I prefer not to run my ads outside of YouTube.
Audience
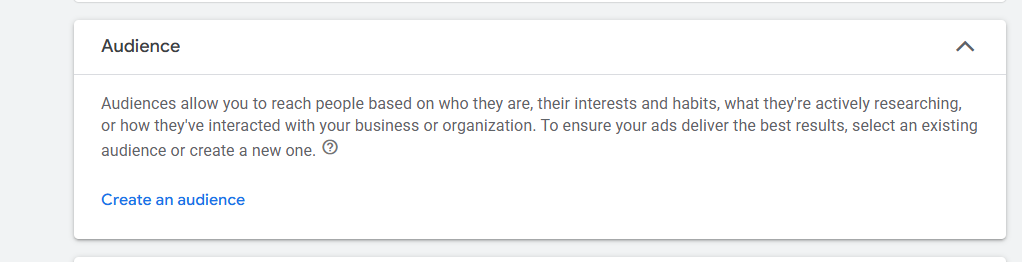
This is the place from which you can create a list for your targeted audience. If you don’t know much about the audience targeting, then you can read this article. Audience creation explanation.
AD
Here in the place, you have to add videos, destination links, logos, headlines, descriptions, etc. So let’s do everything one by one.
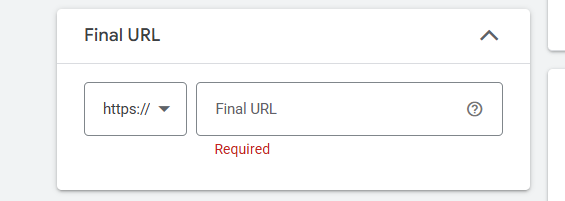
Please insert your YouTube channel link here. After every time they click on the link, they will go to your channel directly.
Videos
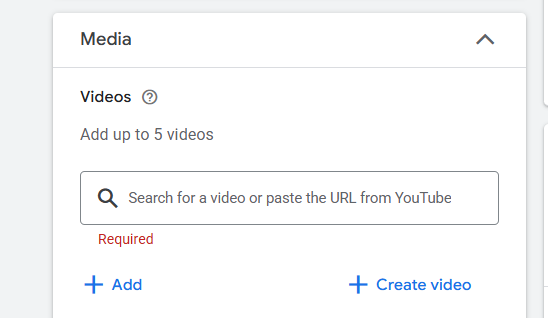
In this place, you can add up to five videos. You can upload videos from your computer and YouTube.
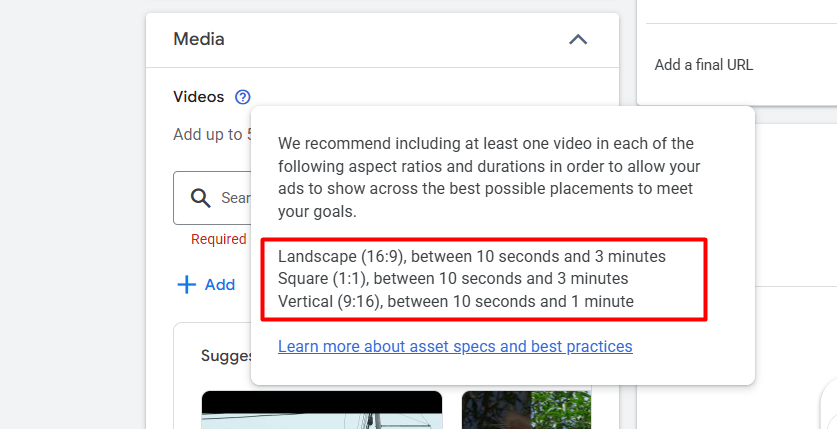
Before uploading the videos, don’t forget to check the size and duration for videos.
Logo
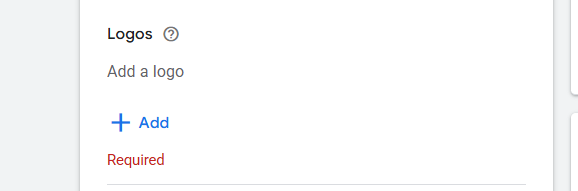
Here, upload your brand logo. Before uploading the logo, check its size and get Google approval. You won’t be able to use this without Google’s approval.
Headline and Description
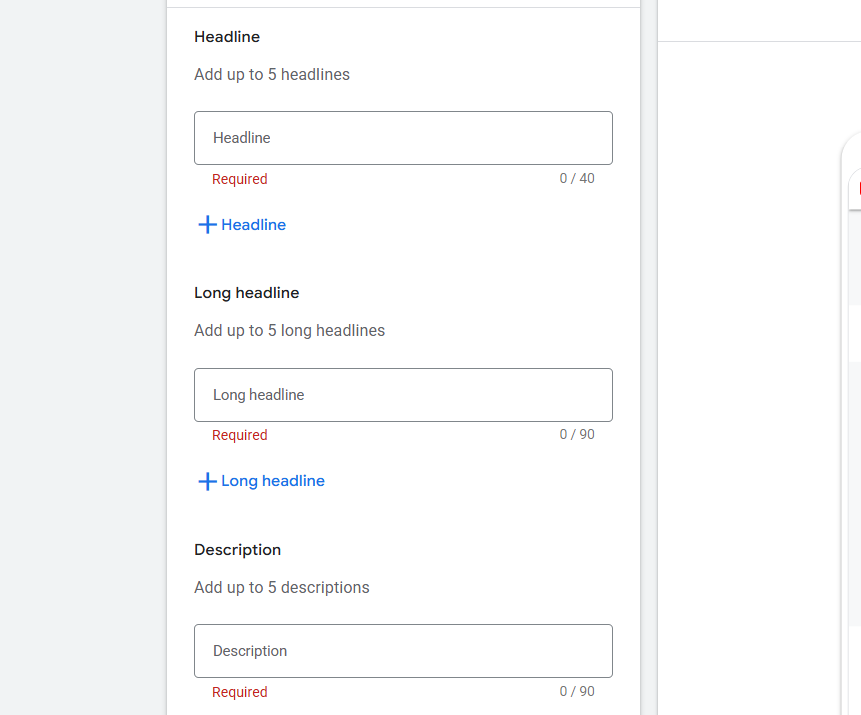
From here, you can write a headline and description. You will be able to write a maximum of five headlines, including one long headline and five descriptions. If you’re unsure how to write this, please refer to the previous article for guidance.
This article will guide you through the process of writing a headline and a description.
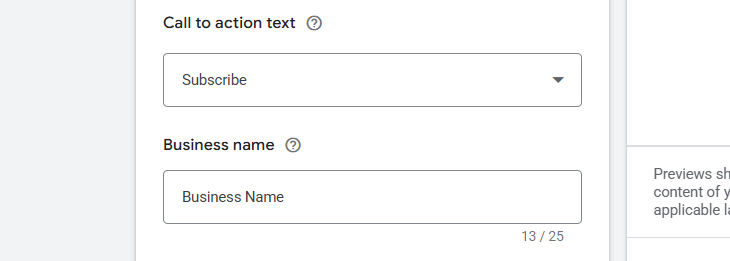
Here, as your call to action, select “Subscribe.” Write down the real business name after that, rather than the placeholder. Google must also approve the business name before using it here.
Sitelink
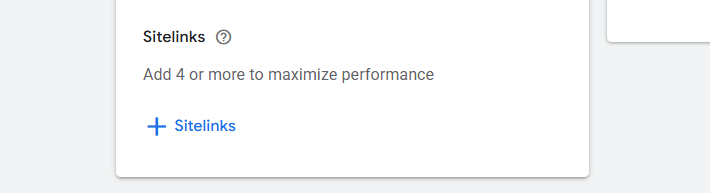
Now here in the position, select some sitelinks. If you are not familiar with creating sitelinks, you can either read this article or choose to skip it. There is a way of creating site links.
Review & Publish
In the review section, check everything one by one before publishing your campaign. This is crucial because the review section allows you to view every action you’ve taken during your campaign. So every time, don’t forget to check your review page before publishing the campaign.


