In the article, we will show you how you can create a merchant center and all of the setup you need to do at the start.
Why is Merchant Center important?
In this time, day-to-day, more and more businesses are running shopping ads. In the same way, if you want to run shopping ads, then you will have to be a merchant center. Because to run the shopping ads perfectly, first we have to upload your product in the merchant center. The merchant center is like a warehouse of a lot of products for a business.
Then if we connect the Merchant Center with the Google Ads platform, we will be able to run the shopping ads.
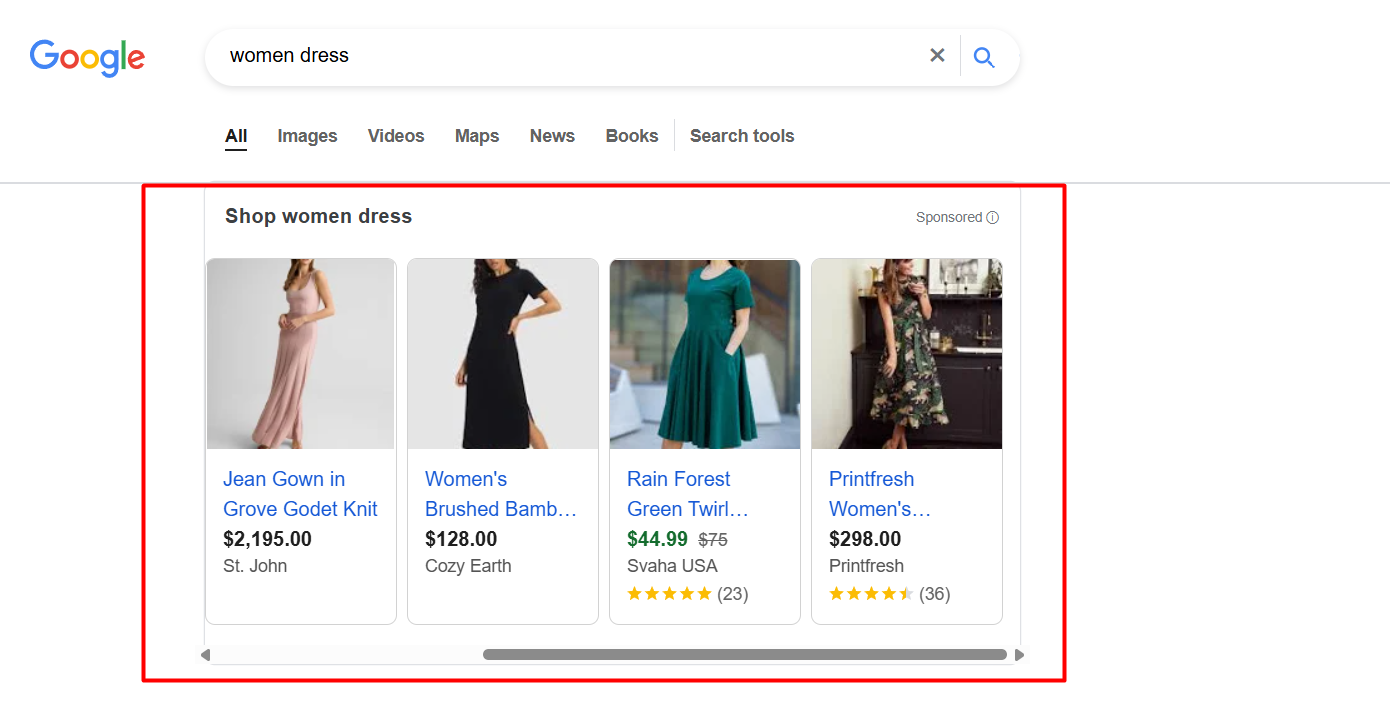
Shopping ads are decorated ads that include product pictures, titles, prices, reviews, and brand names. Through shopping ads, we can show lots of our products at a time.
That’s why having a Merchant Center account is essential. The Merchant Center is where we upload and manage all of our products, and it allows us to include as much detailed product information as possible to ensure accuracy and better performance.
Also, we will get a lot more benefits if we upload our product to the merchant center. Every time we run display ads, or especially demand-gen ads, we can also showcase our products under the ad’s video or picture.
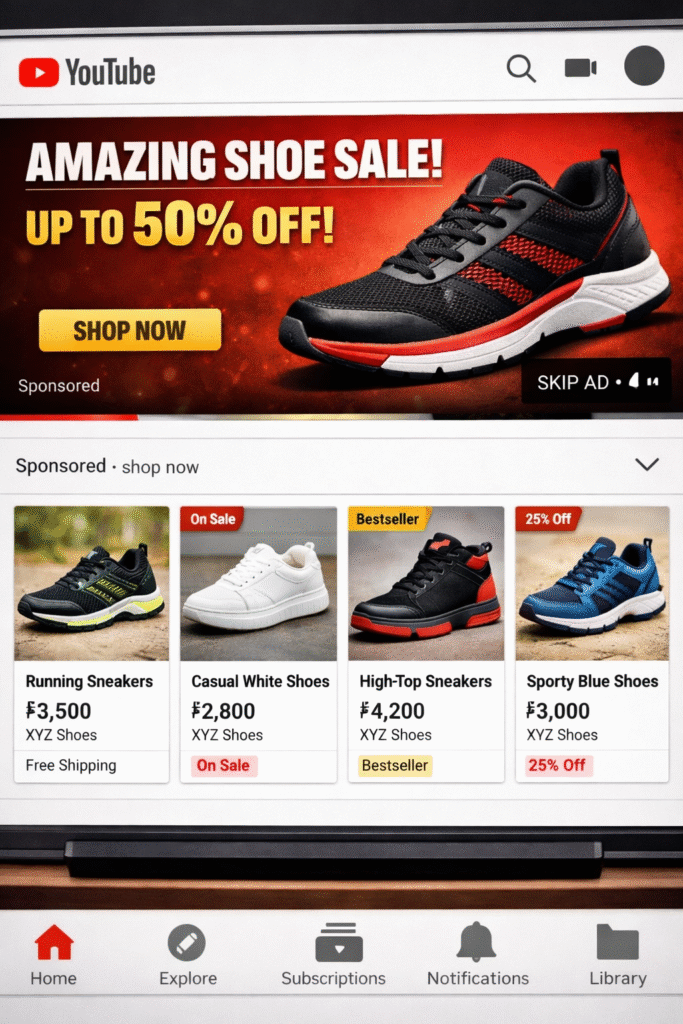
Here, in the picture, you can see how the ad is showing on YouTube and how the product appears under the video ads. If you also want to run ads in that way, then you will have to complete the Merchant Center creation and upload all of your products.
Important Data for Merchant Center.
Before starting the Merchant Center setup, it’s important to understand what type of information needs to be provided and verified. To complete the full setup after creating a Merchant Center account, we are required to share and confirm five key pieces of information. Here you can see all of them one by one:
- Business Information.
- Business phone no verification.
- Verify website/domain with Merchant Center.
- Shipping information.
- Return & Refund information
These are five things you will have to do to complete the creation of your merchant center.
Business Information: You will have to share your business info, like your business’s main location or from where it operates, and more.
Business Phone No. Verification: At this point, you have to verify your business phone number. To do it first, share your business phone number with Google, and they will send you a code in the call or message box. Through the code, you have to complete the process of your phone number verification.
Verification of your website or domain: You must now complete the merchant center’s verification process. To do it, Google will give you a line of code, and you have to add it to your website header. Then claim it, and done.
Shipping info: In this section, you must explain how you will manage your business’s shipping system. Please specify the duration of the process and the status of each step.
Return & Refund information: Here in this place, you have to update your return and refund policy.
So let’s start creating the Merchant Center and completing some important settings from the list.
The process of Merchant Center creation
To do this, search for the Merchant Center on Google and click on it.

You can start with this page. From here, we have to select the second option because we don’t have any merchant centers created.
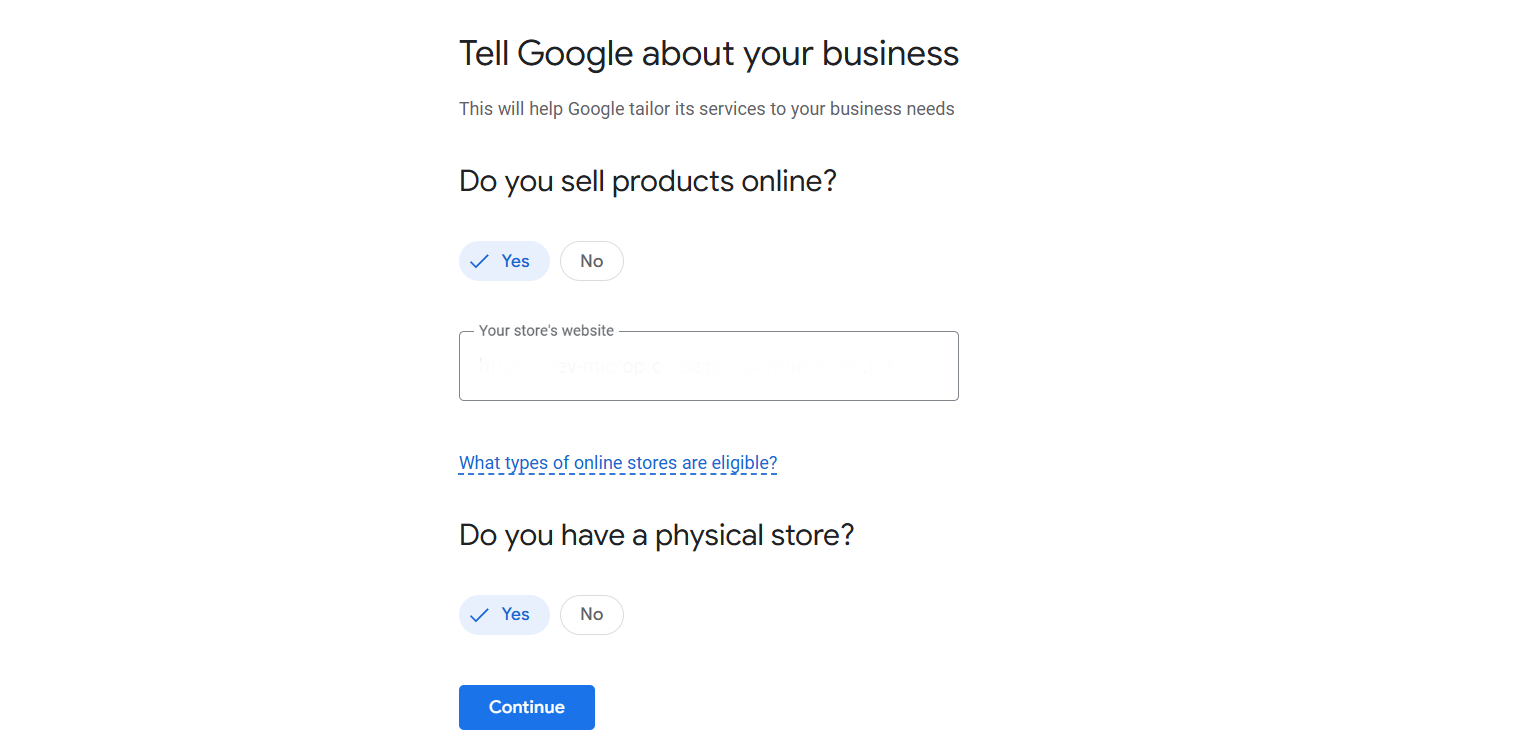
After you sign up, you will see these options. From here, at first, you will have to provide the website link; after that, share the information you have, or not, in any physical store! Continue.
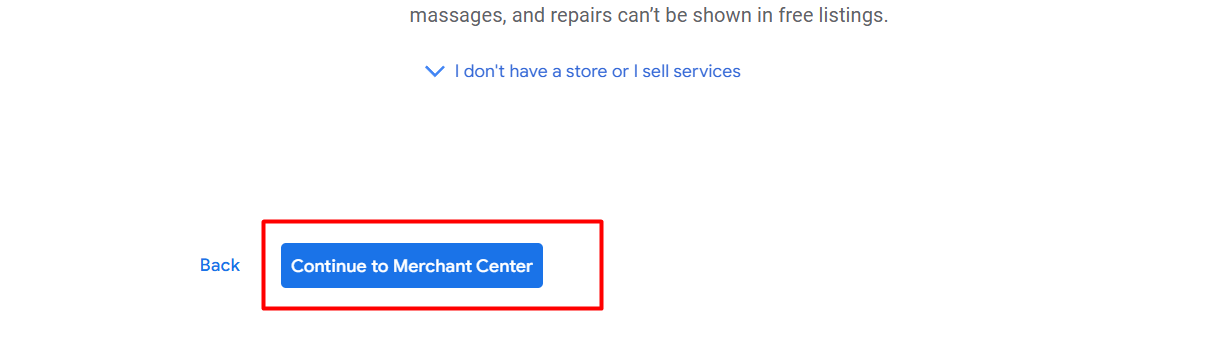
Scroll down and click on the button to let’s go to the merchant center.
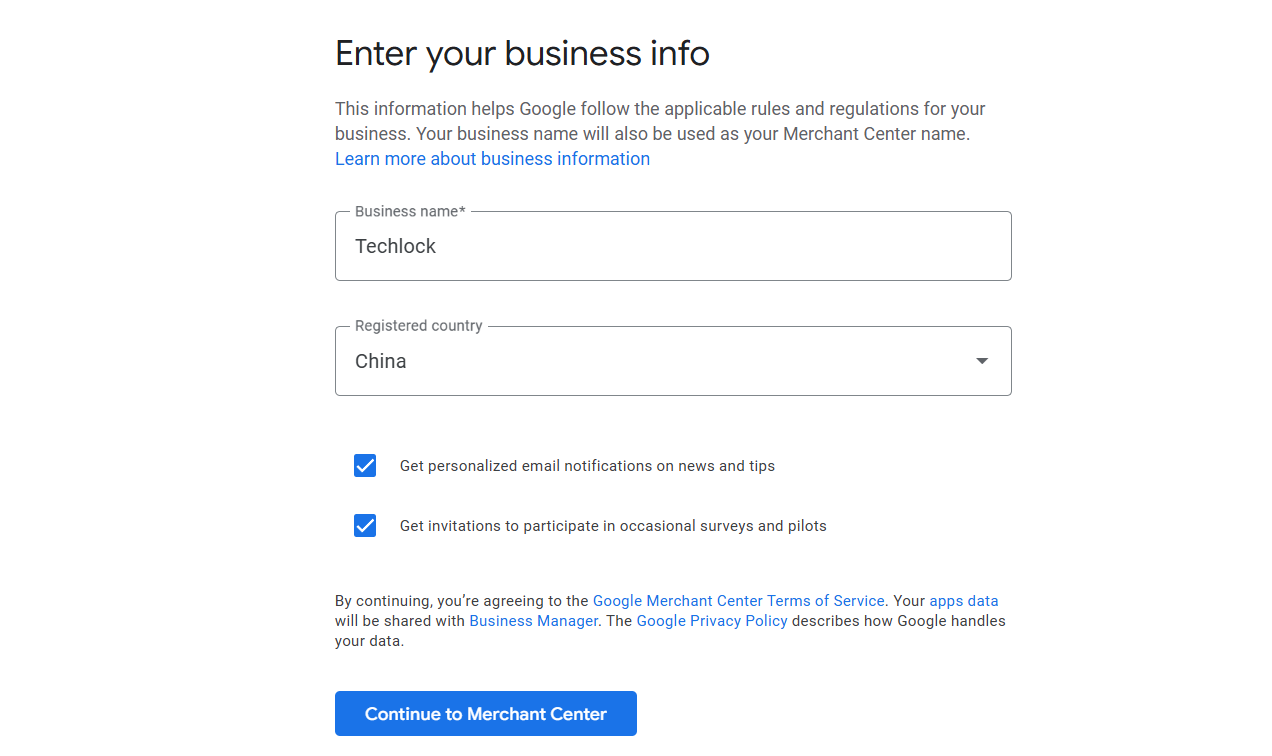
Here on this page, at first you have to enter your business name. Here in the business name, you can enter your domain. Don’t make it as wanted. The name will be shown with the ads. That’s why it’s really important to do it perfectly.
Now in the location section, you have to select from where you are operating the business. This is not where you will do business. Your choice is because you have the flexibility to operate your business from a variety of locations. If you have many business locations, you can enter your main office or the one on your website.
Business Location
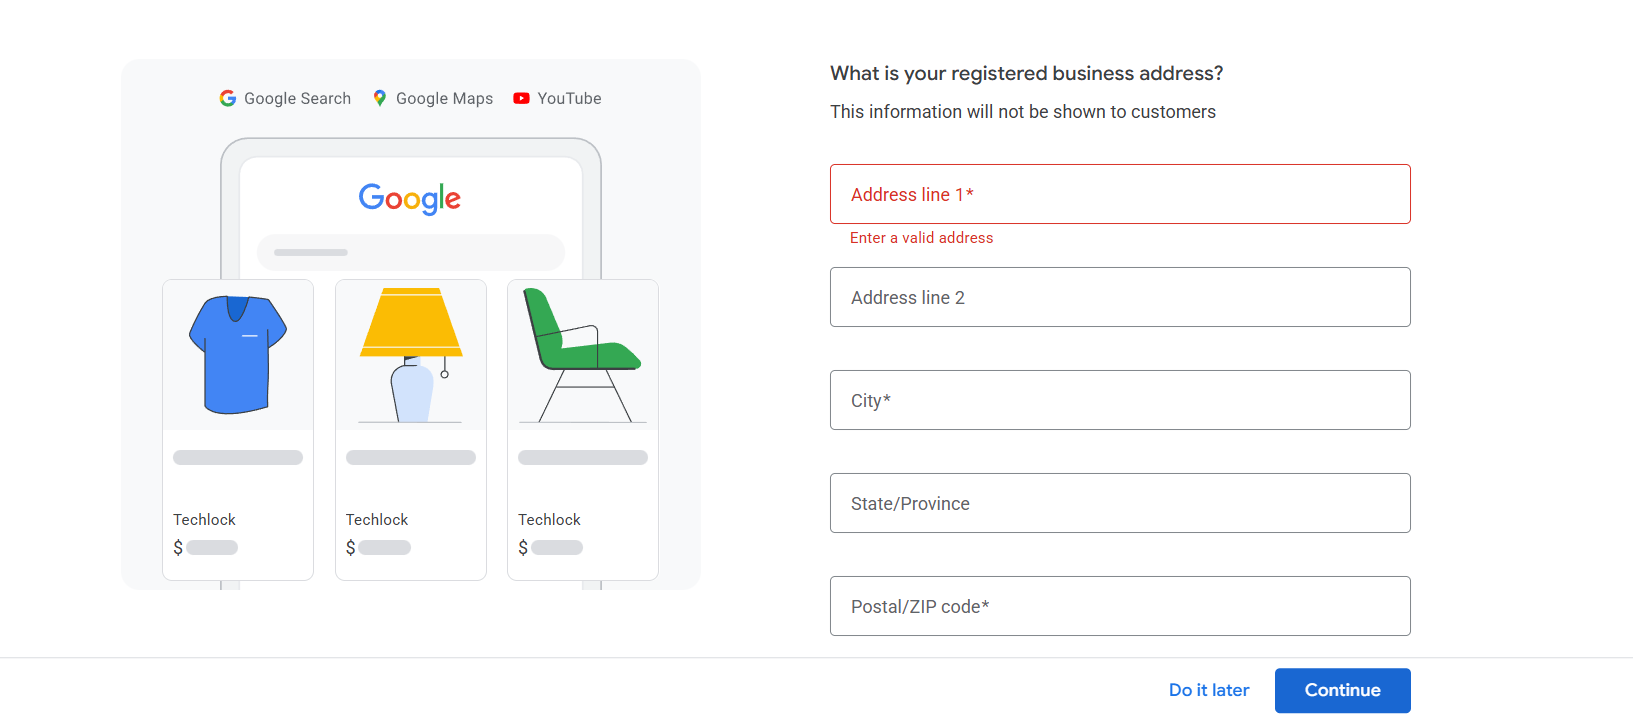
Now here in the place, you have to enter your registered business address in more detail. You can also do it later, no problem.
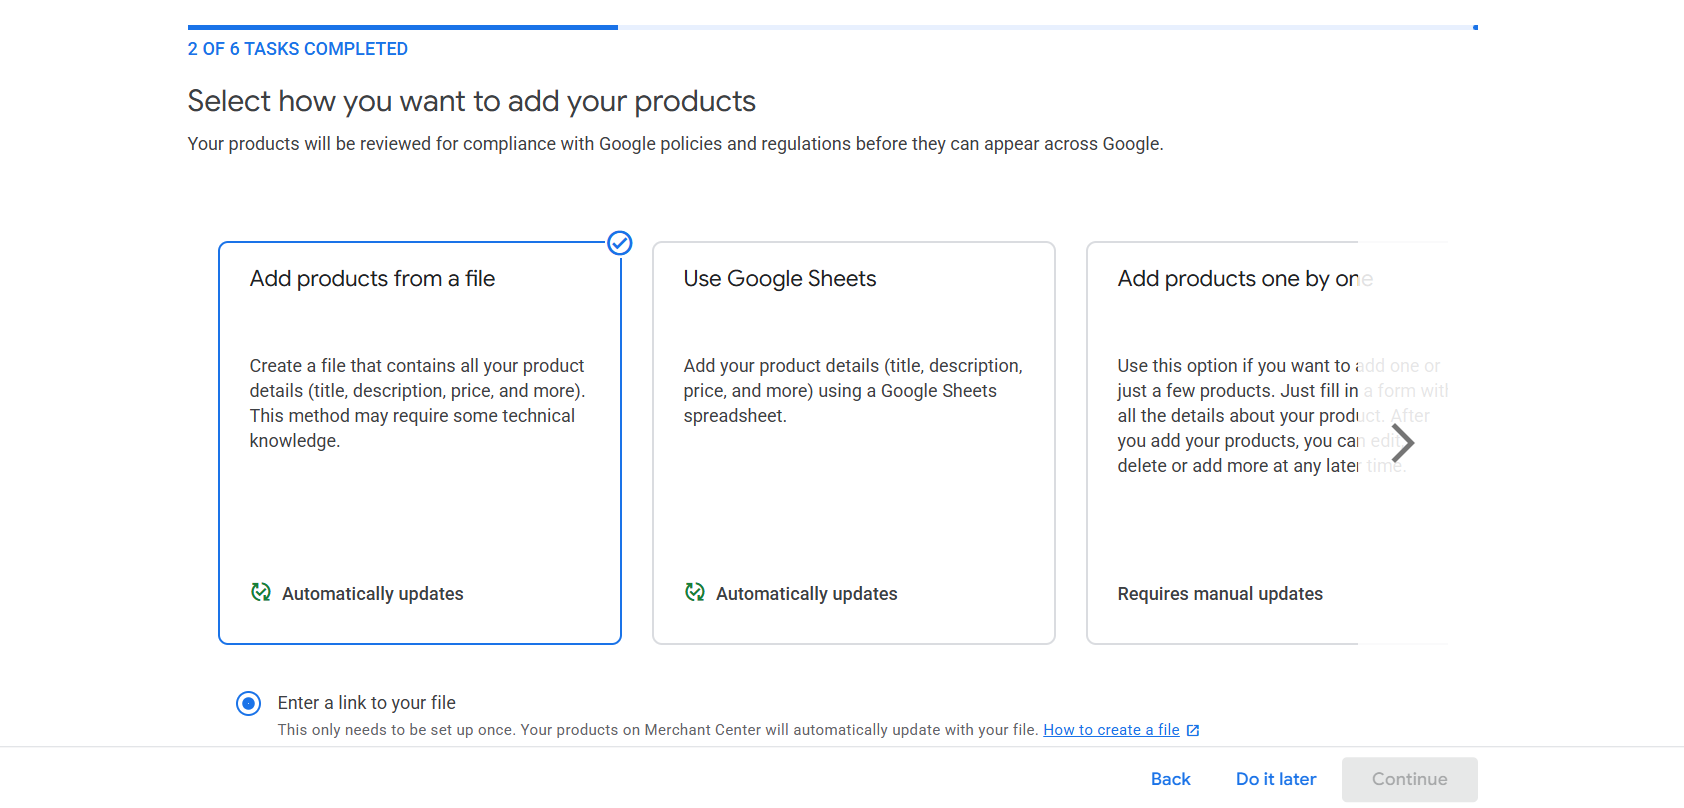
You can choose how to upload the product here, but we will skip it for now. We will do it later. From here, you can skip every next step and enter the dashboard.

Here you can see how the dashboards actually look.
Settings
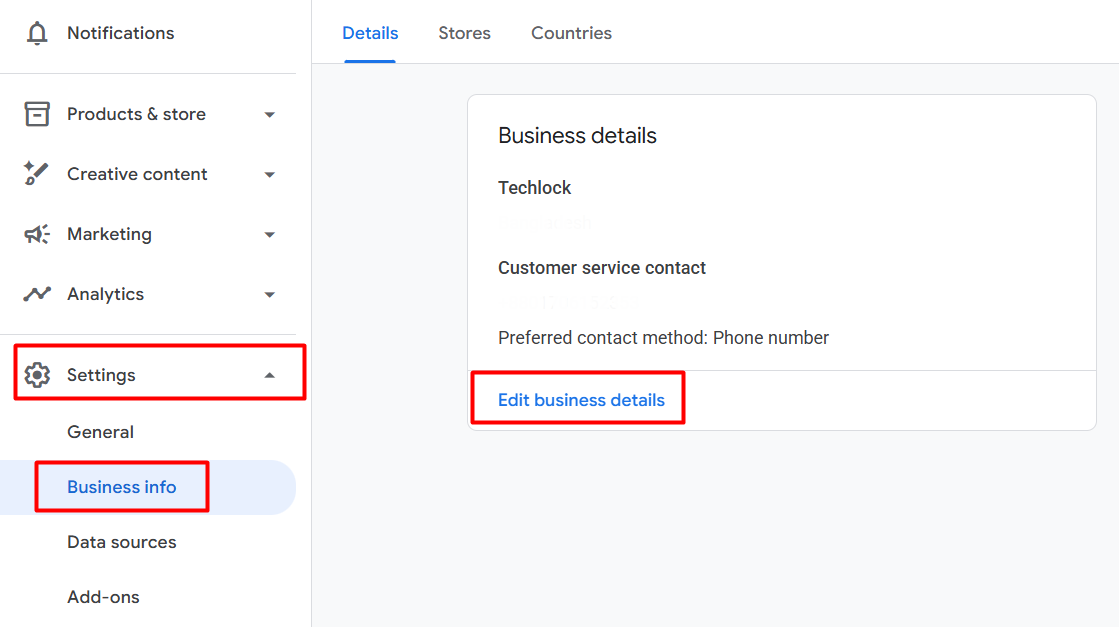
This is the place from which you can change or add your business information. To do it, first click on the settings, then come to the business info, and then click on “Edit business details.”
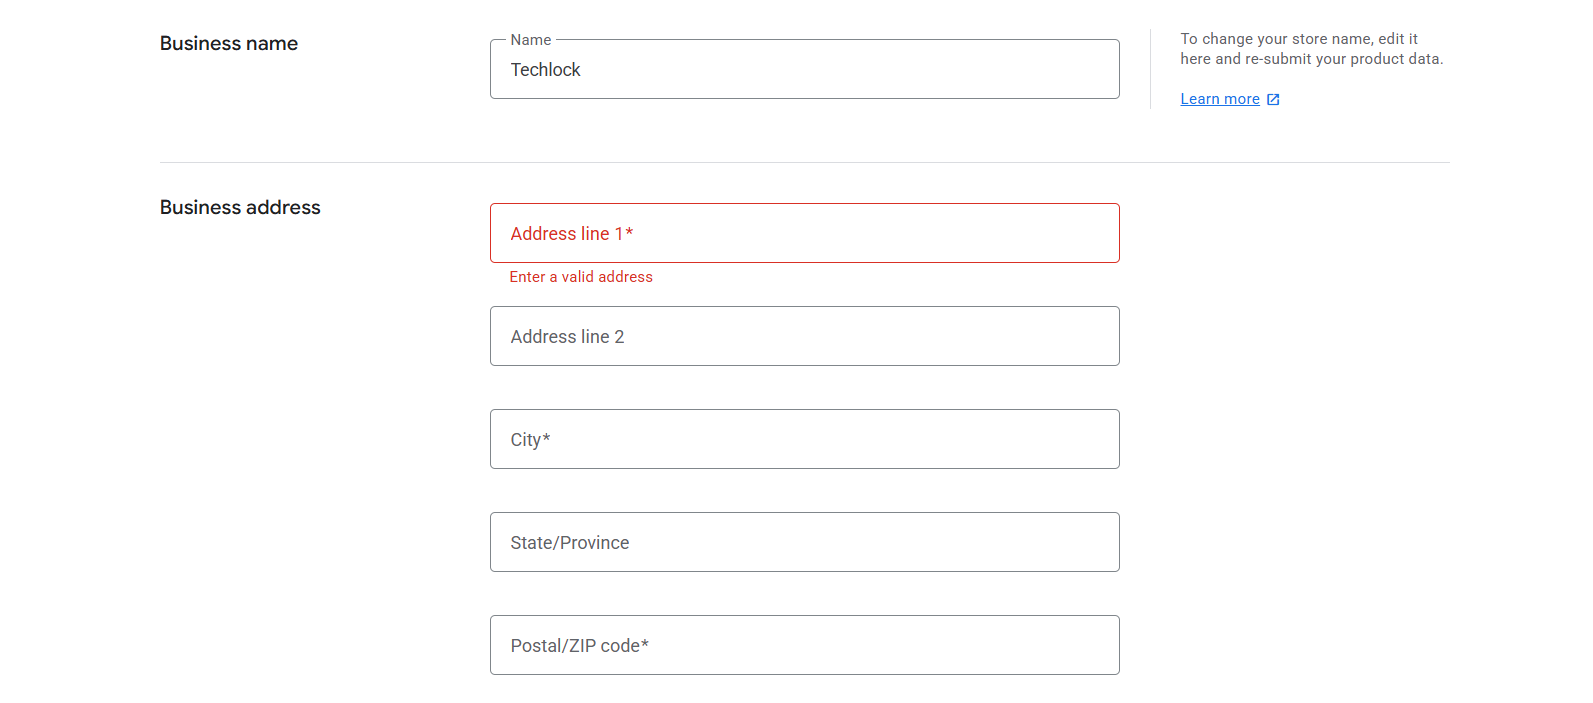
Here, you can see and change the business name and address.
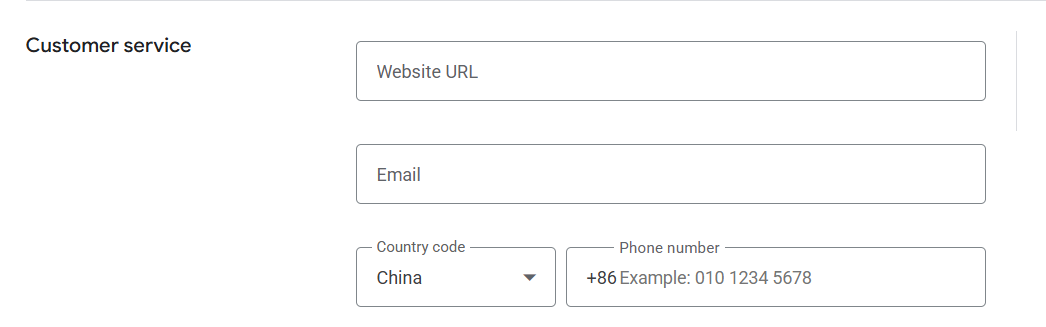
Here in this position, you have to add your website’s contact page URL and then your main business email. Then in the third option, you have to share your business phone number.
Great, our Google Merchant Center setup is now complete. Indeed, we still need to finalize a few more settings before receiving Google’s approval. We will explain more about all of these settings one by one in another article. For now, enjoy your day, and remember to revisit our other articles for updates.


