During the brainstorming phase, Google Display Ads is one of the most effective options. In this article, we will walk you through the setup process of Google Display Ads.
But do you know what Google Display Ads are? A Google Display campaign shows eye-catching ads on websites, videos, or articles that your target audience visits.
This display ad is shown based on the user’s interests. During setup, we define specific targeting parameters, and Google then displays the ad to users whose interests align with the selected category.
Because every day we use a lot of different Google products, so from there Google tracks our behavior, and then Google uses a lot of different metrics to categorize us in different categories.
Google shows these display ads to the display network and partner network, which also includes millions of websites and apps.
Let’s set up the campaign
To set up the campaign, we have to start from the beginning of a campaign creation. So log in to your Google Ads account and start the journey by clicking on the “New Campaign” button.

After clicking on the button, your next view will be the campaign object. If you don’t know about the campaign object and type, then you can read this other article of ours.
Google Ads Campaign Objects and types Overview
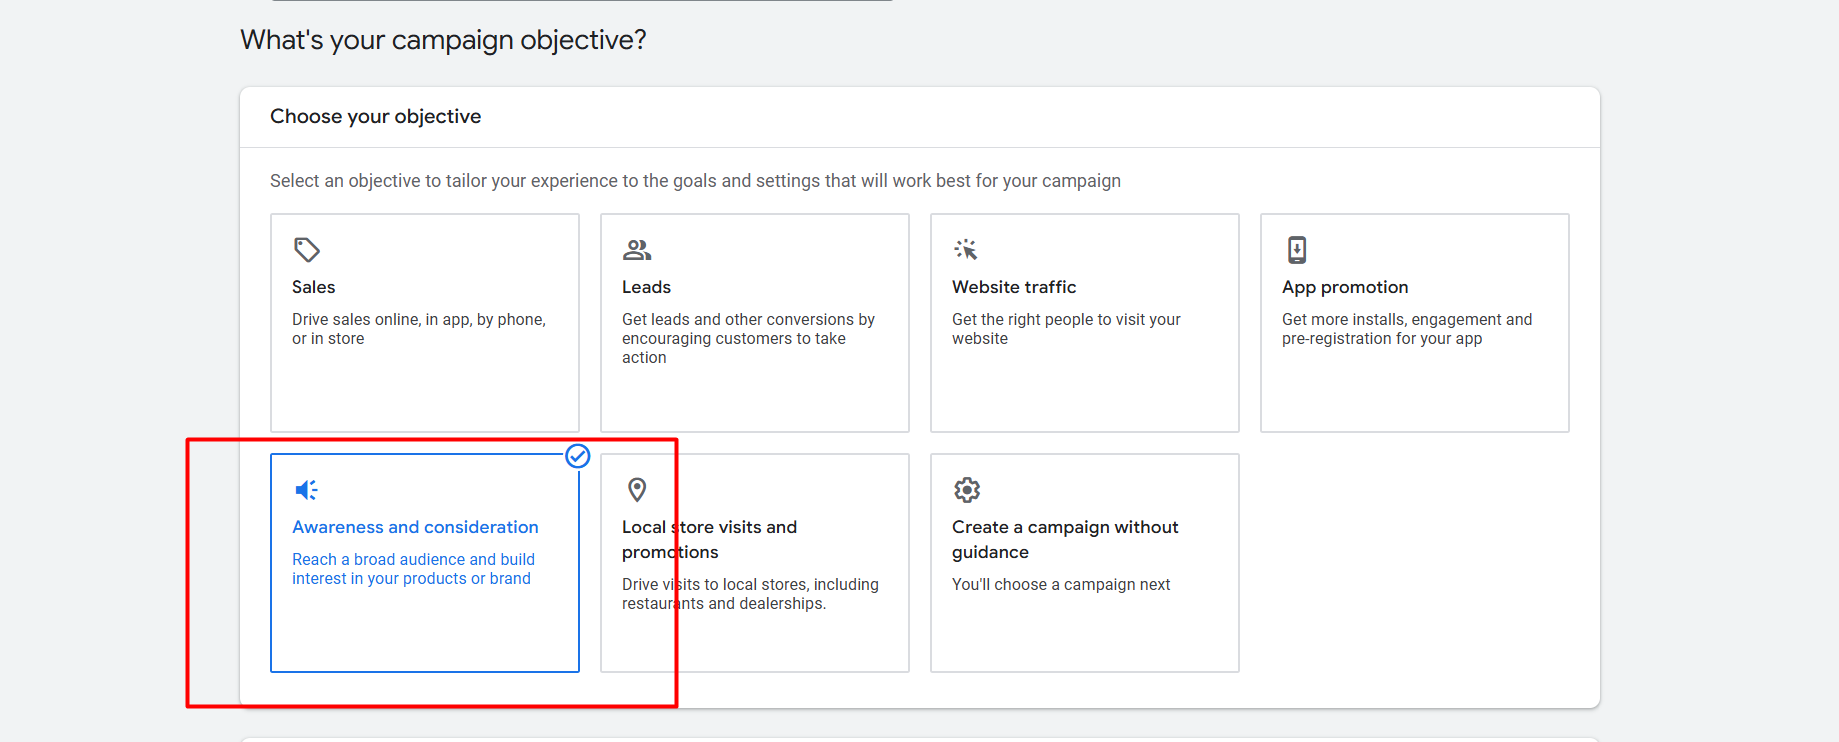
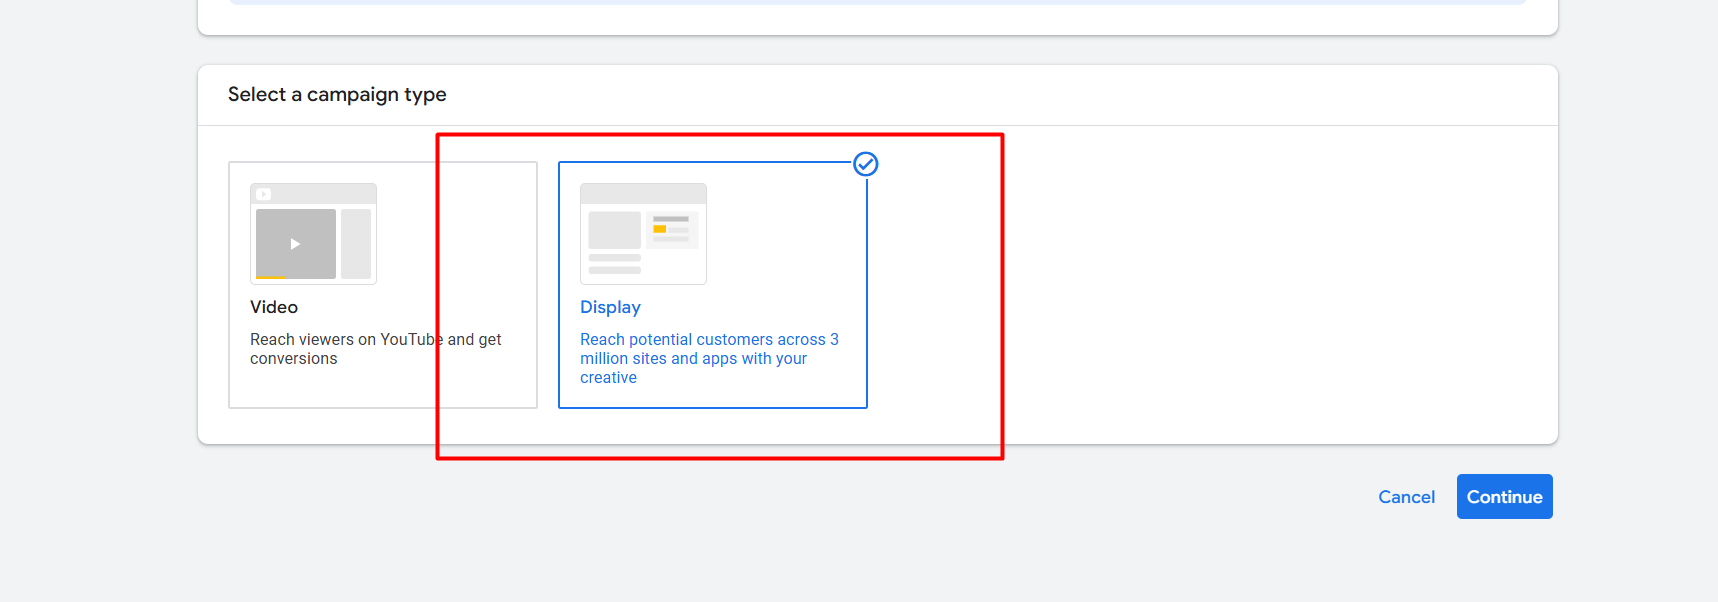
Now from here, according to your need, select the object. Then go for the next view campaign type and continue.
Campaign Setting
After selecting the campaign type and continuing, you will get the campaign setting. From here we have to set up a lot of things one by one, so let’s explore them one by one.
Location
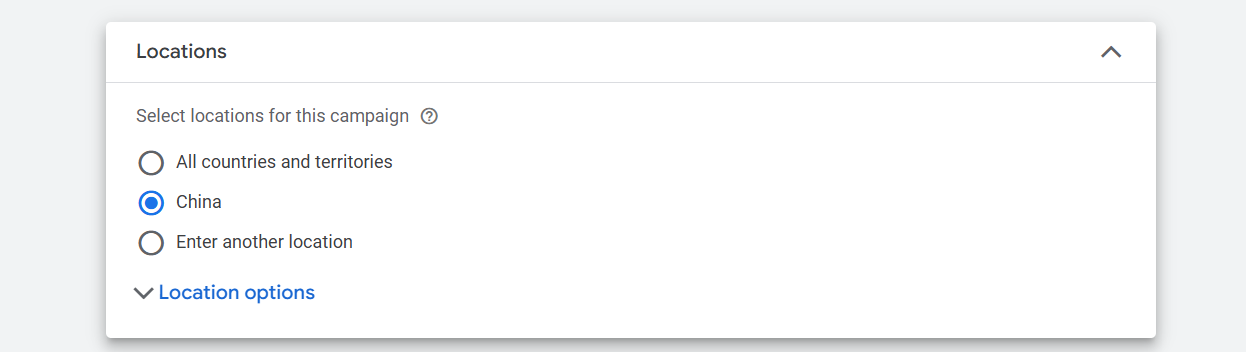
Your first option will be about location. From here you can select your targeted location where you want to run your ads. If you want to know more details about location, then you can read this article.
Language
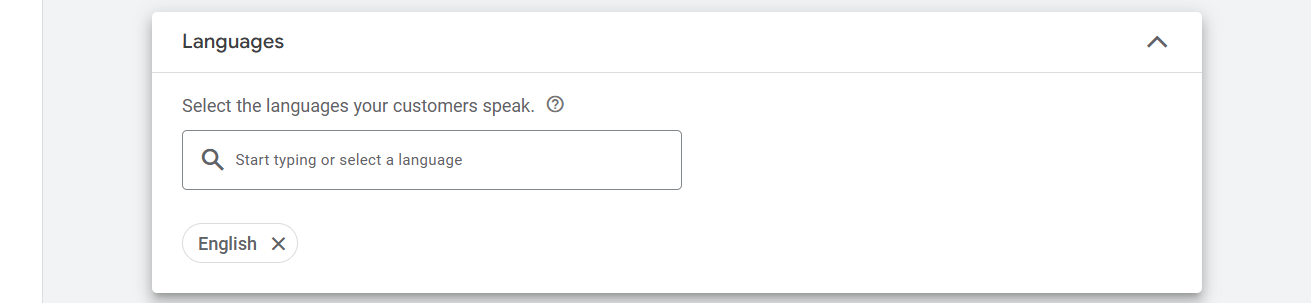
From here you can select the language that your customer uses to speak. But sometimes you have to understand the devious language of your customer. Because for some continents the spoken language and the device language can be different. As an example, if your targeted business zone is India, there you can see that a lot of different languages are used to talk, but in their devices, the language used is English.
So every time before selecting the language, don’t forget to think about the language used on your customer’s device.
EU Political ads
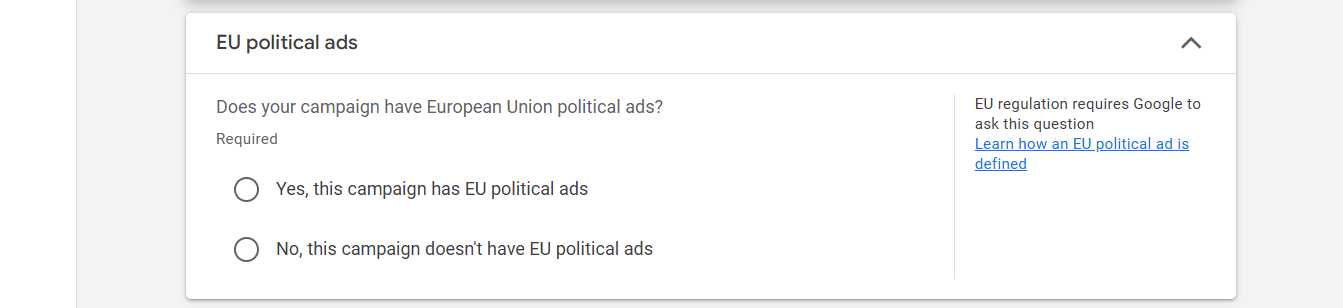
If you are running political ads, then don’t forget to select the “yes” option. Otherwise, if you are not running political ads under the European Union or you are not running the political ads, then you can select the “No” option.
More Settings
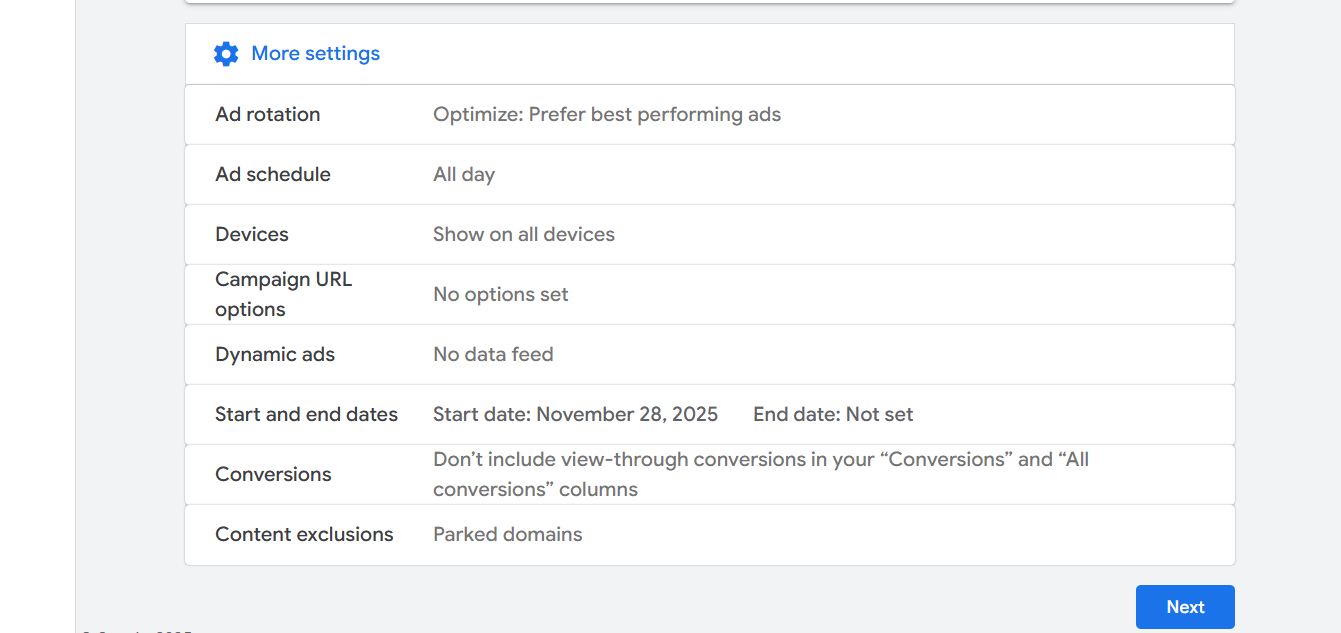
In more settings, we can get a lot more options. Let’s explore one by one because everything is really important. That’s why we should know about them also. Let’s start with the “Ad Rotation.”
Ad Rotation

Ad rotation in Google Ads is how Google decides which of your ads to show when multiple ads are created for the same campaign or ad group. It’s like a system that takes turns showing your different ads to see which one performs the best.
So if you want to give the control to Google so that they can show your best-performing ads more often, then you can select the “Optimize” option; otherwise, select the other option.
Ad Schedule
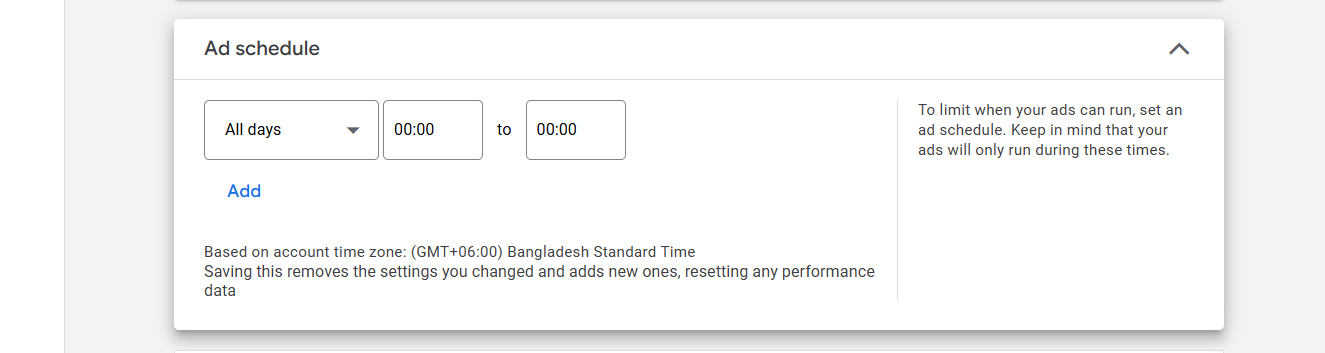
From this option you can set up the time that your ads should run and when they should stop. So if you want to run the ad all day long, then leave it on all days. Let’s go for the next option.
Device
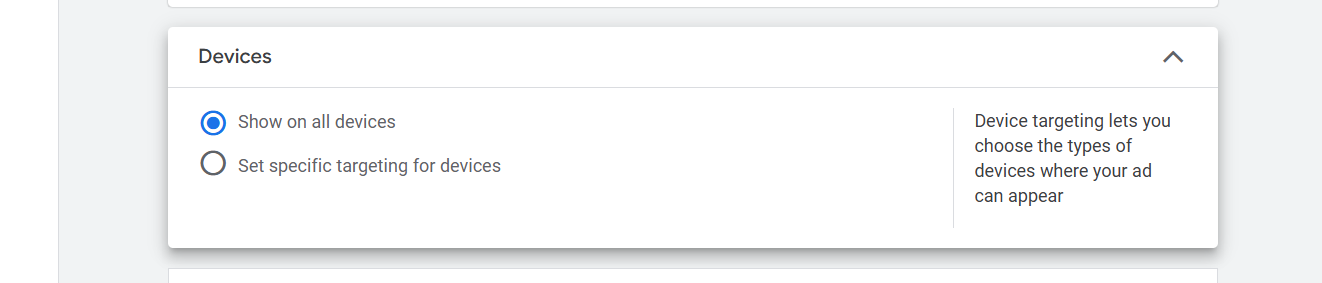
From this device option you can select a specific device, or if you want, you can select all devices for ads.
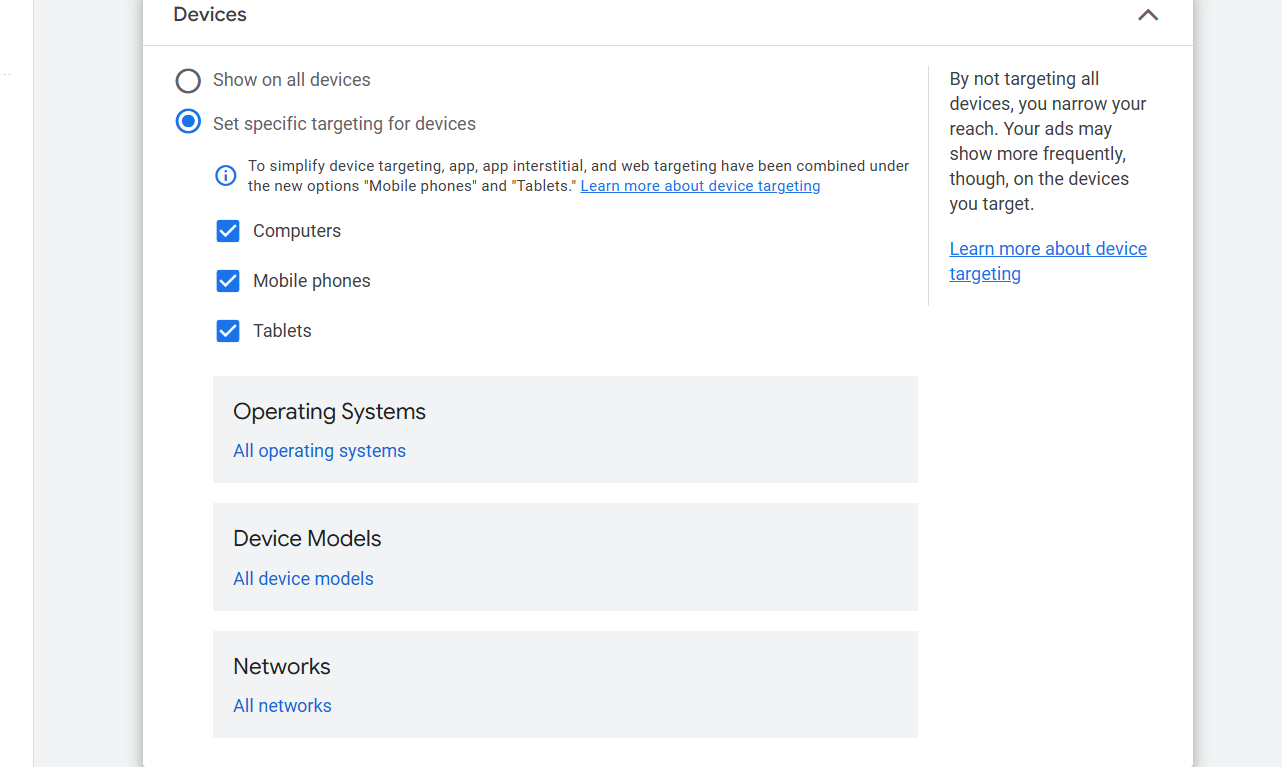
Here you can see that if you want, you can show your ads just to the computer user. Also, if you want, you can target your people according to the operation systems, device models, and networks.
So first confirm from which device you can get the good amount of useful traffic. If you think every device is great for you, then go for that.
Campaign URL Options
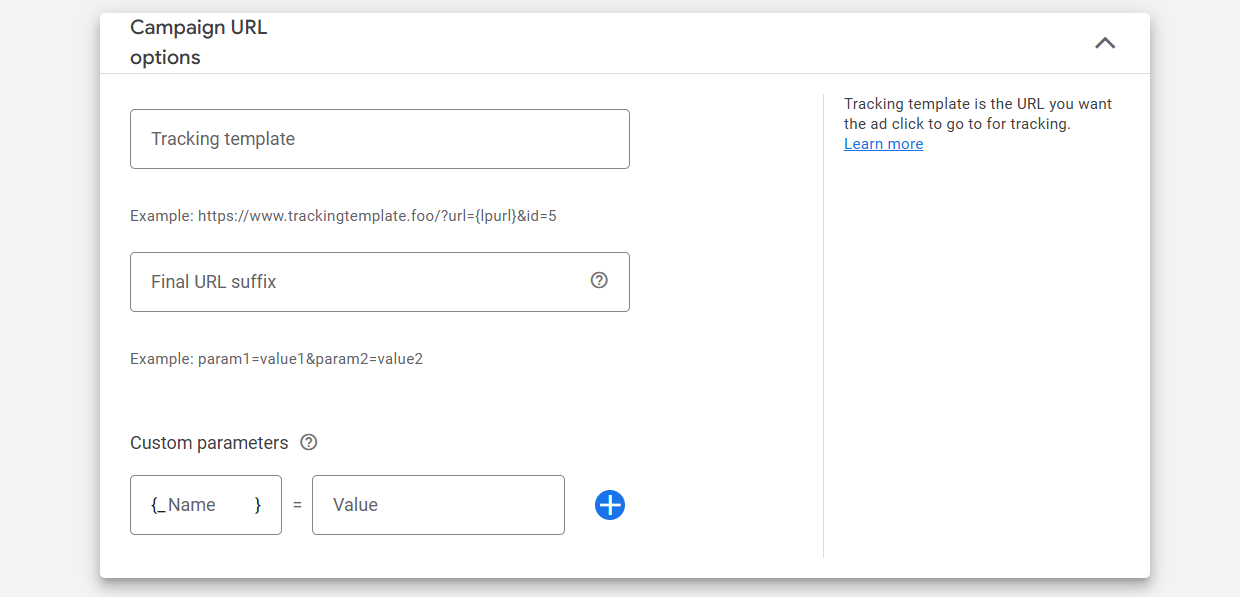
With the “Campaign URL options,” you can set up the UTM link for your campaign. To know more in detail, read the article.
Dynamic Ads

This section allows you to use a dynamic feed to create ads that are personalized to the user based on their behavior or interests.
When you enable this option, Google will use a feed (like a product or content feed) to automatically generate personalized ads for users. These ads will be more relevant to each person based on what they’ve shown interest in, like browsing your website or similar products.
Start and End Dates
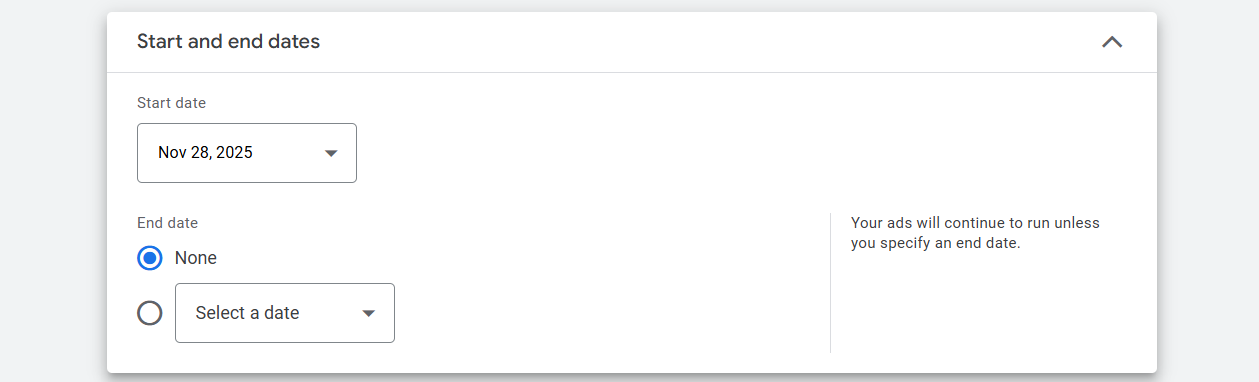
From here you can select the data for when your ads should start and when the ads should stop.
Budget And Bidding
From here you can put the budget for how much you want to spend, and also in the bidding section you can select what is your focus. Let’s explore everything one by one.
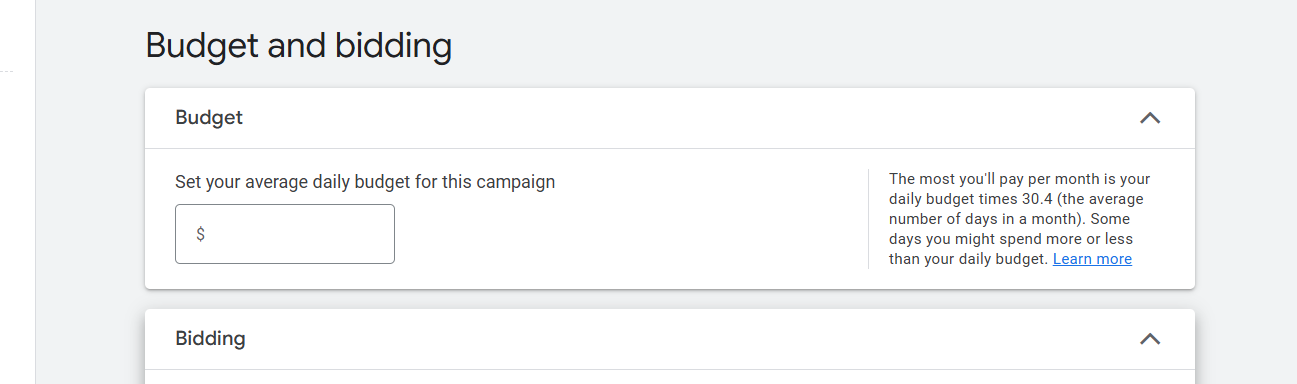
Here you can see that the first option is for budget. So at first you have to put your budget that you want to spend on these ads. Do it.
Bidding
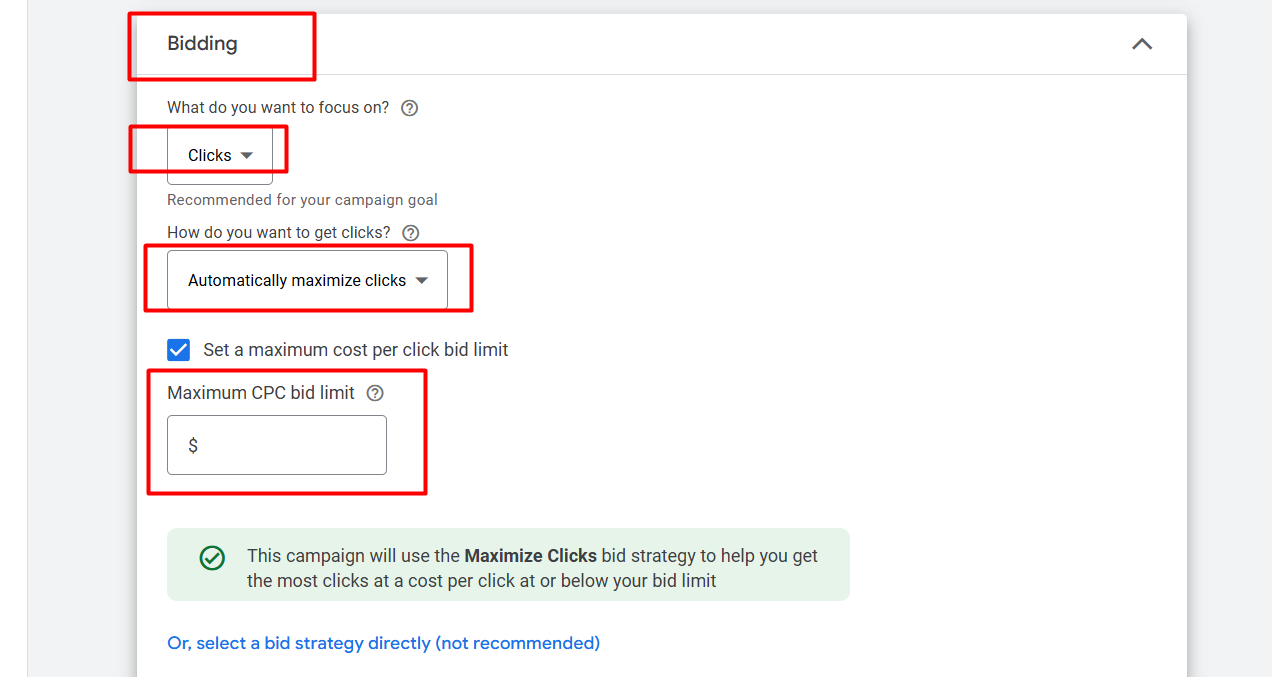
In the bidding section you can select what your target is. If your target is clicks, and you want to get a lot of clicks from these ads, then select “Clicks.”
After that, in the “Maximum CPC bid limit,” you can write the amount you would like to give Google for every single click on your ads.
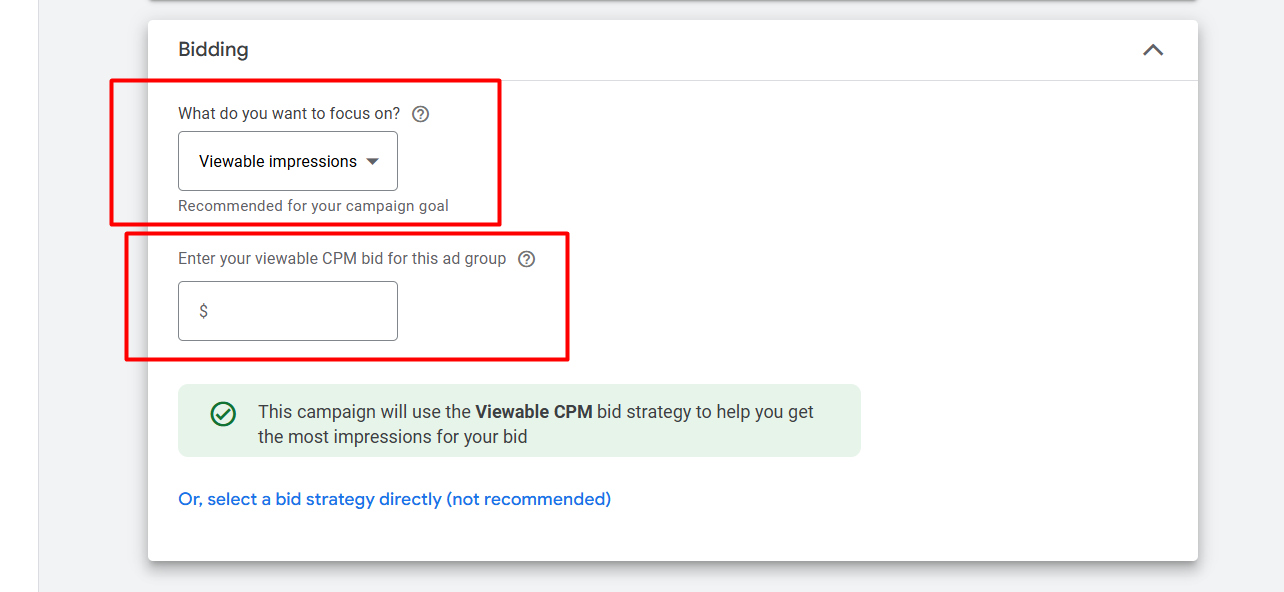
In the same way, if you select “Viewable impressions” as your bidding type, then again, in the same way, you will get an option to set up the “CPM bid.” Here you can write the amount that you would love to pay per 1k time impression.
Ad Targeting
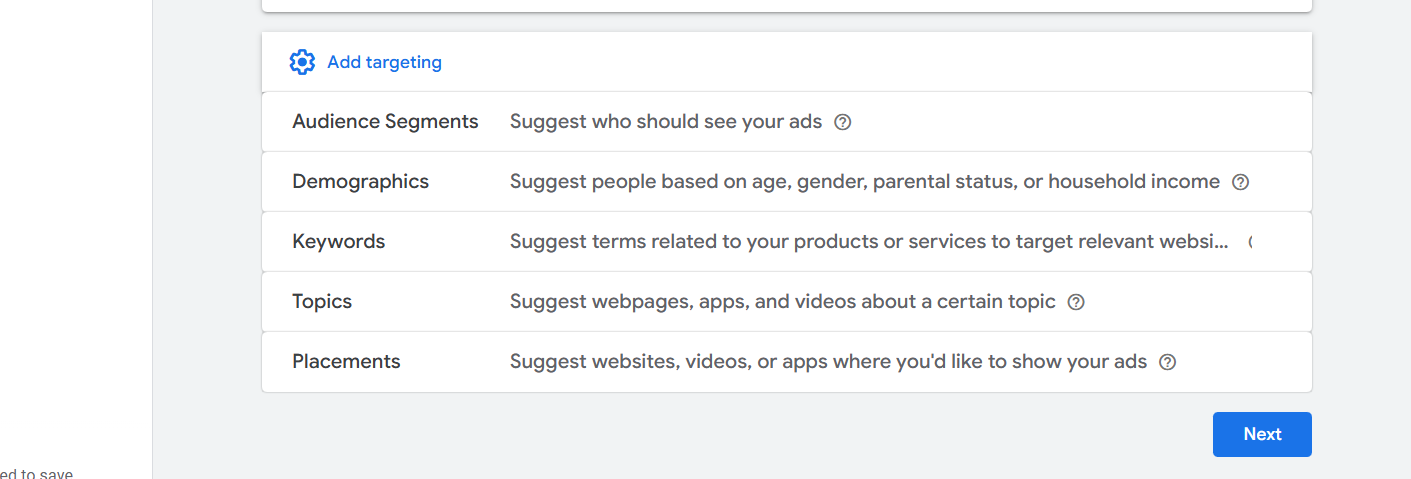
This is the place from which we can create the audience list, or this is the place from which we will target them according to their interests and more. If you want to know in detail about the targeting section, then read the article.
Ads
This is the place from where we will upload all of the media files that will be shown to our targeted traffic. Also in this section we will update the headline and description.
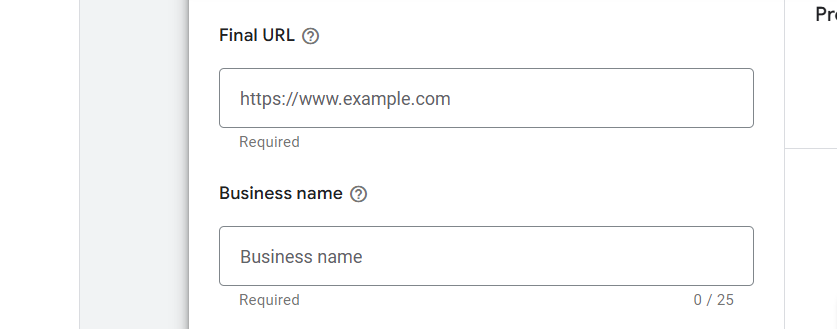
Now here in the URL option, place your landing page URL. Then in the place of the business name, write your approved business name by Google.
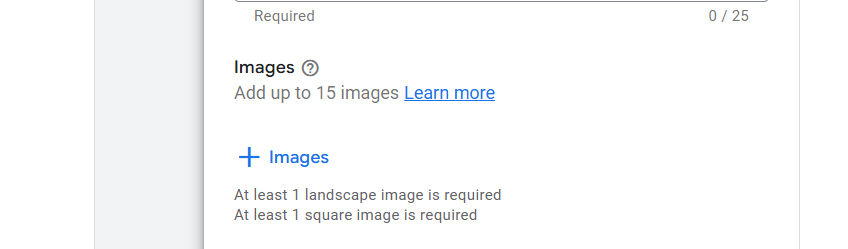
From here you can select your images. But before selecting one image, you have to know the size and what the ideal size is.
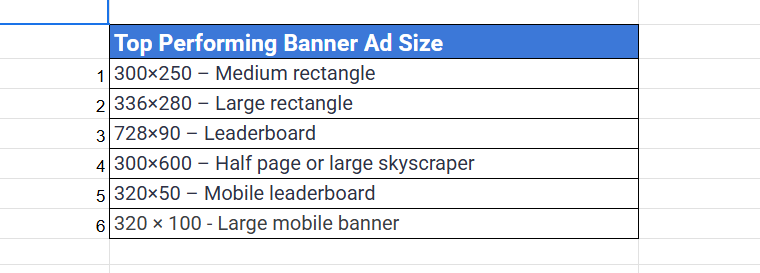
Because your image will show in many different places, that’s why you have to make different types of images in different sizes.

From here you can upload the logos. So don’t forget to upload your brand logos.
Headline
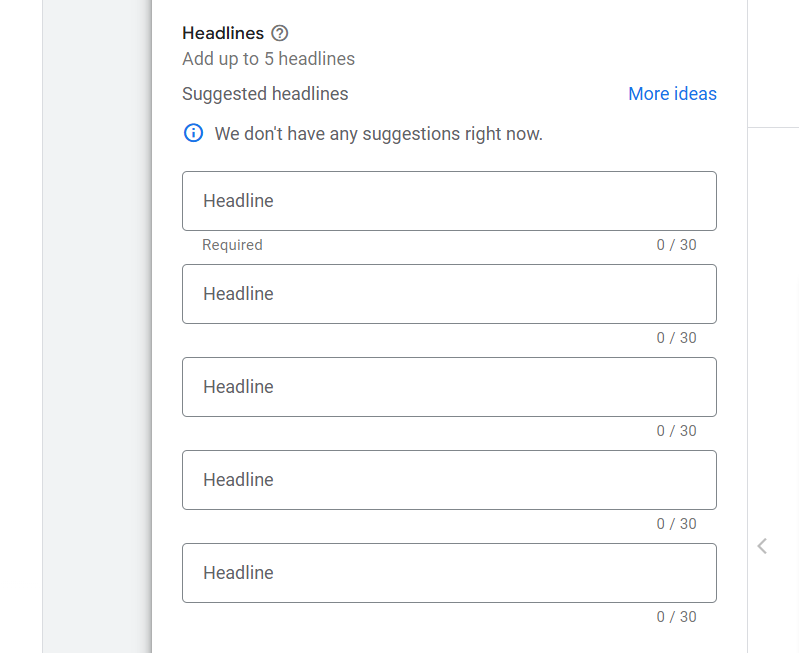
In the section of the headline, you can add a total of 5 different headlines for your campaign. Don’t forget to add all to improve the ad’s strength. If you want to know the way to write a perfect headline, then you can read this article.
Long Headline
In the same way, write one long headline.
Description
In the same way for the description, you will also get the option to write 5 different descriptions. Complete them all one by one to increase the ad’s strength. Now click on the next button to review your ad and then publish it.
Review & Publish
In the review section, check everything one by one before publishing your campaign. Because in the review section you will be able to see every single thing that you did in your campaign. So every time, don’t forget to check your review page before publishing the campaign.


