
This is a new article in our Google Ads series. Google Demand Gen Ads is a relatively new campaign type in Google Ads that operates using Google’s AI algorithms. It was introduced to Google Ads in 2023.
Do you know about Demand Gen Ads?
Demand Gen is an ad campaign that helps you find new customers. It shows your goods to people who don’t know your business yet and tries to get them interested.
Many people check YouTube before buying something. Over half of users watch videos regularly, and almost everyone trusts the platform. Because of this, YouTube is a great place for businesses to get attention and inspire people to take action. That’s why Google uses this type of campaign to show ads on YouTube.
Also, demand gen campaigns use special Google placements, combine Shopping and Display features, and offer improved lookalike audiences that let you control how closely new users match your existing customers.
Let’s set up the campaign
To set up the campaign, we have to start our journey from the beginning. So first log in to your Google Ads account.
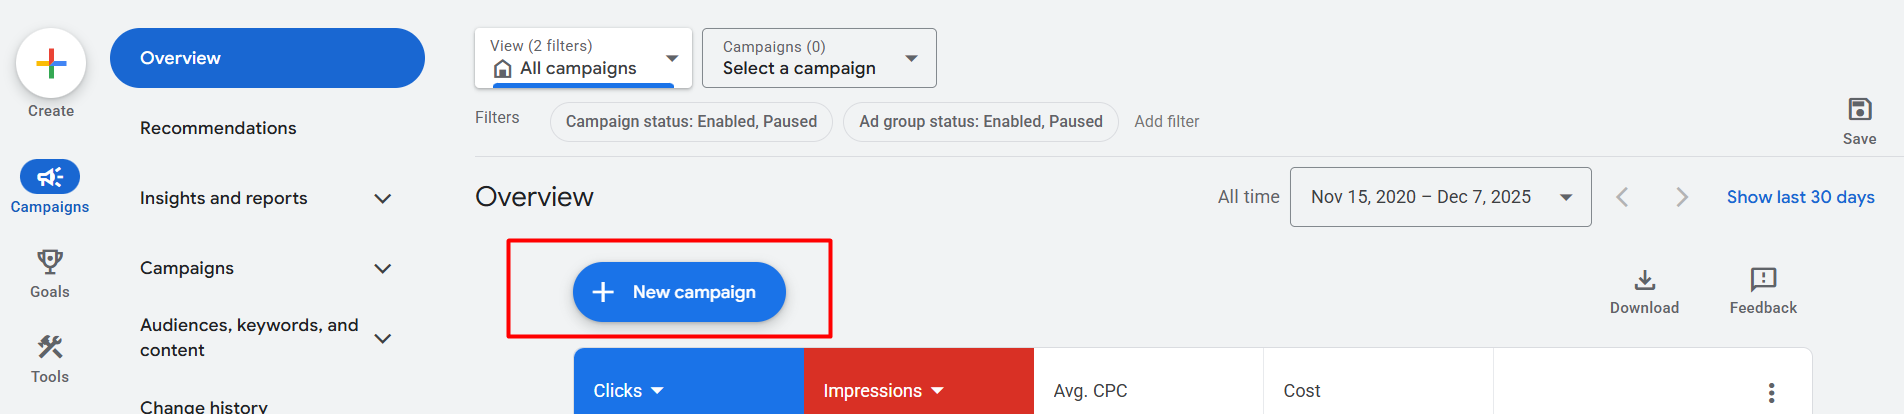
From this interface, click on the “New campaign” button and go to the next interface.
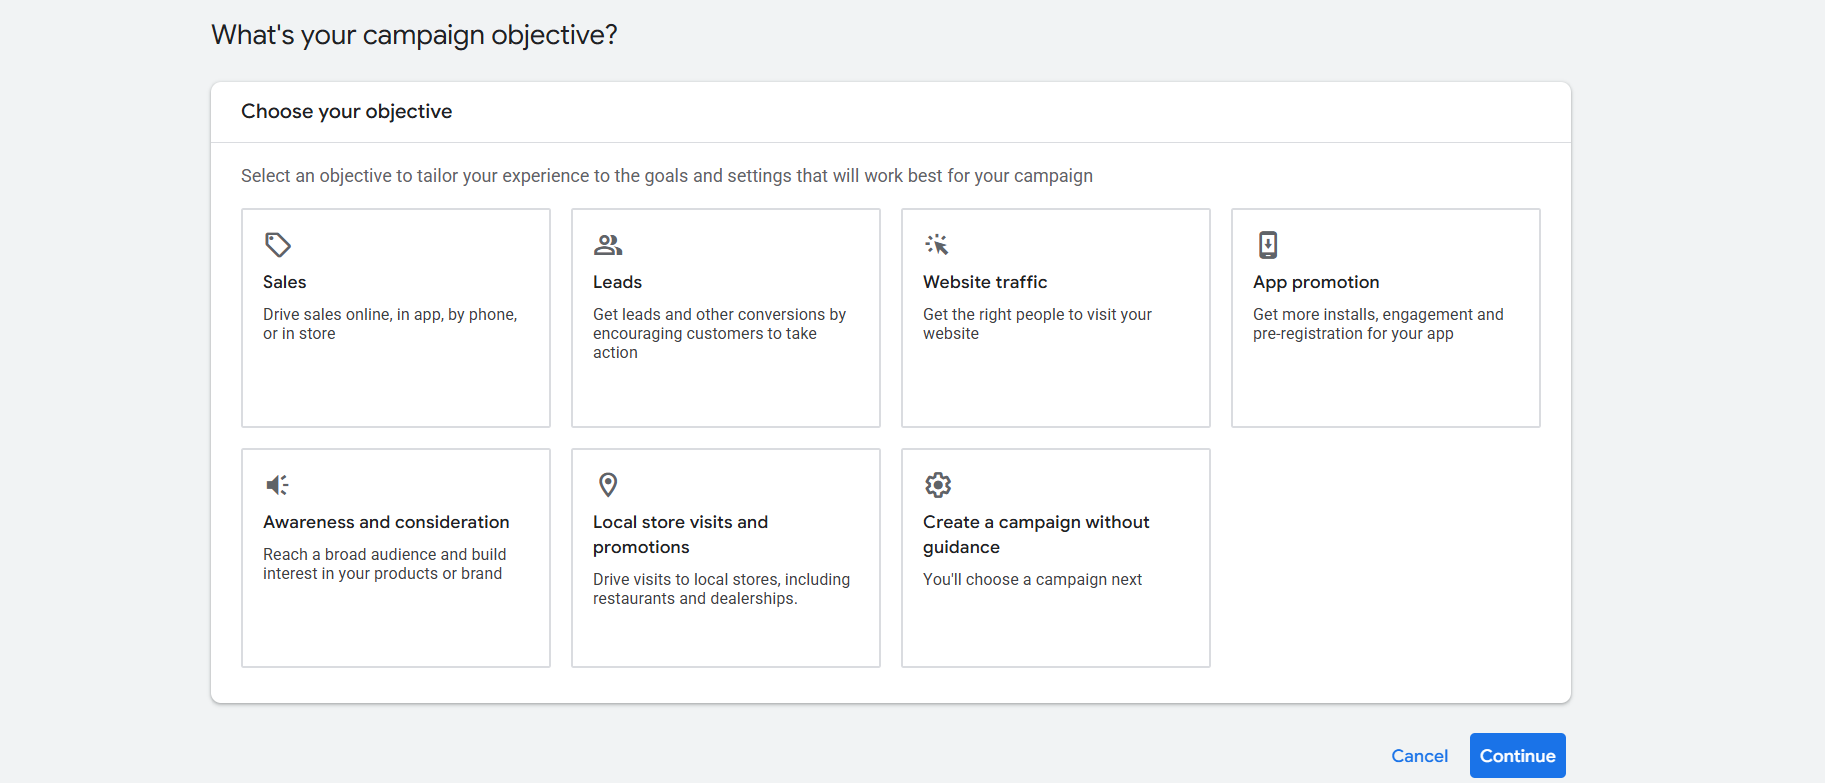
Now from here you have to select one campaign object. If you don’t know in detail about them, then you can read our one article about the campaign object and type.
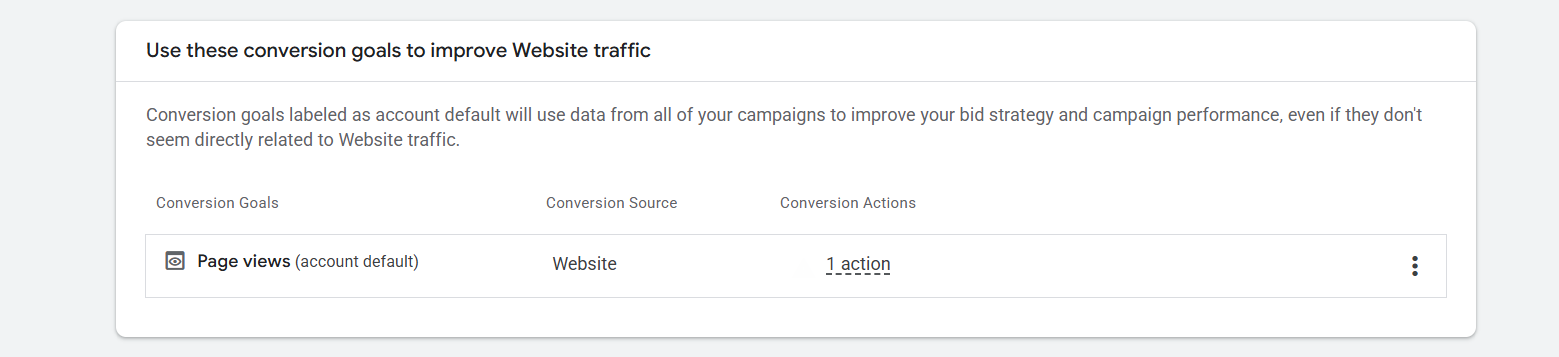
If your Google Ads conversion tracking is set up, you’ll see more goal options here. Always choose the conversion goal that matches what you want from the campaign. In my case, I selected “Page Views” because my main goal for this ad is to get more people to visit the page.
Campaign Type
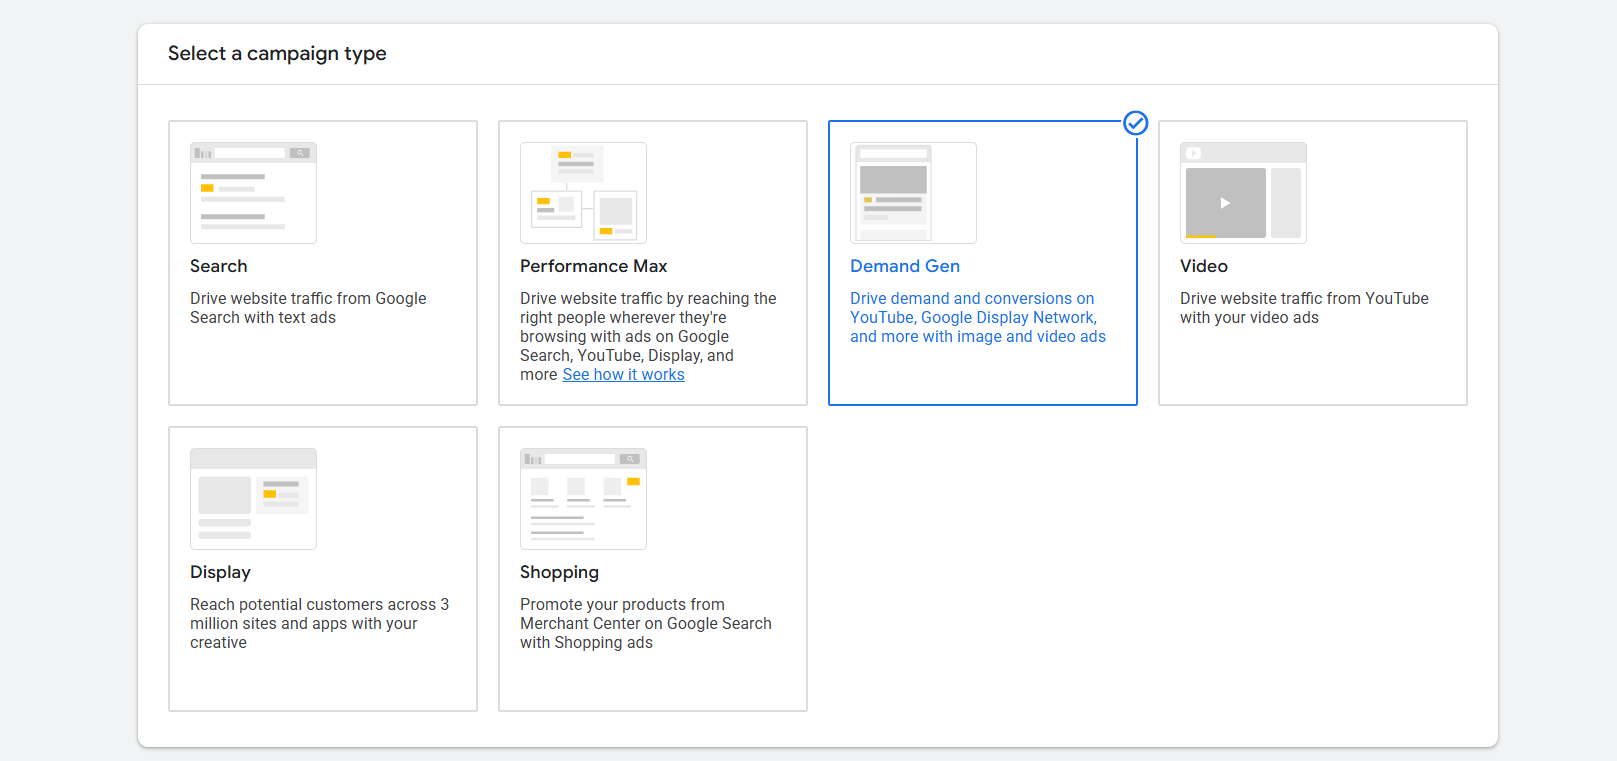
Now select “Demand Gen” as your campaign type, and let’s go to the next.
Campaign Name
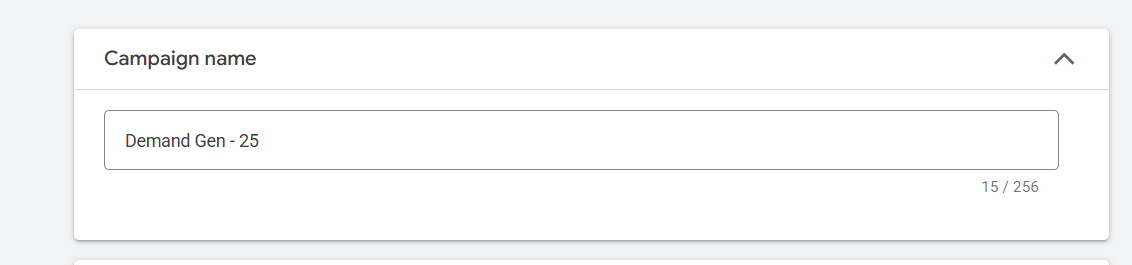
Here in the first place, write down one name for this campaign. Always try one good name so in the future this thing will be great for you to understand when and why you ran this campaign.
Campaign goal
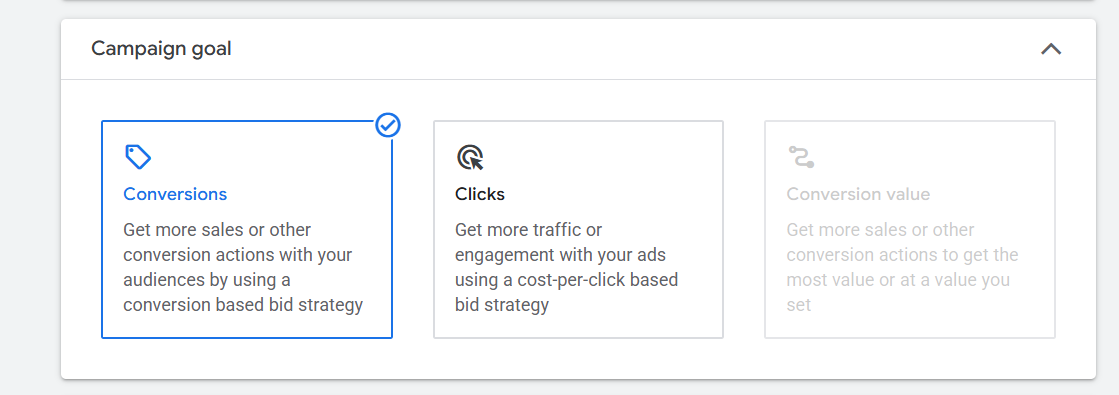
Here in this position you have to select one goal. If you want to get conversions, then select it, or if you want to get clicks, then select “Clicks” as your campaign goal.
Target cost per click
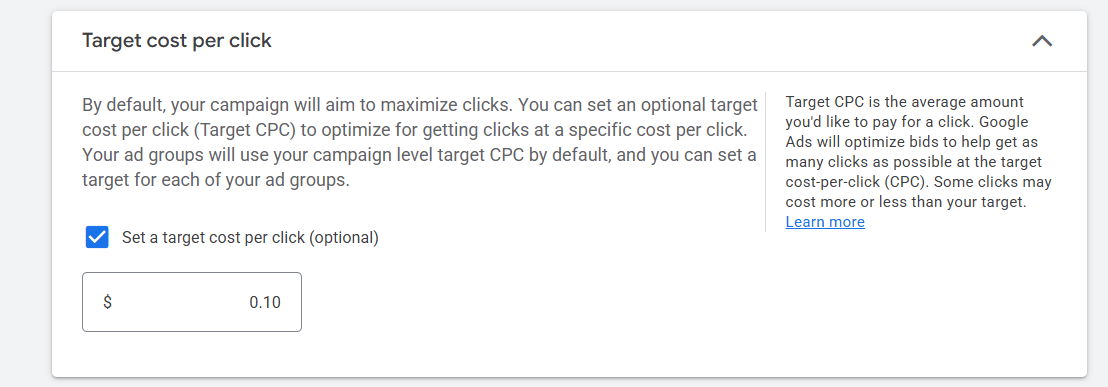
Here you can set up how much you would like to pay after completing your selected one goal. If you don’t want to set up the cost, you can leave it, no problem, because it’s optional. But it’s good practice to set up the cost for each selected goal.
Budget and Dates
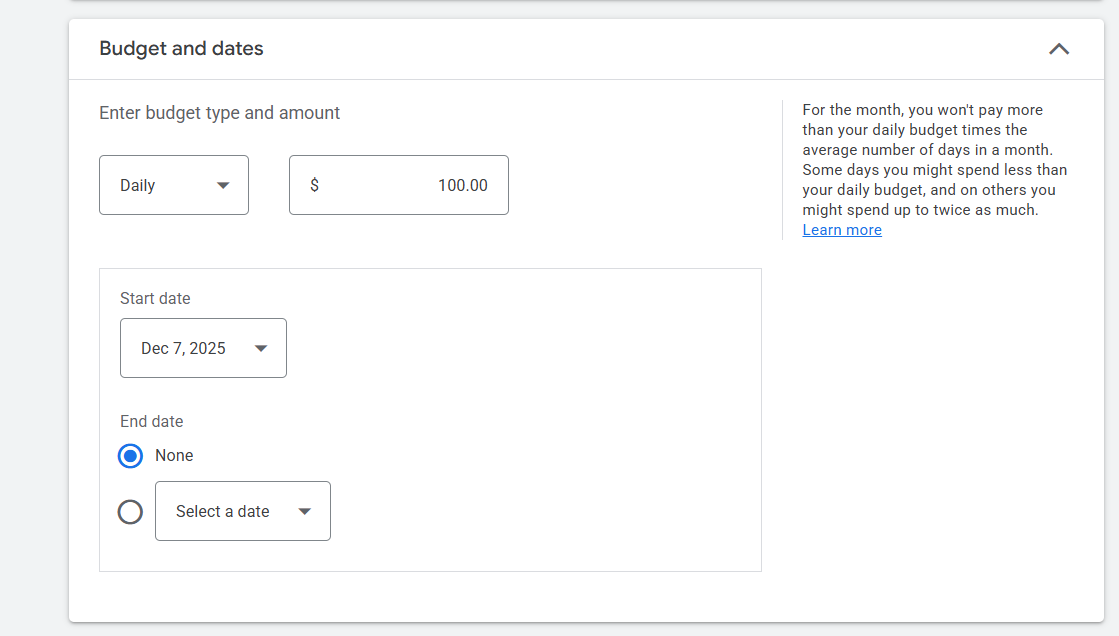
This is where you set your daily budget for the ads. You can also choose a total budget for the entire campaign if you prefer. Just click the arrow to see the “Campaign total” option.
Also from here you can select the start and end date of your campaign.
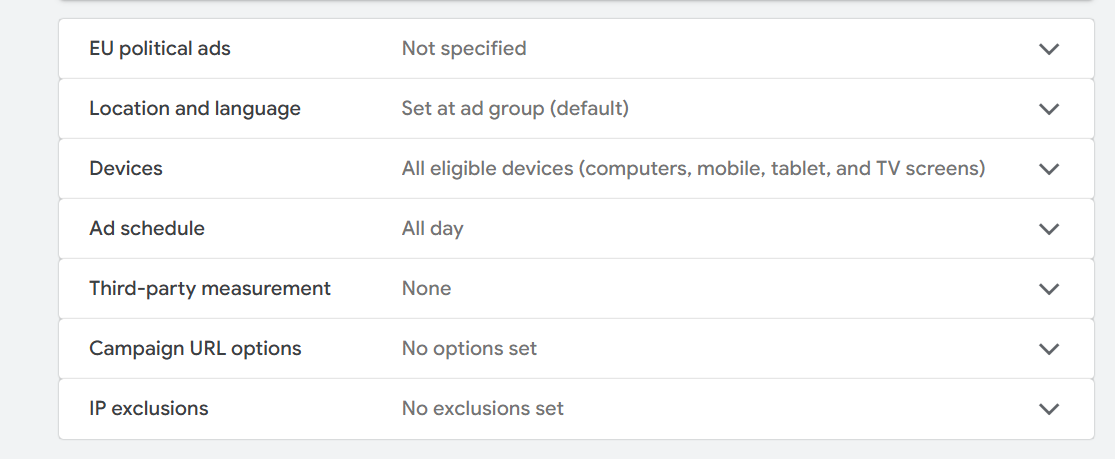
EU political ads: If you are running political ads under the European Union, then select the “yes” option from this section. Otherwise, select the “no” option.
Location and Language: From here you can select the language and location for your targeted traffic. If you don’t know much about this, then you can read this article.
Device: From here you can select on which device or which type of device you want to show your ads.
Ad Schedule: Here you can choose specific hours of the day when your ads should run in the selected location. If you want your ads to run all day, just leave this setting as it is.
Third-party measurement: The ‘Third-party measurement’ option lets you connect approved external tools to track how your ads perform, but it’s optional, and most beginners don’t need to use it.
Campaign URL options: From here you can set up your UTM.
IP Exclusions: IP Exclusions allow you to block your ads from showing to specific IP addresses, so your team or unwanted users don’t accidentally trigger your ads.
Ad Group
An ad group is where you organize your ads by theme. It lets you group similar ads together so you can target the right audience with the right message. Also for demand gen ads from here, you can select in which channel your ads should run.
Channels
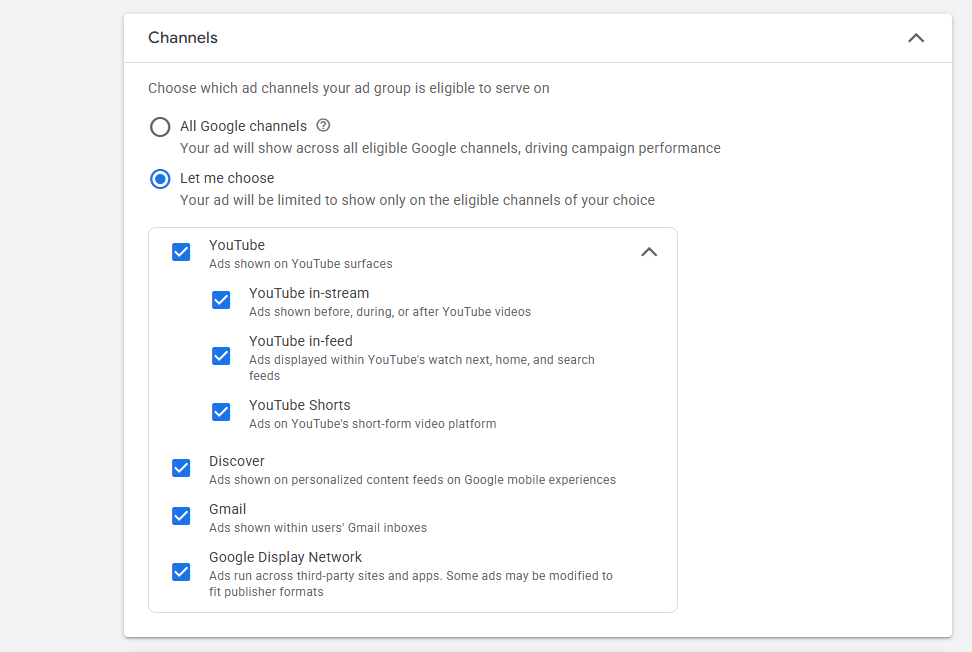
Here you can see that your created demand gen ads will be run through Google. If you want to, from here you can select where your ads should run or where they should not.
Audience
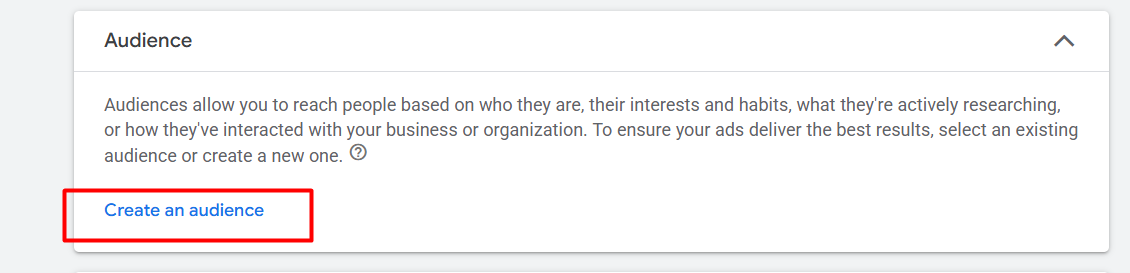
From here you can make your audience list. Because according to the list, Google will show your ads. If you don’t know about this much, then you can read this article.
Lookalike segment

A lookalike segment is a group of new people who behave like your existing customers, helping your ads reach users who are more likely to be interested in your business.
To create the audience, first click on the “New segment” button. And let’s go for the next.
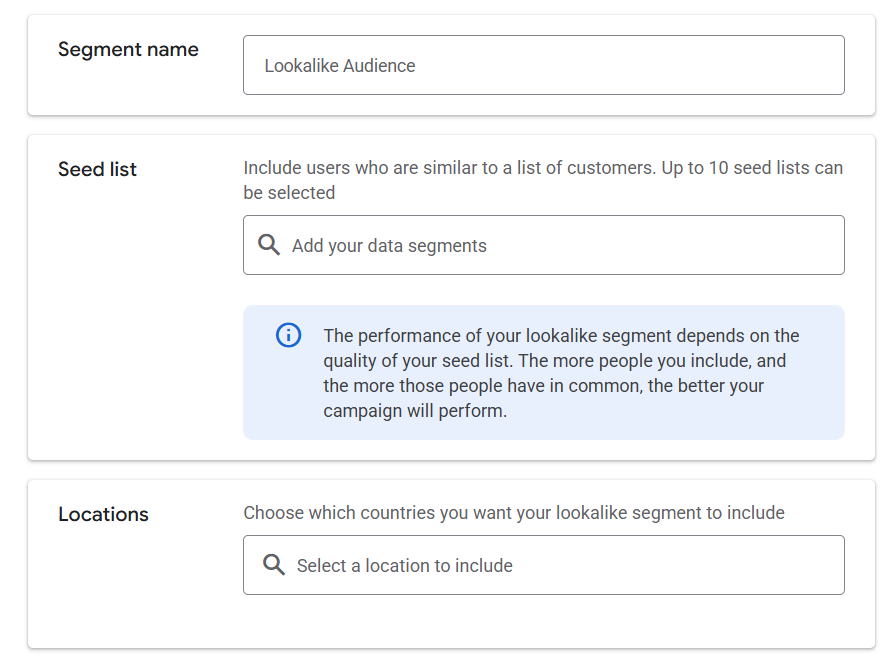
Here in the first place, write down one name for this new audience. Then in the “Seed list” you have to select some previously generated audience list. In the location section, select your targeted location.
If you don’t know how to create this type of audience list, then you can read this article.
Ad
An ad is the message you show to your audience—your image, video, or text that promotes your product and encourages people to take action.
Types of Demand Gen ads
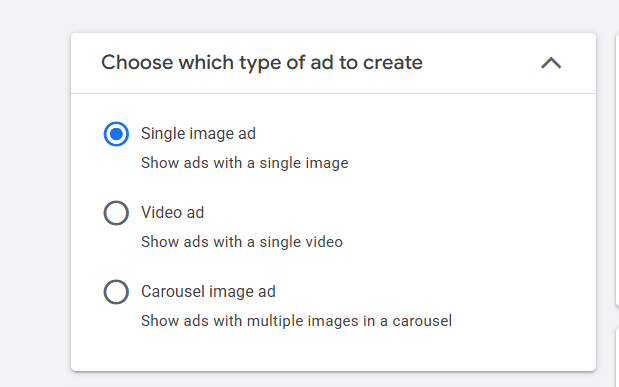
- Single image ad.
- Video ad.
- Carousel image ad.
- Product cards appear only if your campaign is linked to a product feed, letting you showcase items directly in your ads.
With these three options, you can run your Demand Gen ads. The fourth one is only useful if you already have a product feed connected, because it shows your items as a product list under the ads. But do you know which type of ad was basically shown?
Here’s where each ad format can appear inside a Demand Gen campaign:
- Image ads can show up on YouTube Shorts, the YouTube home feed or search results, Google Discover, and even inside Gmail.
- Video ads may play in Shorts, before or during YouTube videos, and also appear in the YouTube feed, search results, and Discover.
- Carousel ads usually appear in YouTube feeds/search and in the Discover and Gmail sections.
Product ads can show in shopping-style placements across Shorts, in-stream videos, YouTube feeds/search, Discover, and Gmail.
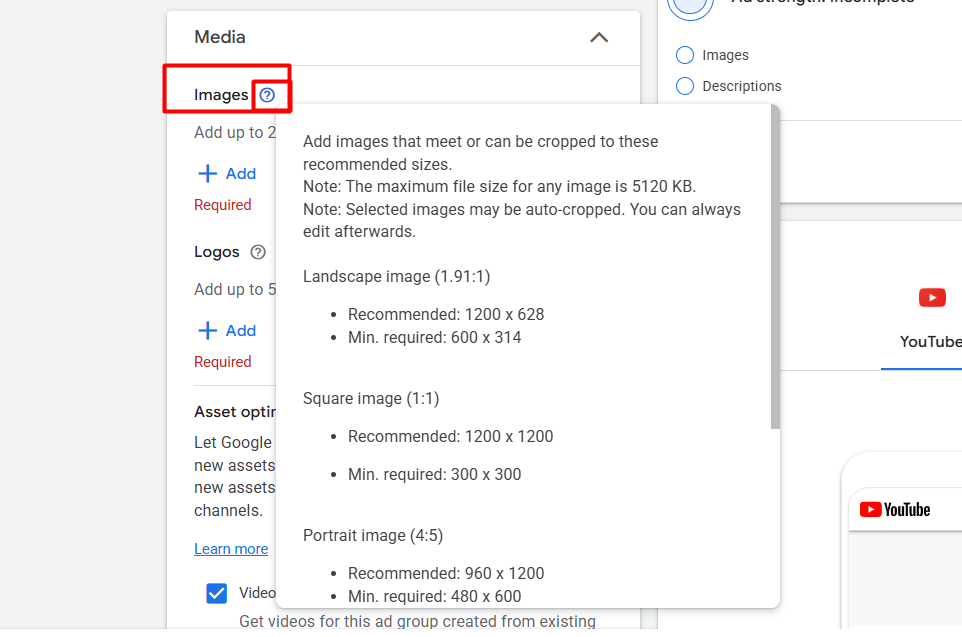
If you want to run your campaign through a single image, then you can start uploading your image here in the position. But before starting the process, don’t forget to check the picture size from here. Then, according to the size, upload your image.
Logo

Here in the position, upload your brand logo, and your logo should be approved by Google. Otherwise Google will deny your logo. Before uploading the logo here, also don’t forget to check the size.
Headline & Description
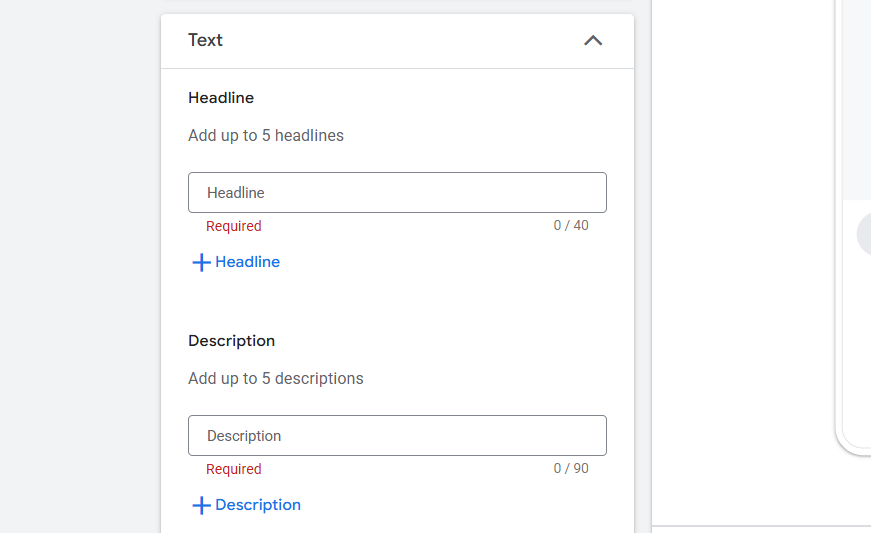
Here in the place now, you have to write down the headline and description. Maximum 5 headlines and description you can write down. If you don’t know how to write down the headline and description, then you can read this article.
CTA & Business Name
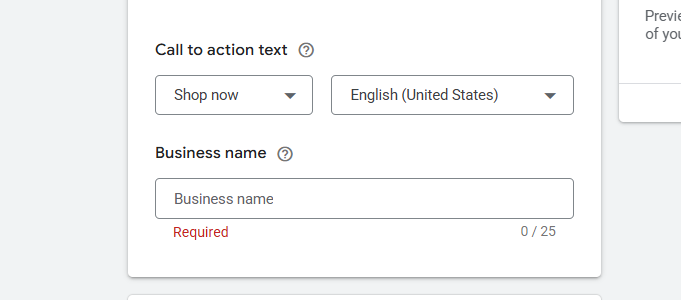
Here in the place, first select one CTA, and in the next option, write down the business name. Like the brand logo, the business name should also be approved by Google.
In the same way, if you want, you can run your campaign with the video or carousel. Just don’t forget to check the size every time.
Review & Publish
In the review section, check everything one by one before publishing your campaign. Because in the review section you will be able to see every single thing that you did in your campaign. So every time, don’t forget to check your review page before publishing the campaign.


