

In our previous article, we already explained many ways to connect Google Analytics 4 with your website. Additionally, we discussed the best method for connecting GA4 to your website. If you haven’t read our previous article, you can find it here.
In this article, we will explain the best method in more detail to connect your GA4 with your website using Google Tag Manager. So let’s start it.
Create the Google Tag Manager
At first, you have to create a new Google Tag Manager (GTM) account and container for our work. In this GA4 article series, we will explain everything from the start, including how to create GTM and GA4.
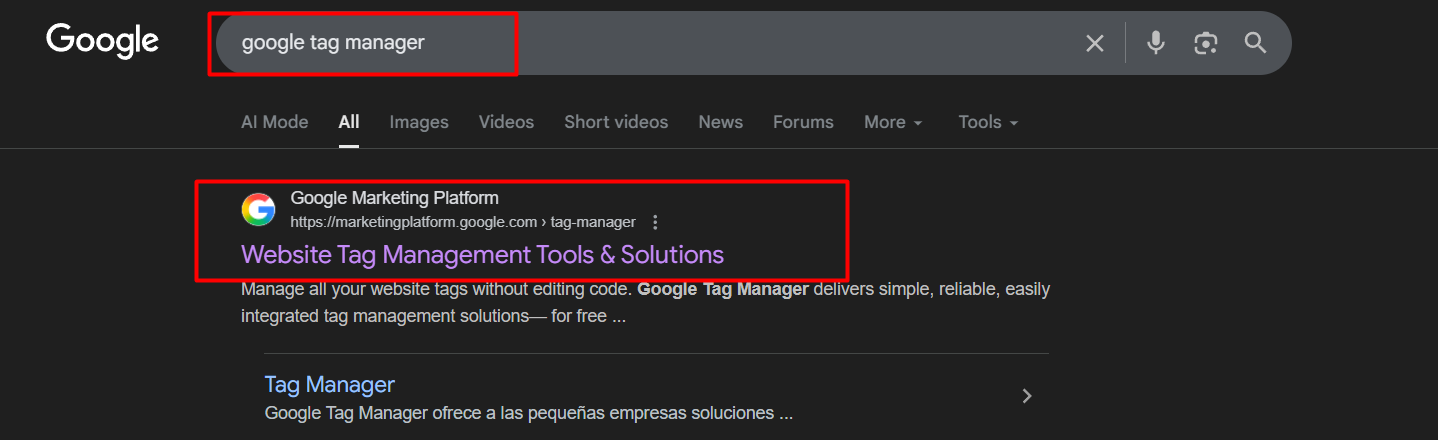
First, search for GTM in Google, then proceed to create the new GTM container.
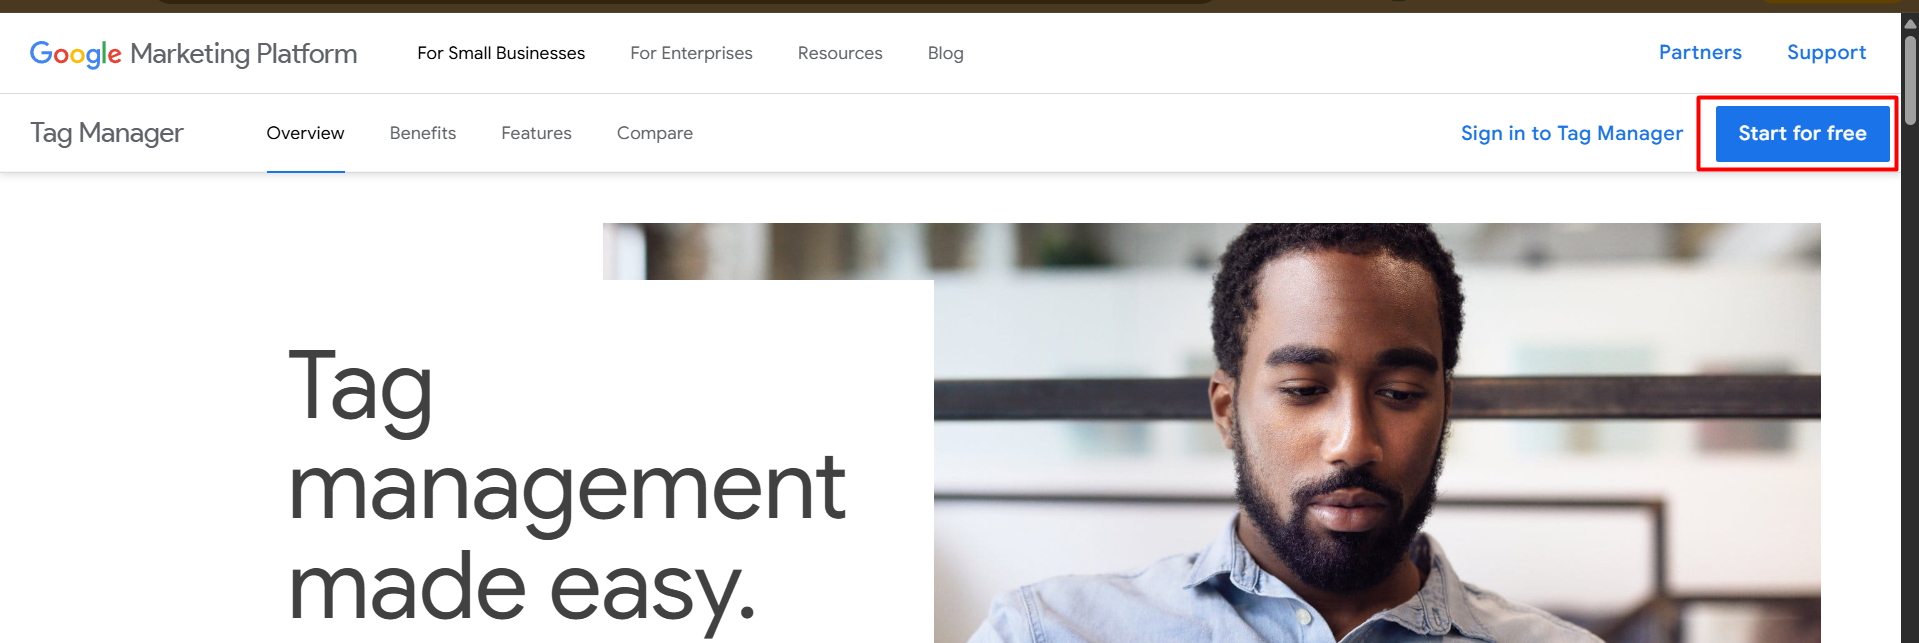
Now here on the page, click on the “Start for free” button.
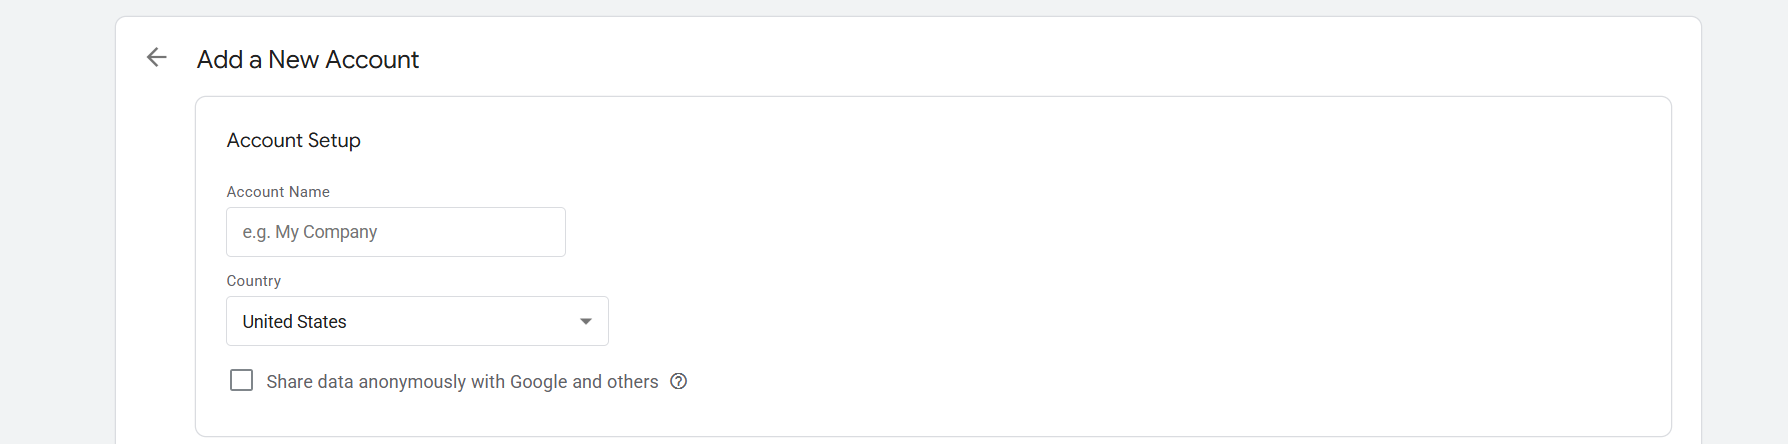
Now here at the point, first write down the account name. Next, select your country from the list of available countries.
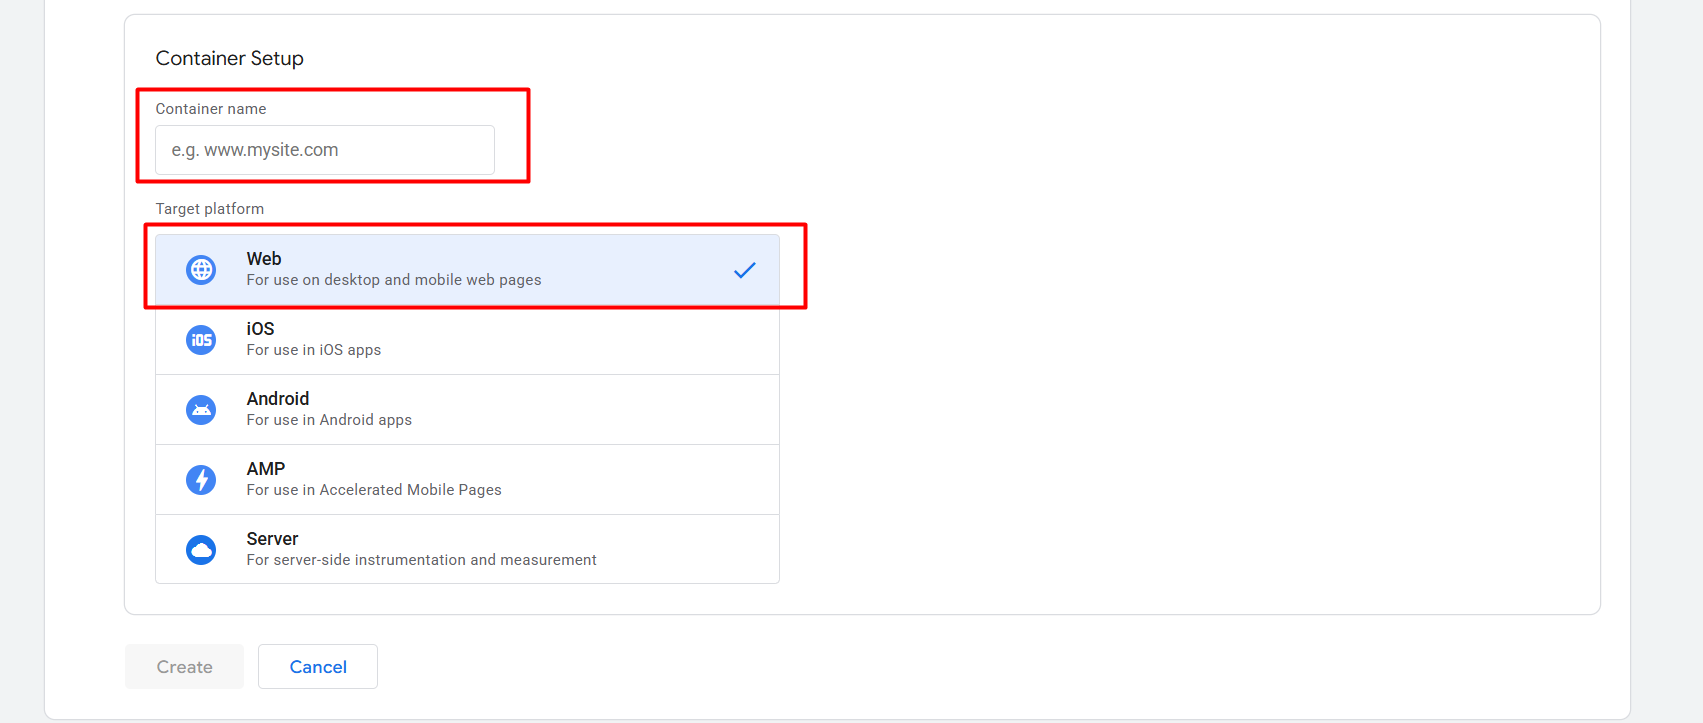
Now your job is to write down a name for your container. After that, as your container type, select web. This GTM will work for websites; that’s why we select web.
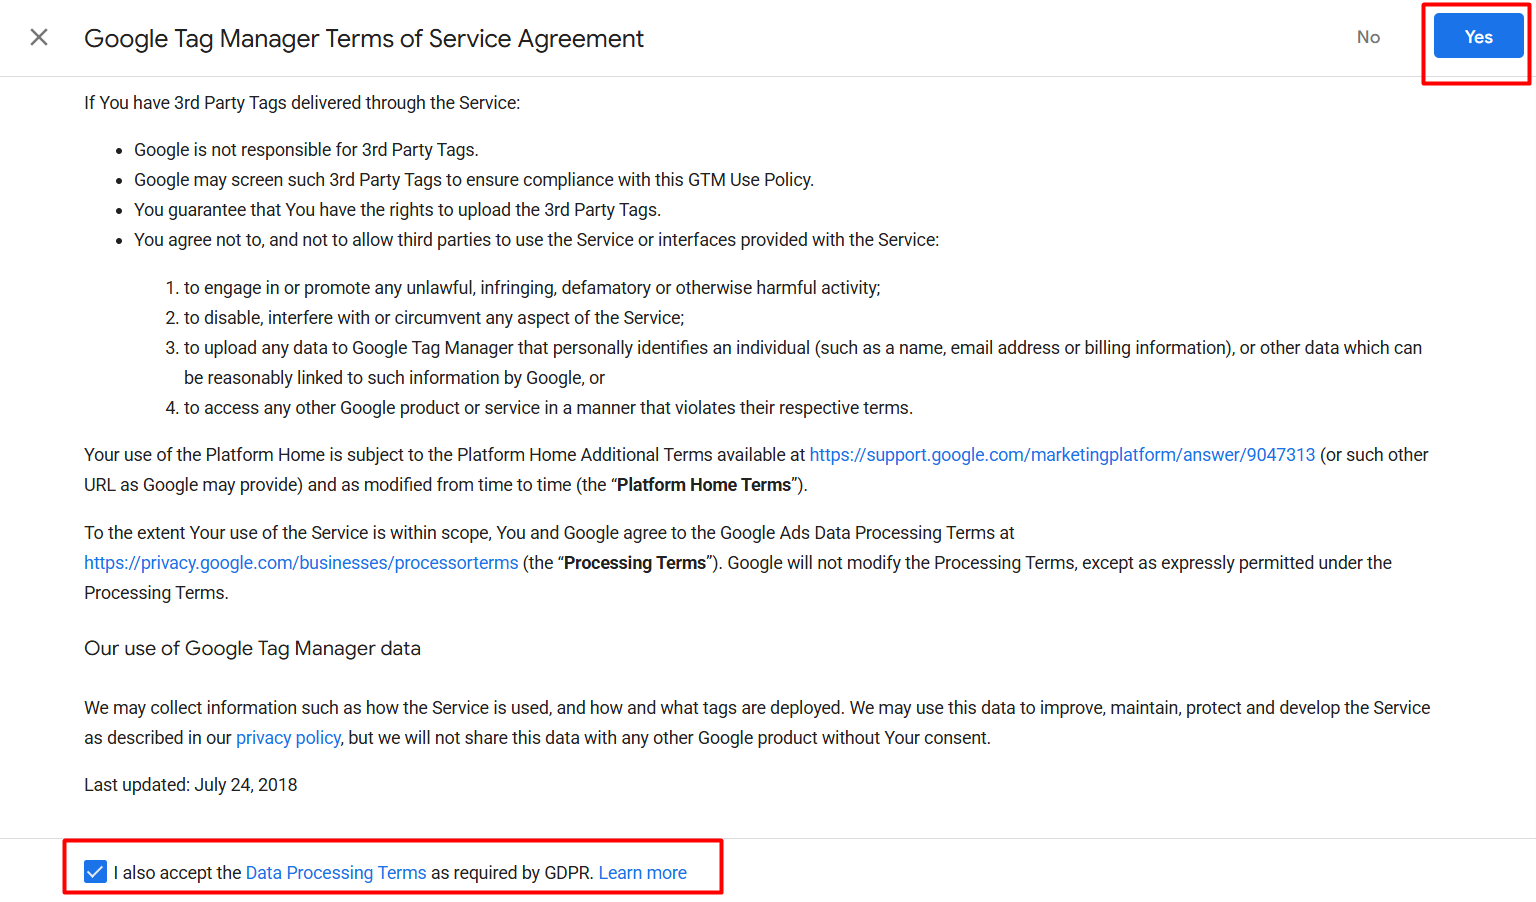
From this point, accept the Google terms of service and proceed to the next step.
Connect GTM with the Website
After successfully creating the Google Tag Manager, now it’s time to connect it with our website. In our previous article, we already explained all of the ways to do that.
If you read our previous article, then you know that we have to add this code after the <head> section on our website. But if we use CMS like WordPress and Shopify, we can also use plugins or apps.
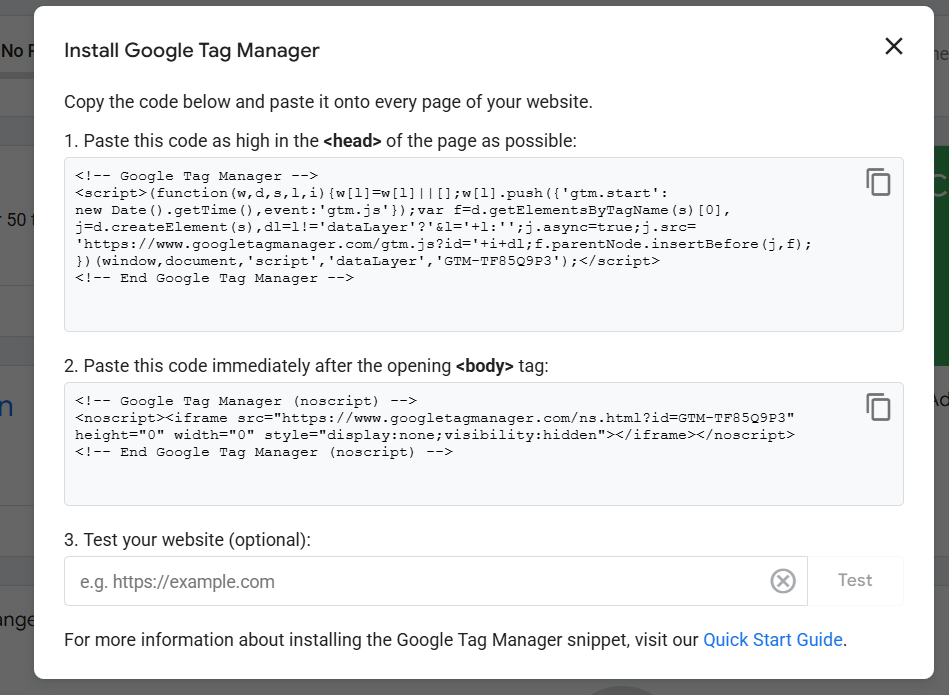
So let’s start it with the direct way. To do that, first you have to copy the first code, and it should be placed in your website header section. To do that, you can get your developer’s help, or you can also do it by yourself.
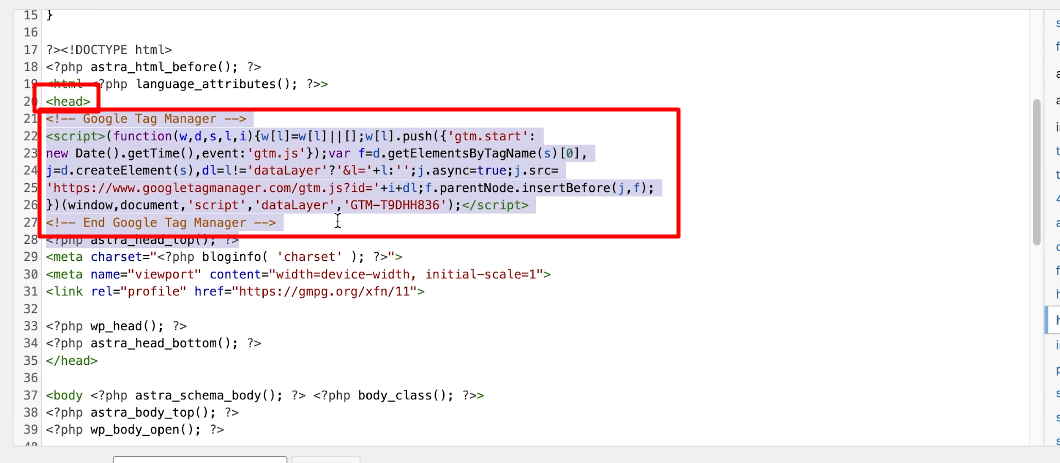
Here, you can see that we place the code immediately after the head section. Please follow the same approach for your site as well. Now, add the second code to your body section in the same way.

The body section code serves as an alternative to the main code. If in some browser your main code doesn’t work, then this one will handle it. The result means that while it is beneficial to use this code on your site, you also have the option to leave it out if you prefer. The advantage is due to the main code’s ability to handle everything flawlessly.
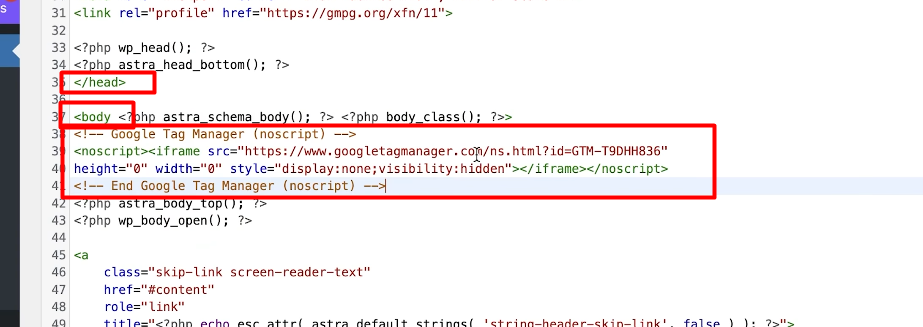
We implemented it in the same manner as the first one. Now save it.
Test your website
Now your site is ready to work. However, to verify its connectivity, you must conduct a test.

In the third option, enter the website link and check if it is functioning properly.
2nd Method to connect with website
CMSs like WordPress and Shopify let you use plugins or apps to connect the GTM with your website. To do so, you first need to install a plugin called “Header and Footer” on your WordPress site.
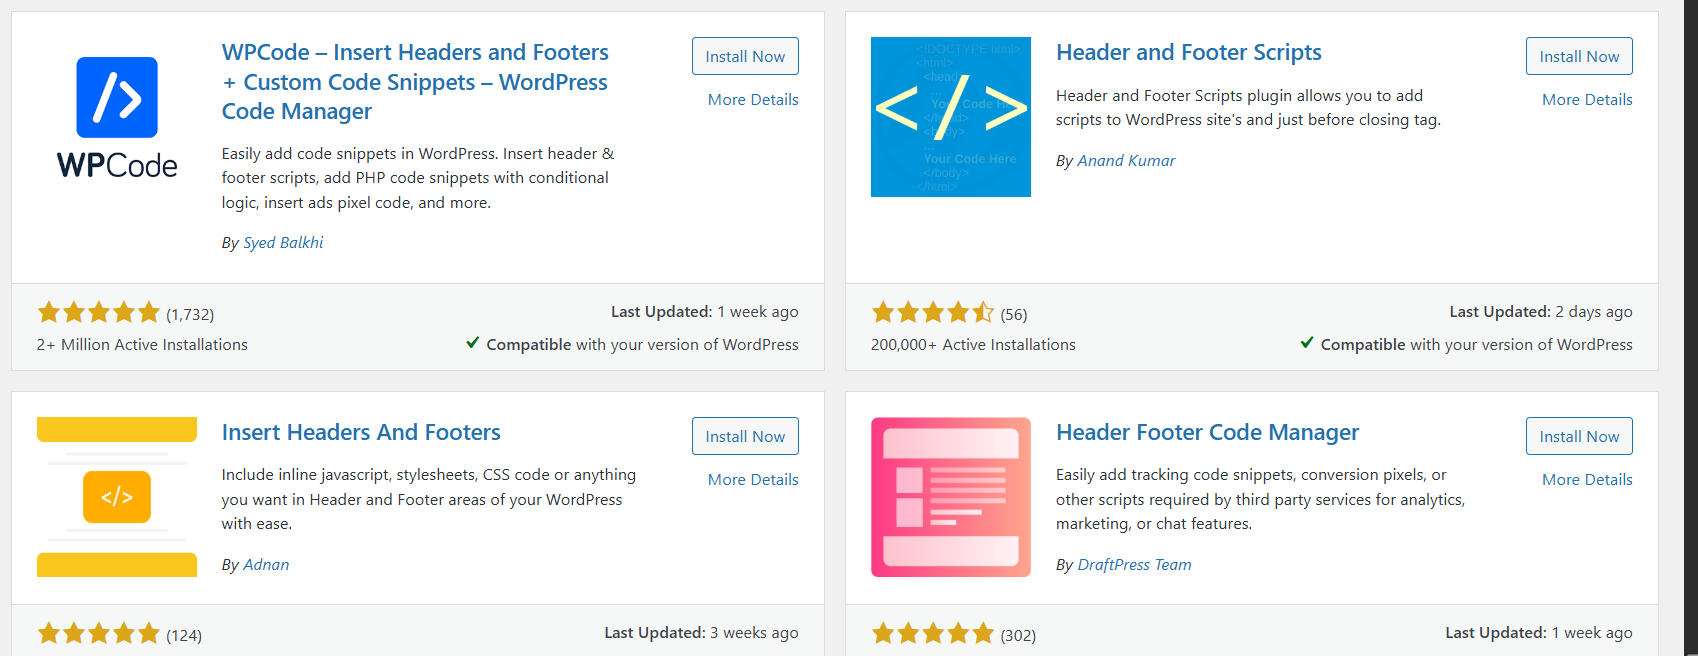
From here, you can add anyone to your site.
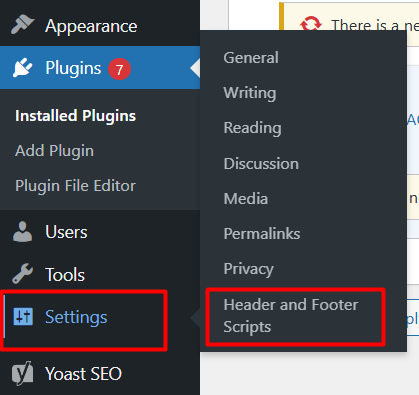
After successfully adding the plugin to your site, you will get it in the settings. Click on it to enter the plugin.
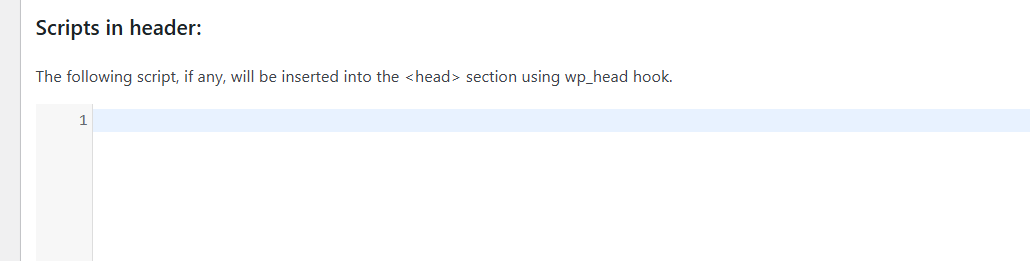
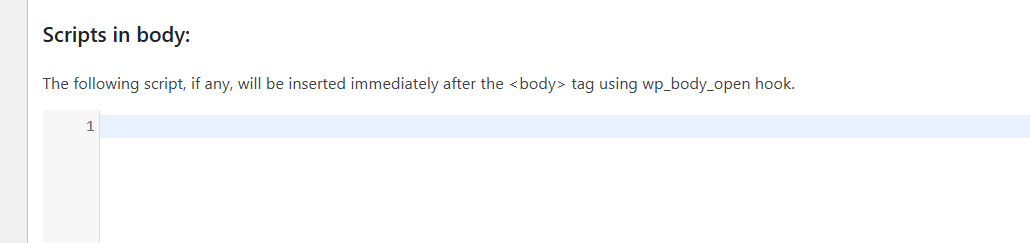
See, this plugin is providing you the header and the body section. So simply copy and paste all of your important codes here in these two sections one by one to connect your GTM with your website.
If you are using a Shopify theme, then you can install the Stape app to connect GTM with your website.
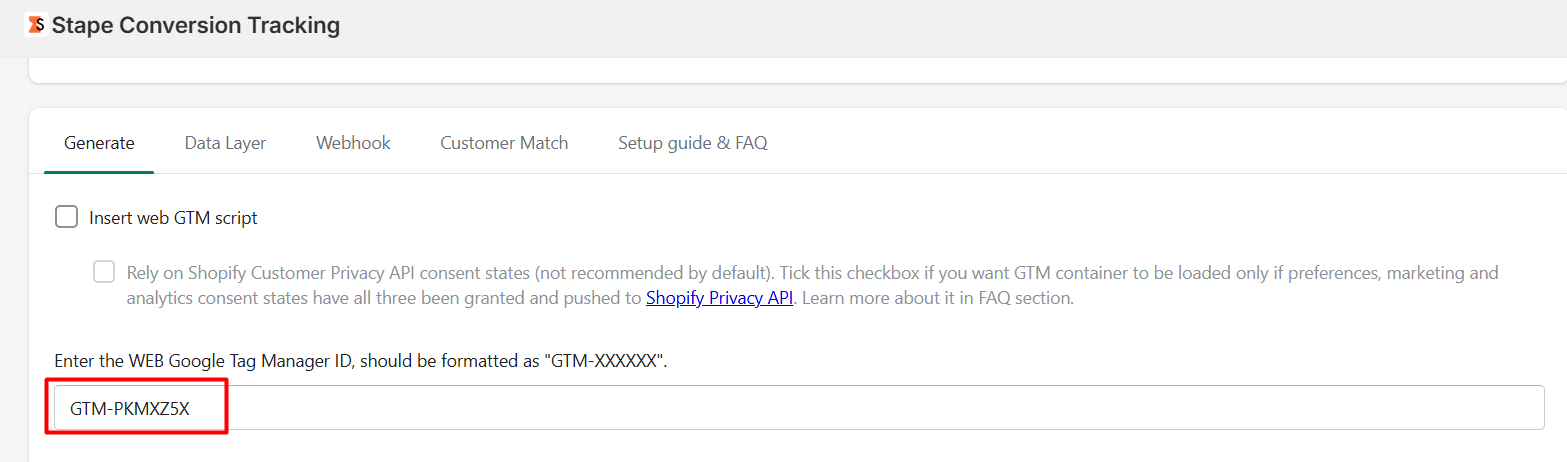
To connect the GTM with your Shopify store, you have to add the GTM ID, not the whole code. In the same way, you can complete the setup process of the GTM with your site.
With the GTM preview button, you can run a test and see that your GTM is tracking every activity perfectly.
Google Analytics 4 Account creation
We have successfully created and set up our Google Tag Manager on our website. Now we have to create a Google Analytics 4 account to connect with our website. To accomplish this, conduct a search on google analytics.google.com. Then you will automatically be directed to this page.
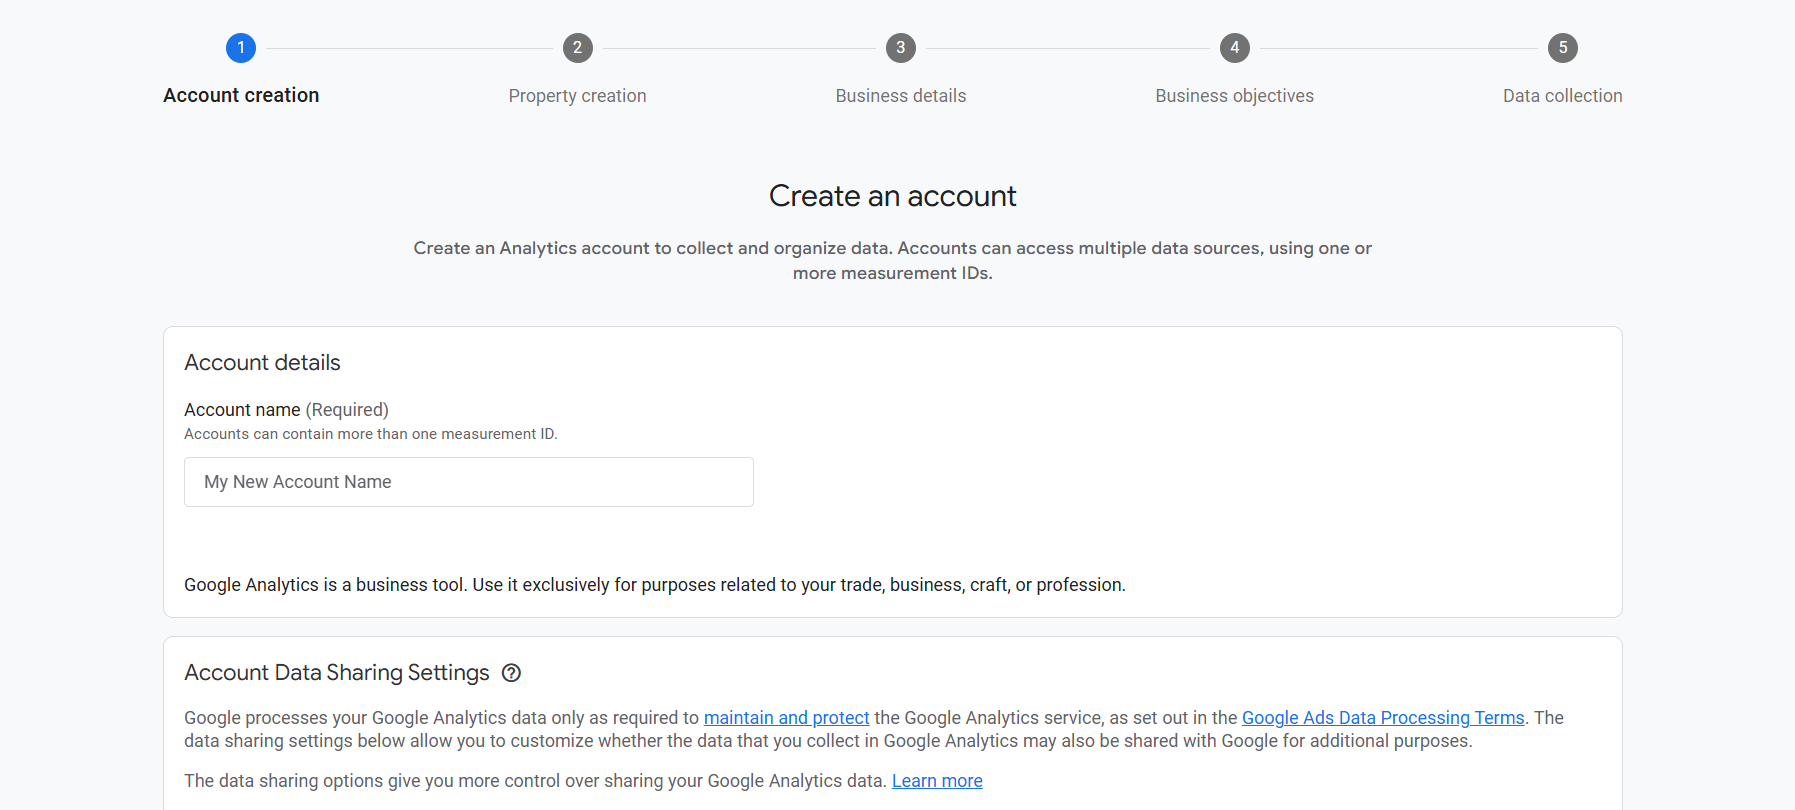
From here, we have to start the setup, and your first job is to write down the account’s name. This account structure is: first, you interact with the account, then complete the property. That means first account, then account property. It’s the same as the GTM first account; then under the account, we create the container.
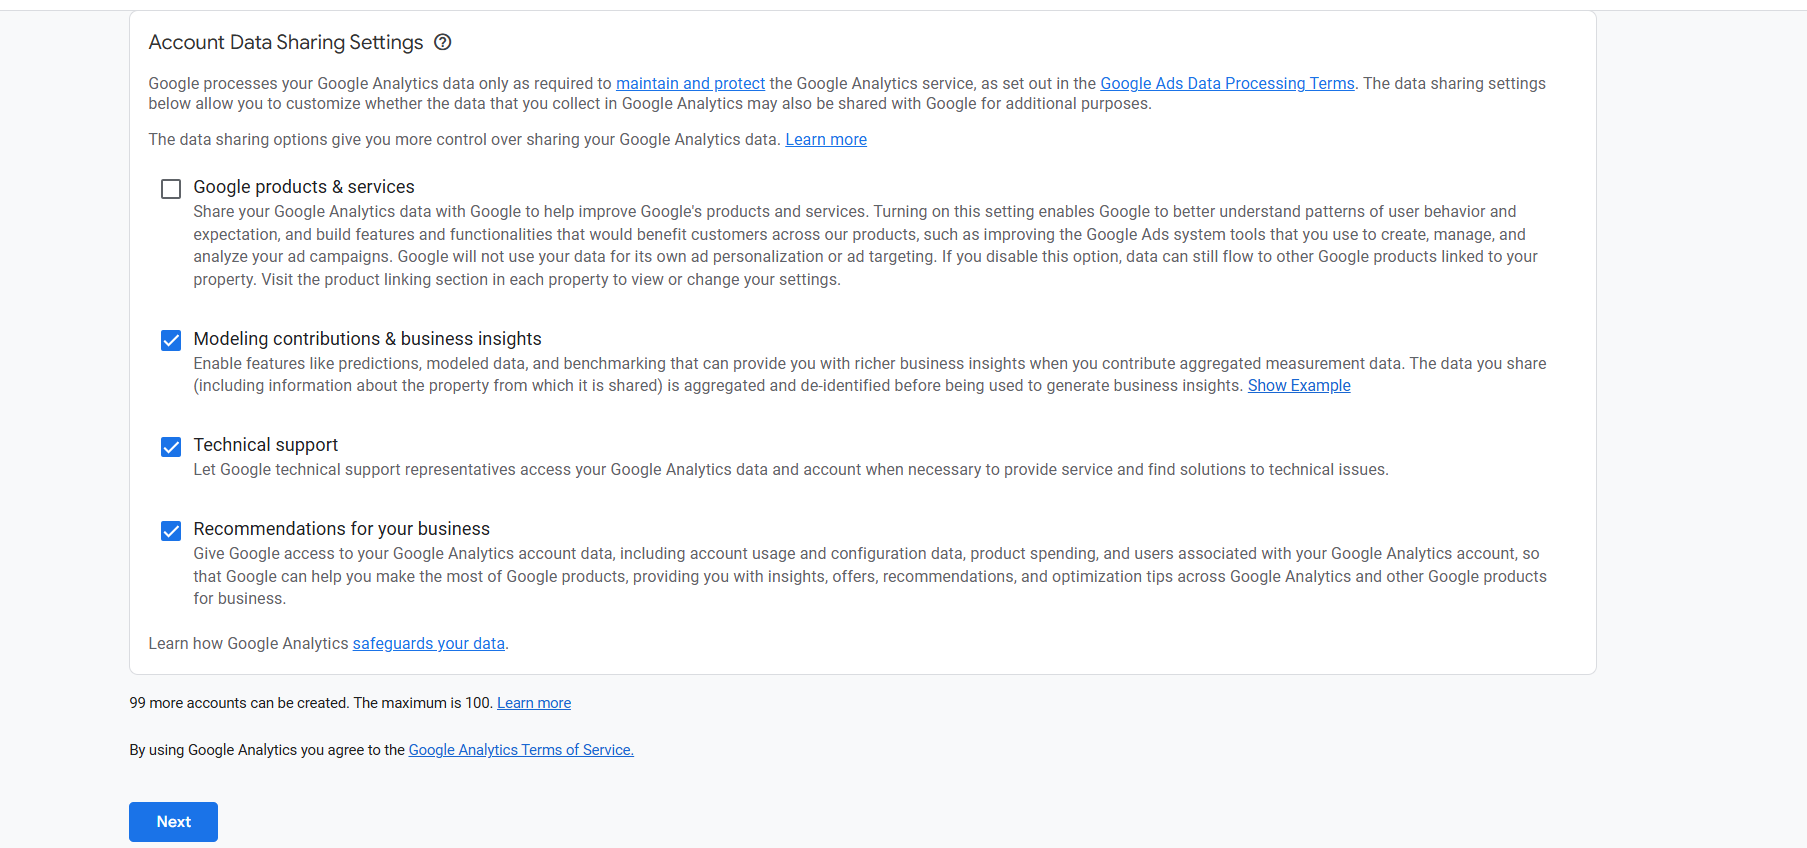
In the data sharing section of your account, enable all options or choose to skip this step and proceed to the next one.
Property
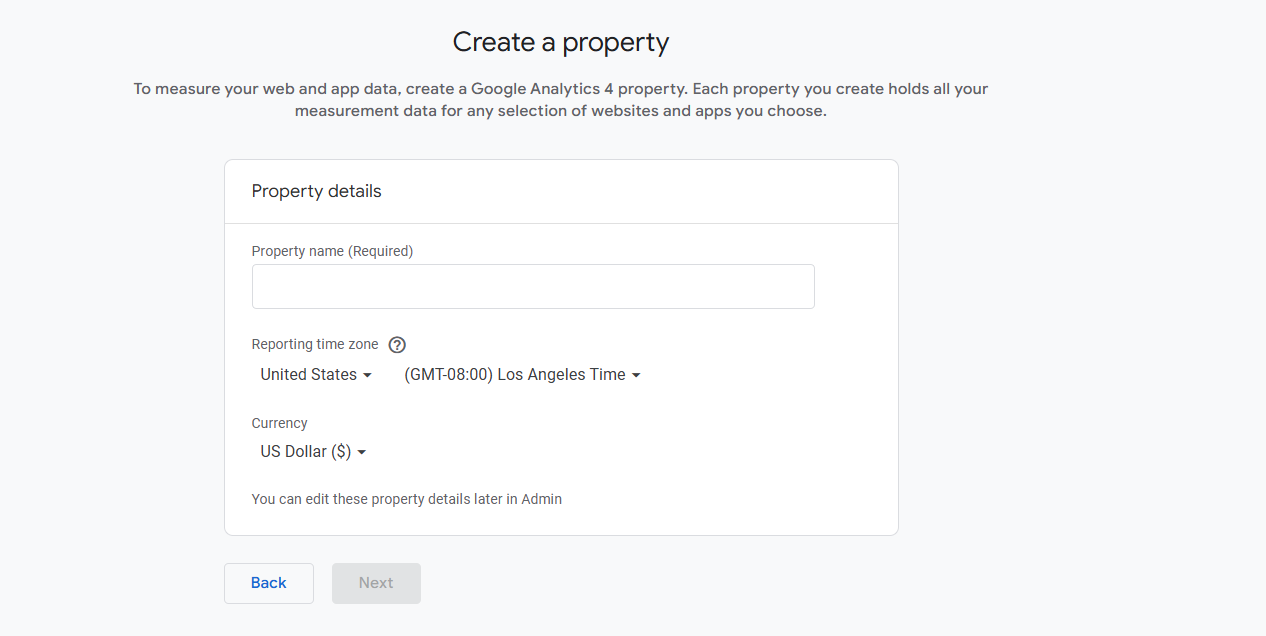
Now, in the property section, first enter the property name. Then, select the time zone based on your location and choose the currency that applies to you. Using this information, in the future all your reporting will be generated.
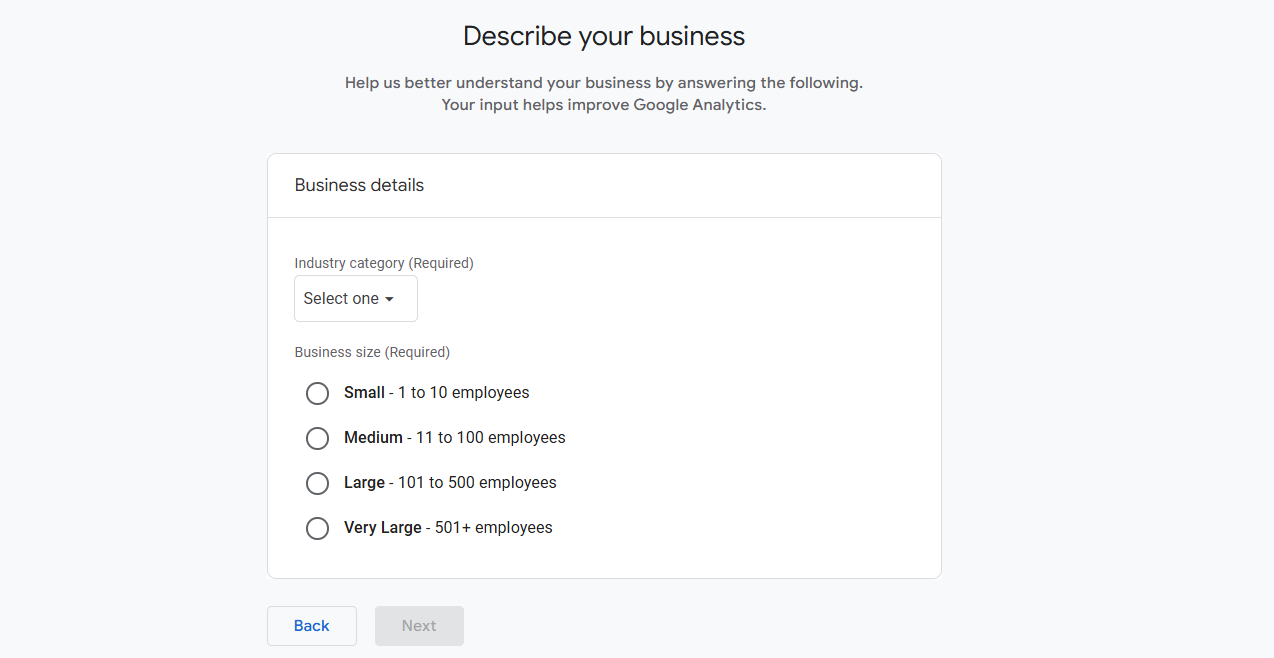
Now, choose your business category and its size.
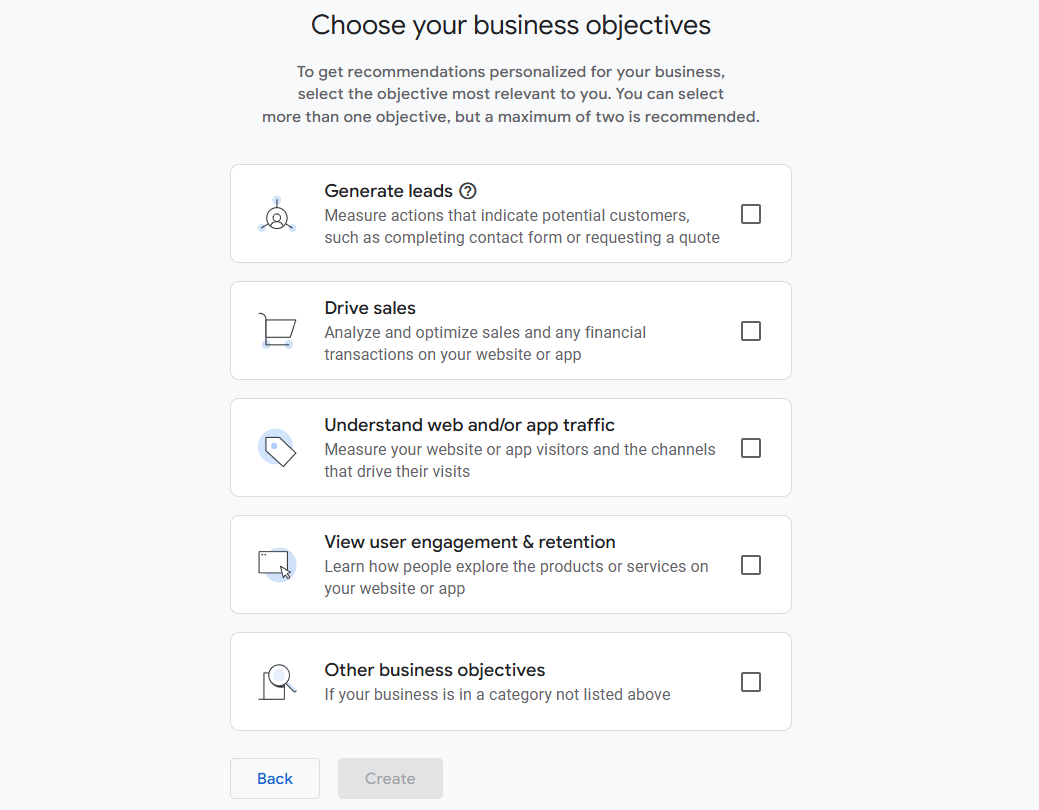
Now, select your business objectives and proceed to the next step. Here my objective is to drive sales. It’s important to pick perfectly because, according to the rules, your dashboard will be ready for you.
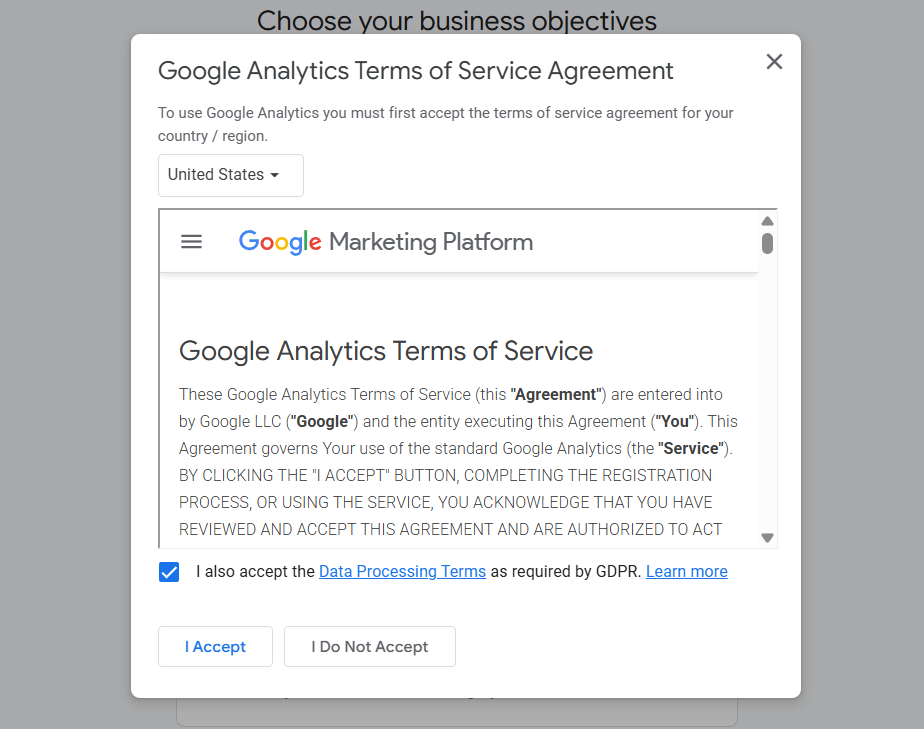
Now for the next option, you have to accept Google’s terms and conditions. If you have time, you can read the blog or leave it.
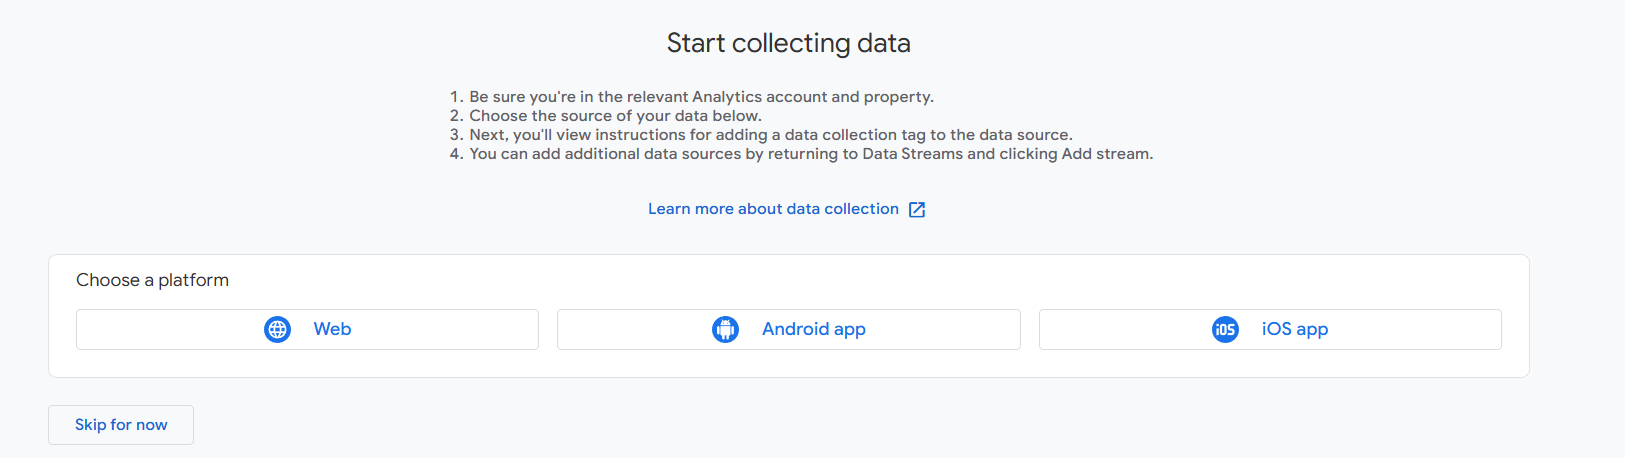
Here you have to choose the source of the data. Here our source is the web. So select for next.
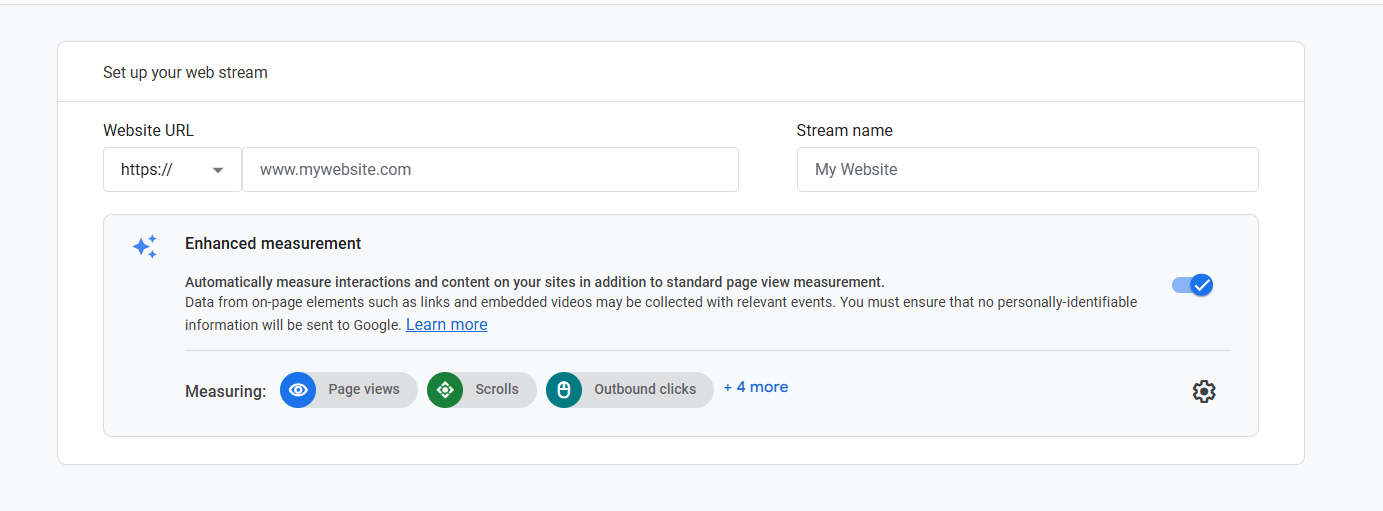
Now here you have to create a stream. Steam works like a pipeline. The website will collect your data through this stream.
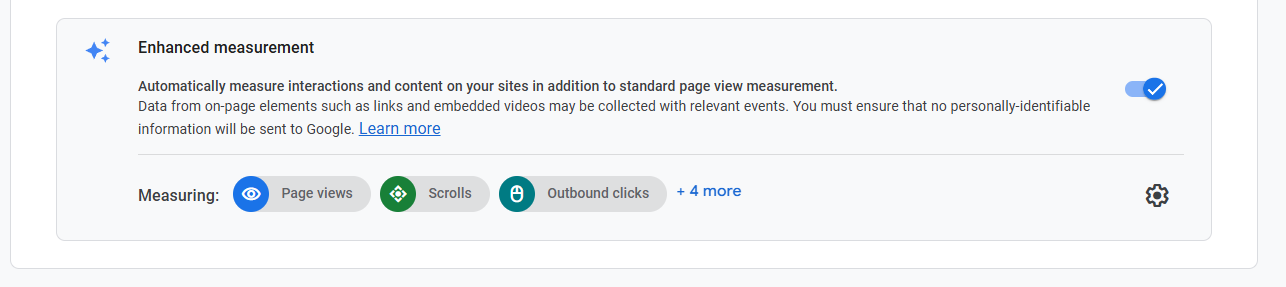
After that, here you can see that GA4 already gives us a list of the in-built measures. If you believe you can manage it independently later, please disable this option; otherwise, feel free to leave it enabled. Now create and continue.
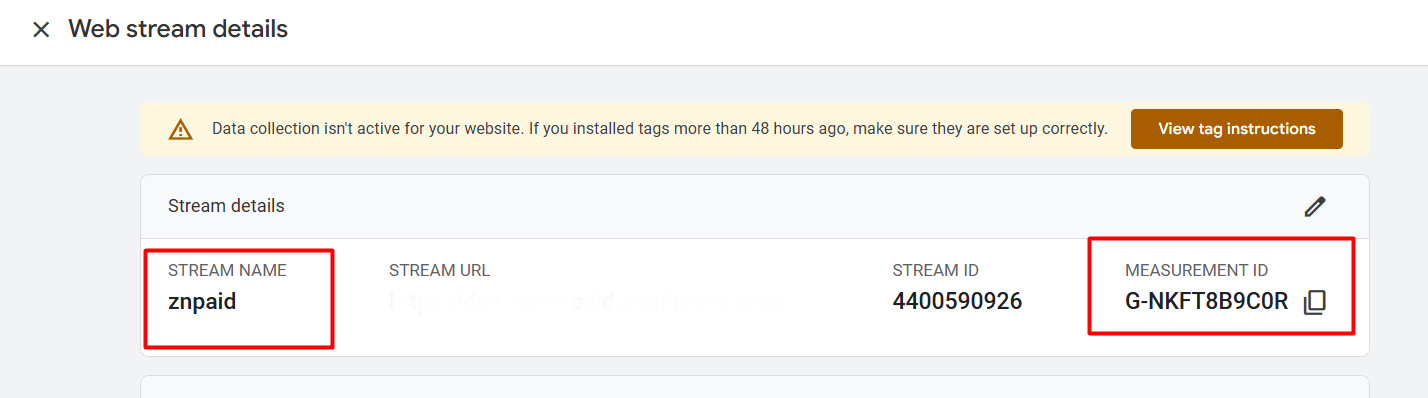
After creating the stream successfully, here is your data stream, ready. If you collect the “Measurement ID”, then with the measurement ID we will be able to set up the GA4 with our website through GTM. But if you click on the “view tag instructions” button:
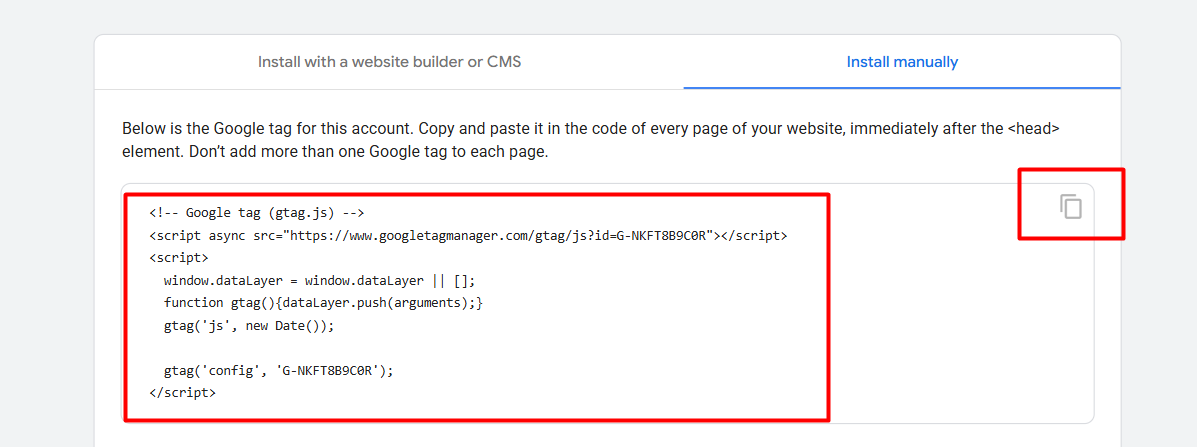
Here you will be able to see the tag provided by Google. As we said in our previous article, if you want to set up GA4 through the gtag tag, then you can simply add this code in the header section. But we will do it through GTM.
Connect the GA4 with your website
At first, collect the Measurement ID from GA4 and come back to the Google Tag Manager. Click on the tag section and go to set up a new tag.
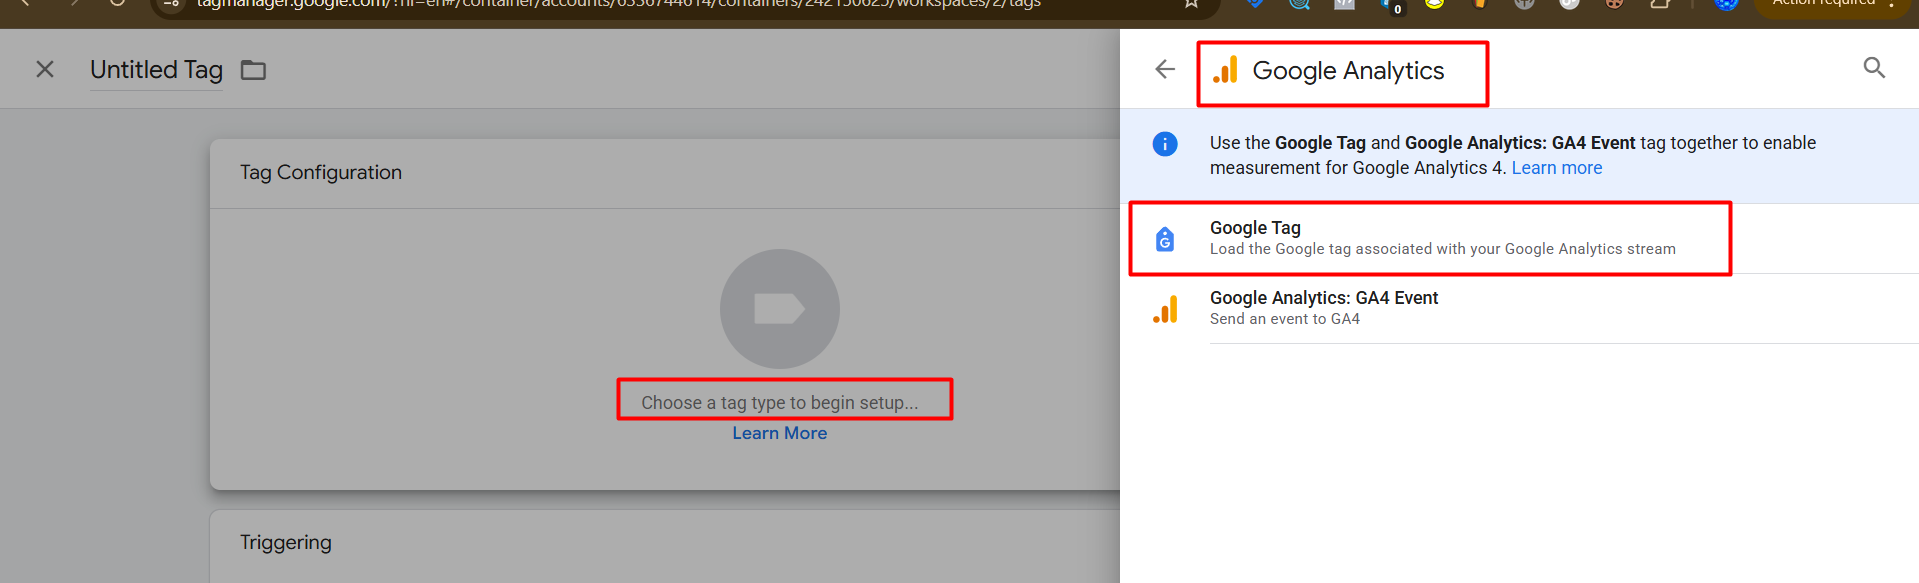
Now here, as your tag type, select “Google Tag”.
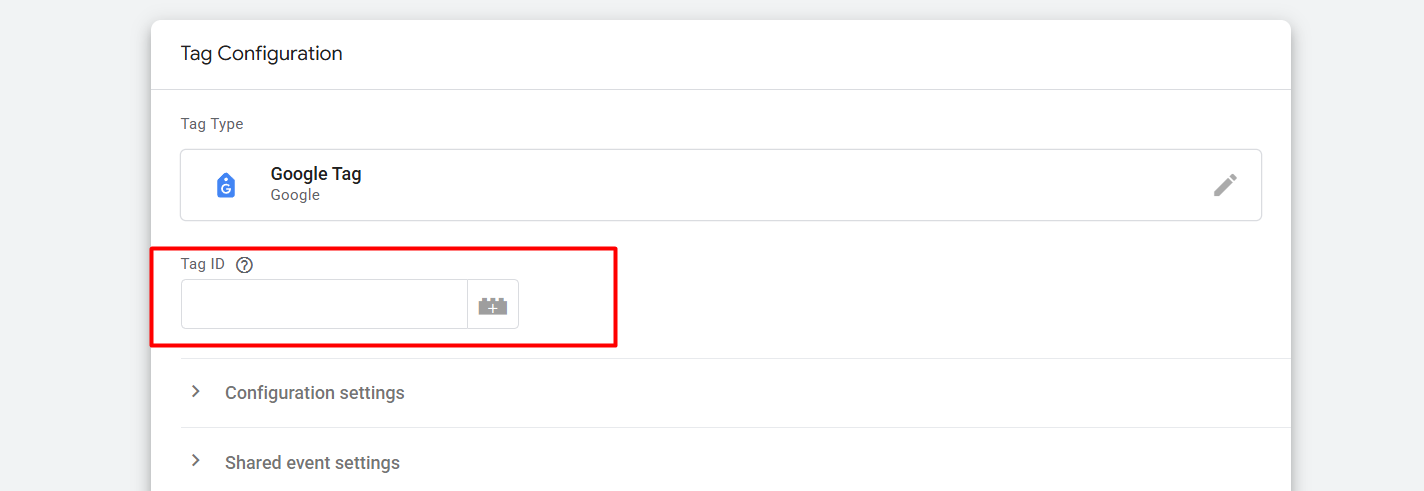
Now, please enter the measurement ID and save it.
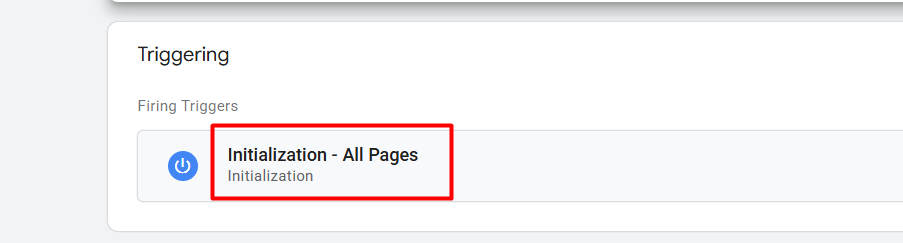
And this is your trigger type. In a line, a tag means what should be done, and a trigger means when it should be done. After setting up the tag and trigger, now save it and publish it in GTM.
By the way, observe the effortless connection between GA4 and your site. In our next article we will explain more about GA4 in depth. So don’t forget to check our site for other articles about GA4.


